39
9.9 REAR PLASTIC REMOVAL AND INSTALLATION
1. Turn o power and disconnect the cord from the machine.
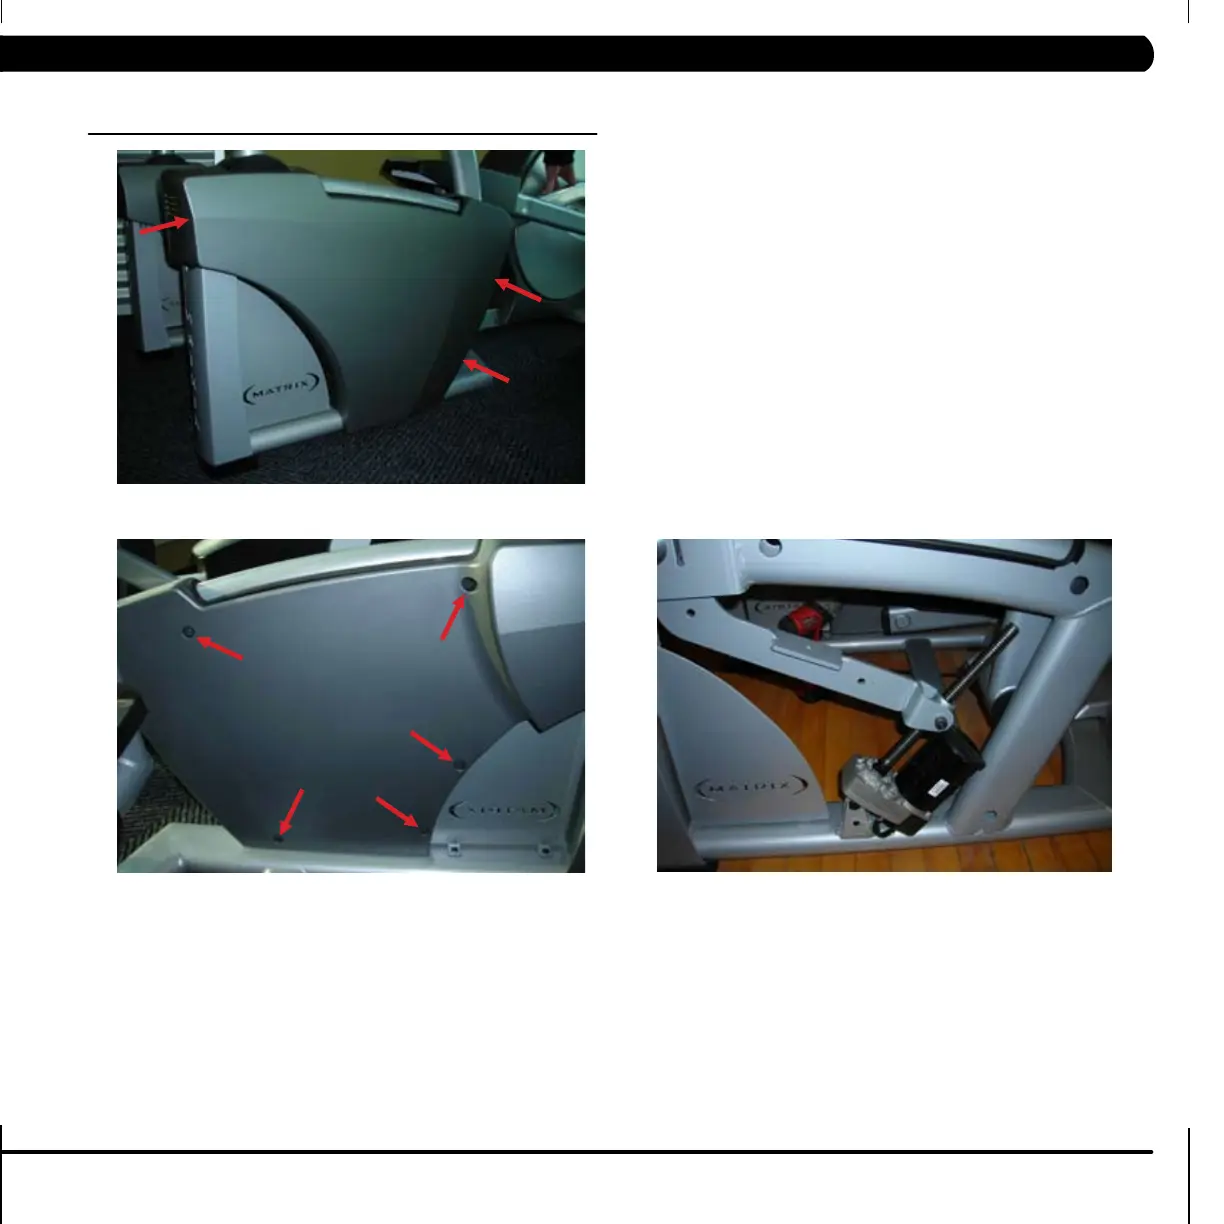
2. To remove the rear plastic shrouds 8 screws must be removed. First
remove 3 of the 4 on the outer perimeter, only 1 of the 2 on the
rear of the machine need to be removed. (Figure A)
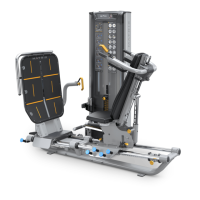
3. Remove the 5 screws from inside the embossments on the interior
face of the plastic shroud assembly. (Figure B)
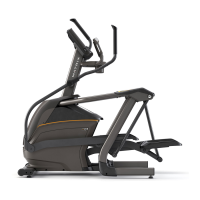
4. Remove the shrouds from the machine. (Figure C)
5. Repeat the same steps for the other side of the machine.
6. Reverse steps 1-4 to replace the shrouds. Test machine as
outlined in section 9.99.
Figure A
Figure B Figure C
CHAPTER 9: PART REPLACEMENT GUIDE