9.41 BELTS REMOVAL AND INSTALLATION - SHORT BELT RUN
1. Turn o power and disconnect the cord from the machine.
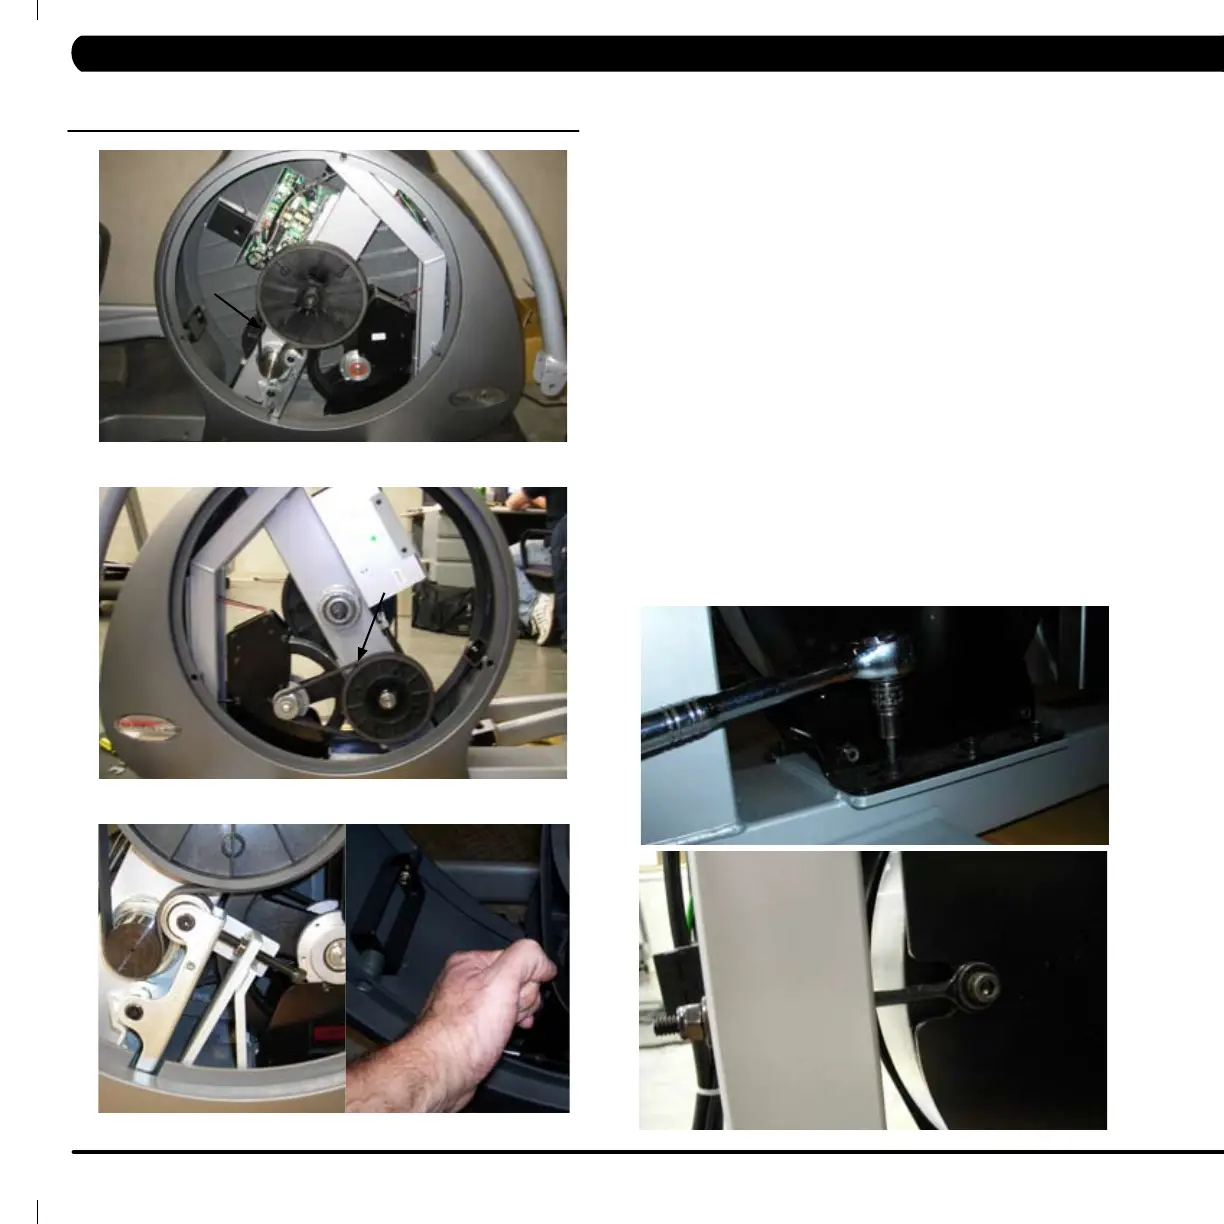
2. Remove front disks from machine as needed. Outlined in Section 9.1
(Figures A (drive belt) and B (ECB Belt)).
3. Check the unit to see whether you have a short or long belt run. If you
have the long belt run, continue to Section 9.42 (for picture of long belt
run, see Page 31). .
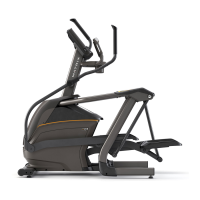
4. To remove the drive belt loosen the belt tension bolt on the right side
of the machine until there is enough slack in the belt to remove it.
(Figure C)
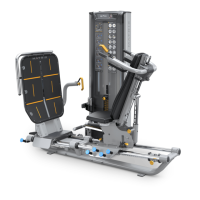
5. To start removing the ECB belt loosen the 6 bolts holding the ECB to
the frame. (Figure D)
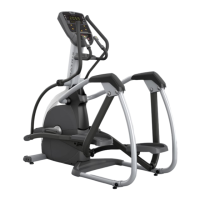
6. Loosen the 11mm nut on tension loop bolt until there is enough slack
in the belt to remove it. (Figure E)
7. Install replacement belt(s) and reverse necessary steps to secure the
assembly until the belt is tight. Tighten 6 ECB bolts to 12 N-m torque.
Tighten drive belt to 180 lbs. for new belt, 150 lbs. for used belt.
Tighten ECB belt to 120 lbs. Reassemble and test machine as outlined
in section 9.99.
Figure A
Figure B
Figure C
Figure D
Figure E
CHAPTER 9: PART REPLACEMENT GUIDE
30