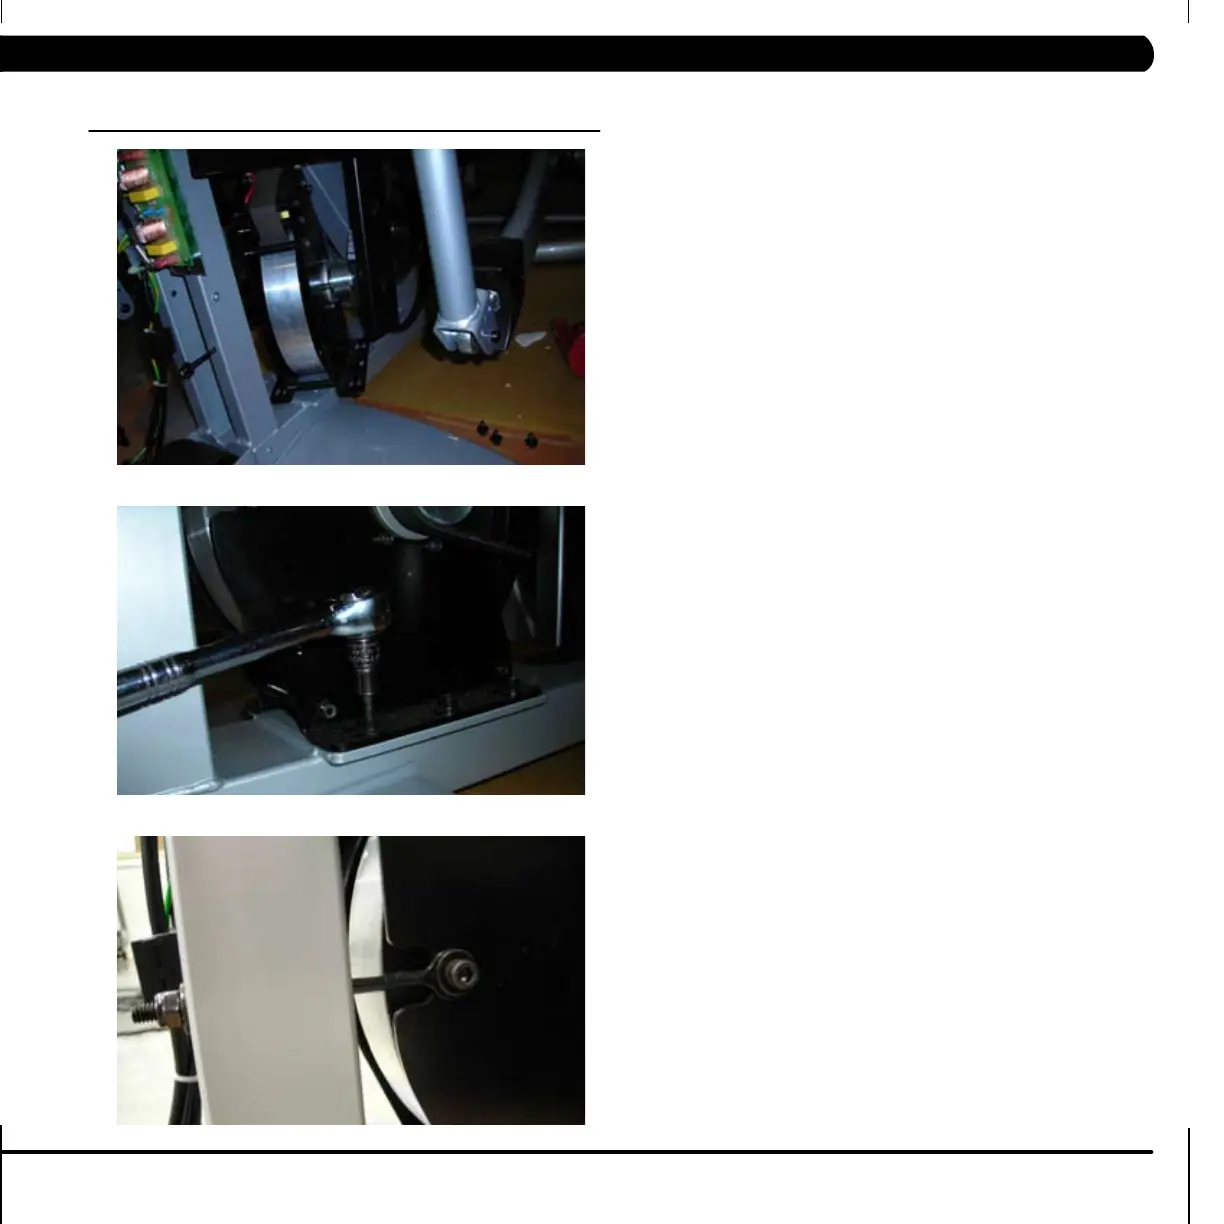
1. Remove the old ECB and install the new ECB from the user’s left
side of the frame. (Figure F)
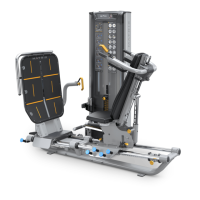
2. Install the 6 frame mounting bolts loosely & attach belt. (Figure G)
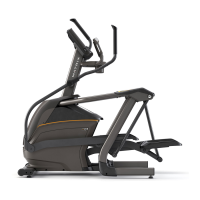
3. Attach the tension loop bolt to ECB bracket and tension belt to
120 lbs. using 11mm nut. (Figure H)
4. Tighten the 6 frame mounting bolts to 12 N-m torque. (Figure G)
5. Reconnect the ECB wires, reassemble front disks and shrouds, and
test machine as outlined in section 9.99.
Figure F
Figure G
Figure H
CHAPTER 9: PART REPLACEMENT GUIDE
9.3 ECB REMOVAL AND INSTALLATION – CONTINUED
29