User Manual for the Meca500 Industrial Robot (for rmware 10.1) 1
INTRODUCTION
1. INTRODUCTION
The Meca500 is a six-axis industrial robot arm intended for displacing tools and workpieces within
factory or laboratory environments, with high precision and with six degrees of freedom. The Meca500
is easy to use, robust and lightweight. However, the robot is a precision device with rapidly moving parts
and should therefore be used only by trained technical personnel who have read and understood this
user manual, to avoid damages to the robot, its end-effector, any workpiece and adjacent equipment,
and, most importantly, to avoid injuries.
1.1. Inside the box
Remove all items carefully and do not discard your shipping box and packing foam.
Table 1 shows the items that come with a standard shipment of a Meca500 robot system. Your box may
also contain the MEGP 25E or MEGP 25LS electric gripper, the MPM500 pneumatic module, or other
small accessories. Do not open these additional packages immediately. You must read the grippers or
pneumatic module user manuals prior to installing the end-of-arm-tooling (EOAT) on the robot.
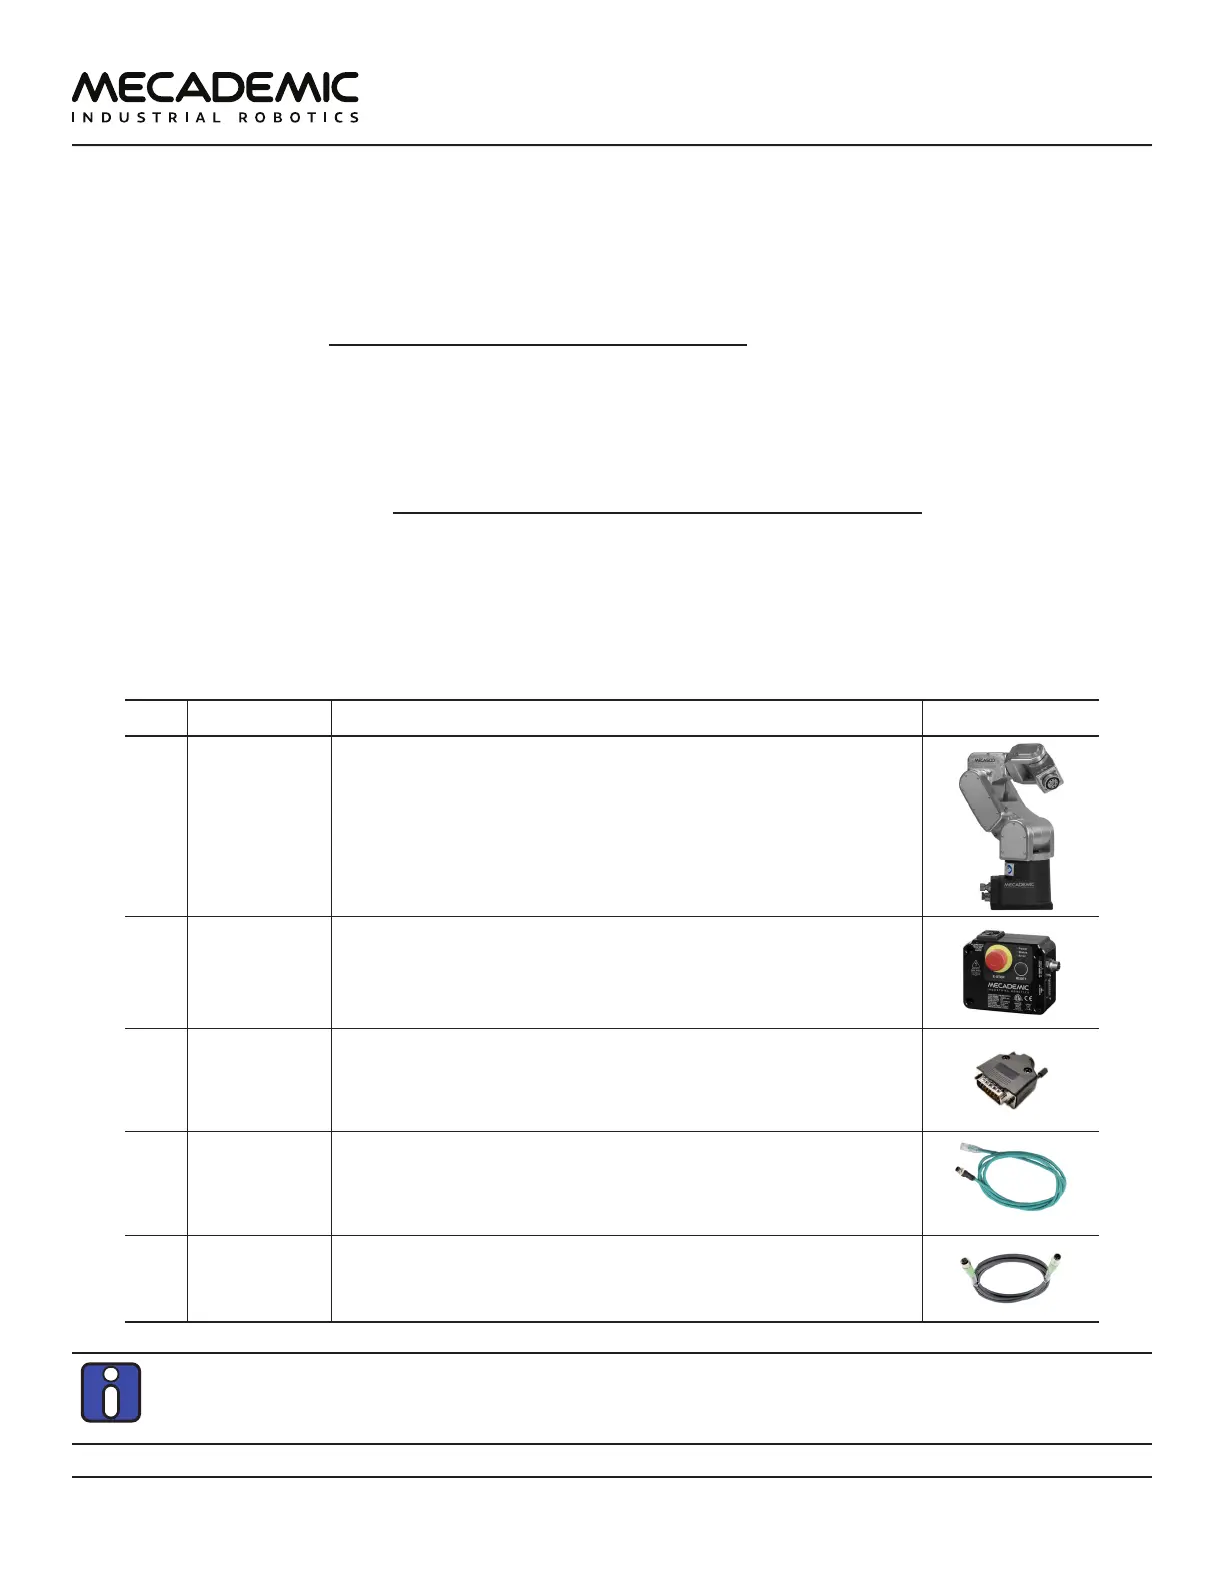
Table 1: Standard parts list
Qty SKU Description Photo
1 9100-001
OR
9100-002
Meca500 robot arm, revision R3
OR
Meca500 robot arm, revision R4
1 9200-001
OR
9200-003
24 V DC PS200 smart power supply, revision R3
OR
24 V DC PS200 smart power supply, revision R4
1 9403-001 D-Sub 15-pin dongle
1 2003-005 Ethernet cable: 2-meter M12 D-Code to RJ45
1 2003-006 DC power cable: M12 circular male to M12 circular female DC
power cable
Note, that you must provide your own AC power cord, with three-prong IEC C13 connector on
one end, and your own country's power plug on the other, as well as a surge protector. You must
also provide M6 screws of proper length for attaching the robot's base and the power supply.