Chapter 4—Front Panel Operation
41
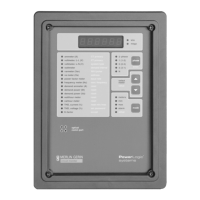
Choosing a Setup Option To enter the [Setup] mode, press the MODE button until the [Setup] LED is
lit. The circuit monitor displays “ConFig.” To move to a specific option, use
the SELECT METER [Value] buttons. To select an option, press the PHASE
[Enter] button (see figure 4-1).
Config rESETS AL.rLY diAg
Setup Mode
PHASE
Press the PHASE
[Enter] button to
select an option.
Use the SELECT METER [Value]
buttons to move to the desired option
(Config, rESETS, AL.rLY, or diAg).
Figure 4-1: Choosing a Setup option
How the Buttons Work The circuit monitor’s front panel buttons perform different functions in
Setup mode than in Meters mode. In Setup mode, the buttons work as
described below.
The PHASE [Enter] button. In Setup mode, use this button as an “Enter” key
to accept a new configuration value and move to the next configuration item.
For example, after changing the CT Primary value, press this button to enter
the new value and move to the next configuration item (PT Primary). Also,
press this button to move through configuration items that don’t need to be
changed, to reach a specific item.
SELECT METER [Value] buttons. In Setup mode, use these buttons to
increase or decrease the displayed value. Also, use these buttons to toggle
between Yes and No when required.
MODE button. Use this button to exit a setup option after making all desired
changes. For example, after making all desired changes within the
Configuration option, press the mode key. The circuit monitor then asks you
to accept or reject your changes.
PHASE
MODE
 Loading...