3.1 About this chapter
■■■■■■■■■■■■■■■■■■■■■■
8
■■■■■■■■
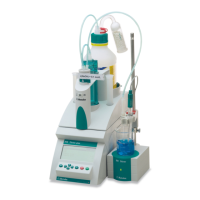
883 Basic IC plus
3 Installation
3.1 About this chapter
The Installation chapter contains:
■ this overview.
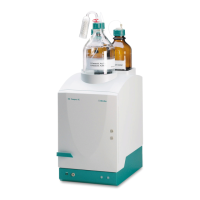
■ a brief set of instructions for the initial installation of the 883 Basic IC
plus (see chapter 3.2, page 8). At each step, you will find cross-ref-
erences to comprehensive installation instructions for the individual
components if you need more detailed information.
■ an installation diagram (see chapter 3.3, page 11), showing a fully
installed 883 Basic IC plus.
■ several chapters (see chapter 3.4, page 14 and the following ones)
with detailed installation instructions for all components, including
those that are already installed at the time the instrument is delivered.
3.2 Initial installation
NOTICE
Some of the capillaries are already connected when the instrument is
delivered.
You still have to carry out the following steps:
Installing the 883 Basic IC plus
1
Setting up the instrument
(see chapter 3.4, page 14).
2
Installations on the rear of the instrument
■ Place the detector in the instrument and connect it (see chapter
3.6.1, page 17).
■ Remove the transport locking screws (see chapter 3.6.2, page
18).
■ Connect the drainage tubings (see chapter 3.6.3, page 19).