2-7
2
2
2
5
6
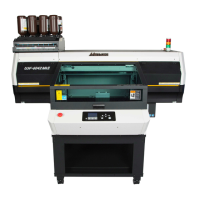
Chapter 2 Basic Operation
Test printing
Make test printing in the specified direction to check
whether there is nozzle clogging or other printing failures
(such as wearing or missing).
1
Press the (
TEST PRINT/CLEANING)
in the local, and press the key.
• TEST PRINT MENU will be displayed.
2
Press to select the printing
direction, and press the key.
• When nozzle recovery is not set, test printing is
started in the selected direction.
• SCAN DIR: Draws in the scan (widthwise)
direction of the media.
FEED DIR: Draws in the feed (longwise) direction
of the media.
3
Check result of printing.
• When the result is normal, finish the operation.
(P.2-9)
• When the result is abnormal, execute head
cleaning. ( P.2-8)
• When you use white or clear ink, print on the clear
film to check.
Check before starting test printing
•Is media set? ( P.2-4)
•s origin point set? ( P.2-6)
• Is the table height appropriate? ( P.2-4)
• When nozzle recovery is set, press
[][] to set ON/ OFF and then press
the [ENTER] key.
ON : Draws with nozzle recovery ON.
OFF : Draws with nozzle recover OFF.
• If the temperature of the head has not reached the
predetermined value, a message is displayed.
Printing is not allowed in such cases. When the
display is disappeared, printing can be started.
Normal pattern
Abnormal patterns
Nozzle drop out
Many lines are missing.
Nozzle missing
The lines are missing as if the teeth are lost.
Deflection
The distance between the lines is narrowing or
double lines are formed.
 Loading...


