Checking Performance and Functions 5-3
5.3.2.2 Check Monitor
Procedure Checking criteria
Monitor brightness adjustment
Monitor contrast adjustment
Monitor maintenance
Log on with the accou
nt named as
“Service”, select
[Setup]-[Maintenance]-
[Test Main
Monitor] to check the monitor
functions.
Height adjustment:
Auto adjustment: select [Setup]-[System
Preset]-[General]. Click [Brightness Auto
Adjustment] from [About].
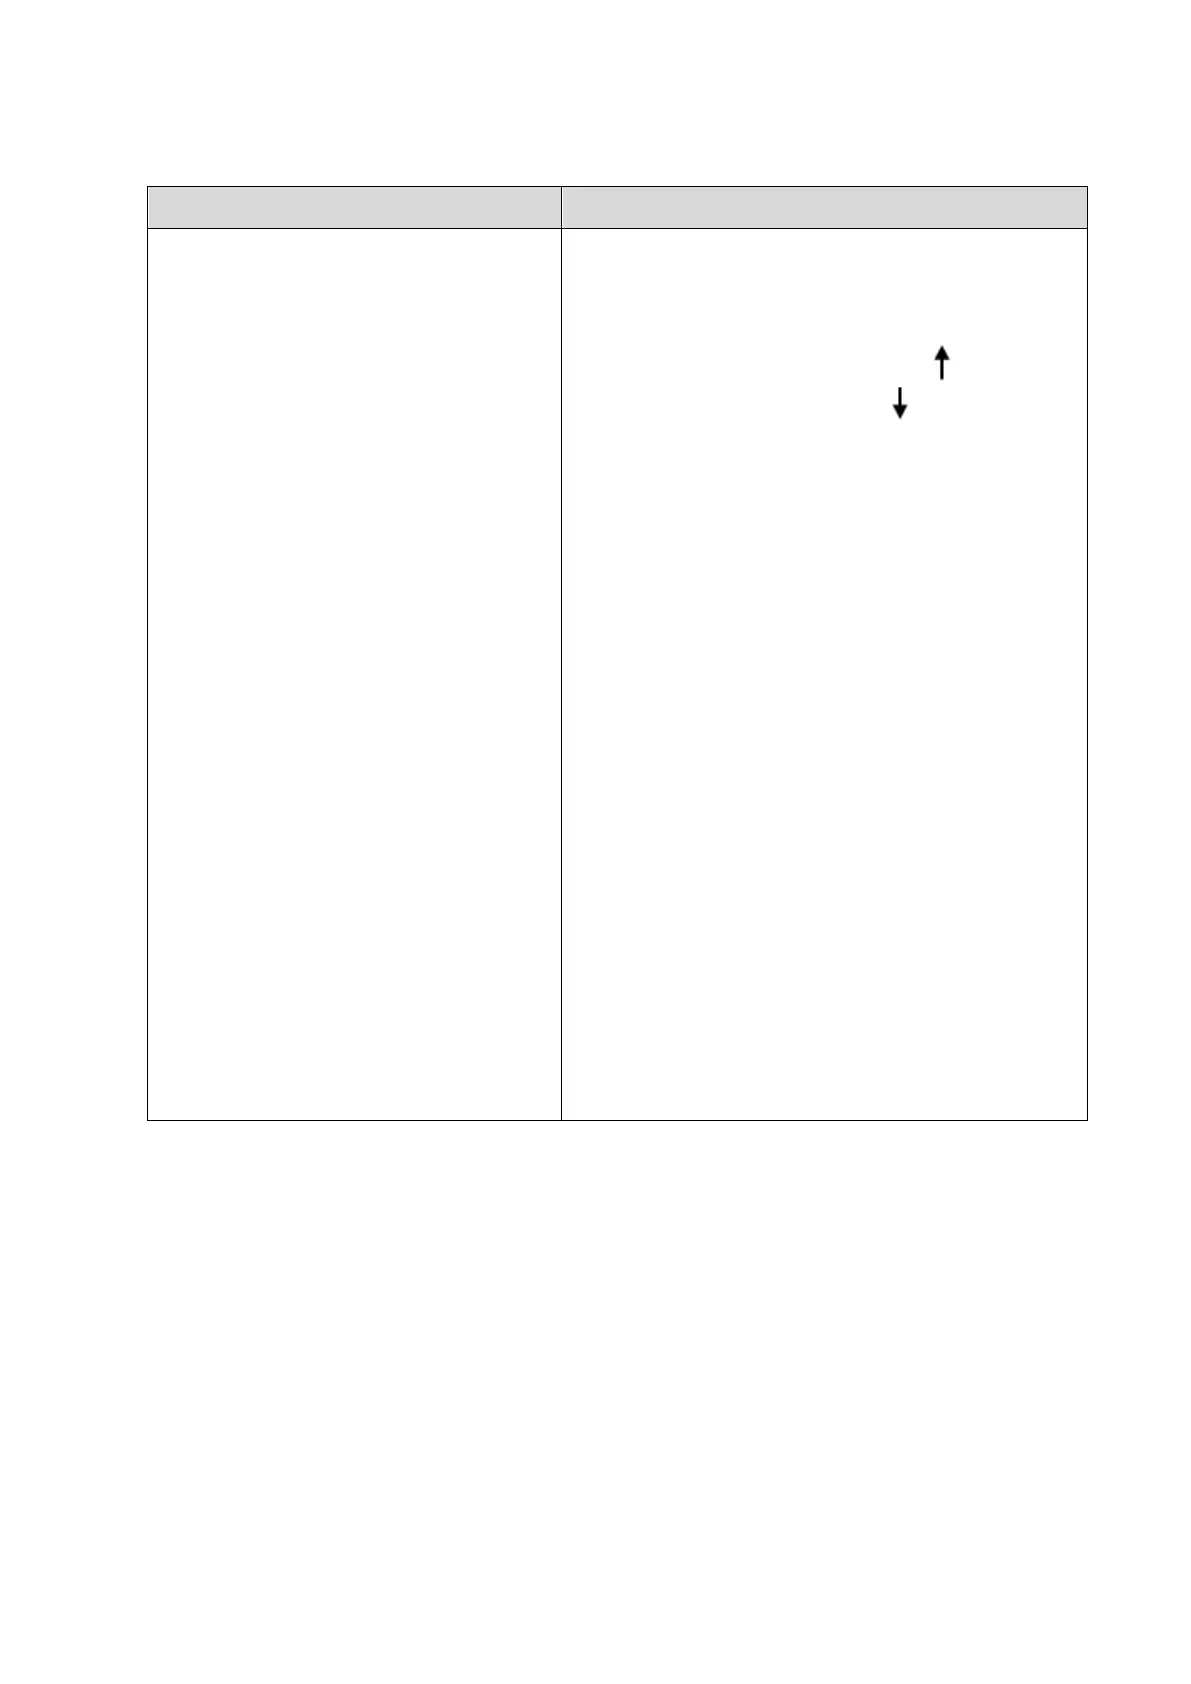
Manual adjustment: press <Fn>+<
> to increase
the brightness. Press <Fn>+<
> to decrease the
brightness.
Select [Setup]-[System Preset]-
[+] from [Contrast] to increase the contrast. Click
[-] to decrease the contrast.
The monitor display works well after testing each
function. Bad points are:
1 Light dot is 0; blinking dot defect is 0.
2 The adjoining dark dots are no more than 3
pairs, and there are no adjoining dark dots in
image area.
3. 3 or 3 successive dark dots are no more than 0
pair.
The dark dots are no more than 7 and those in the
image area are no more than 2
5 The distance between bad dots is no less than
5mm.
Note: the image area refers to the area enclosed
by the rectangle with black/white background.