System Preparation 3-7
6. Click [Save] to finish the installation.
Tips: Click [Printer Driver]->[Printer Supported] to view the drivers of some popular printers
that have already been integrated in the system.These drivers will be installed automatically.
You need to check the following information to check if the auto-installation fails:
Model of the connected printer is not displayed in the “Printer Driver” list;
Click “Printer Driver”->[Add Local Printer], the system will prompts you to update the
ppd file.
At this time, you need to install the printer driver manually as described in the following:
a) Download the ppd file from the printer manufacturer’s official website (contact
service engineer if necessary), and copy the ppd file to the storage device (USB
disk as an example).
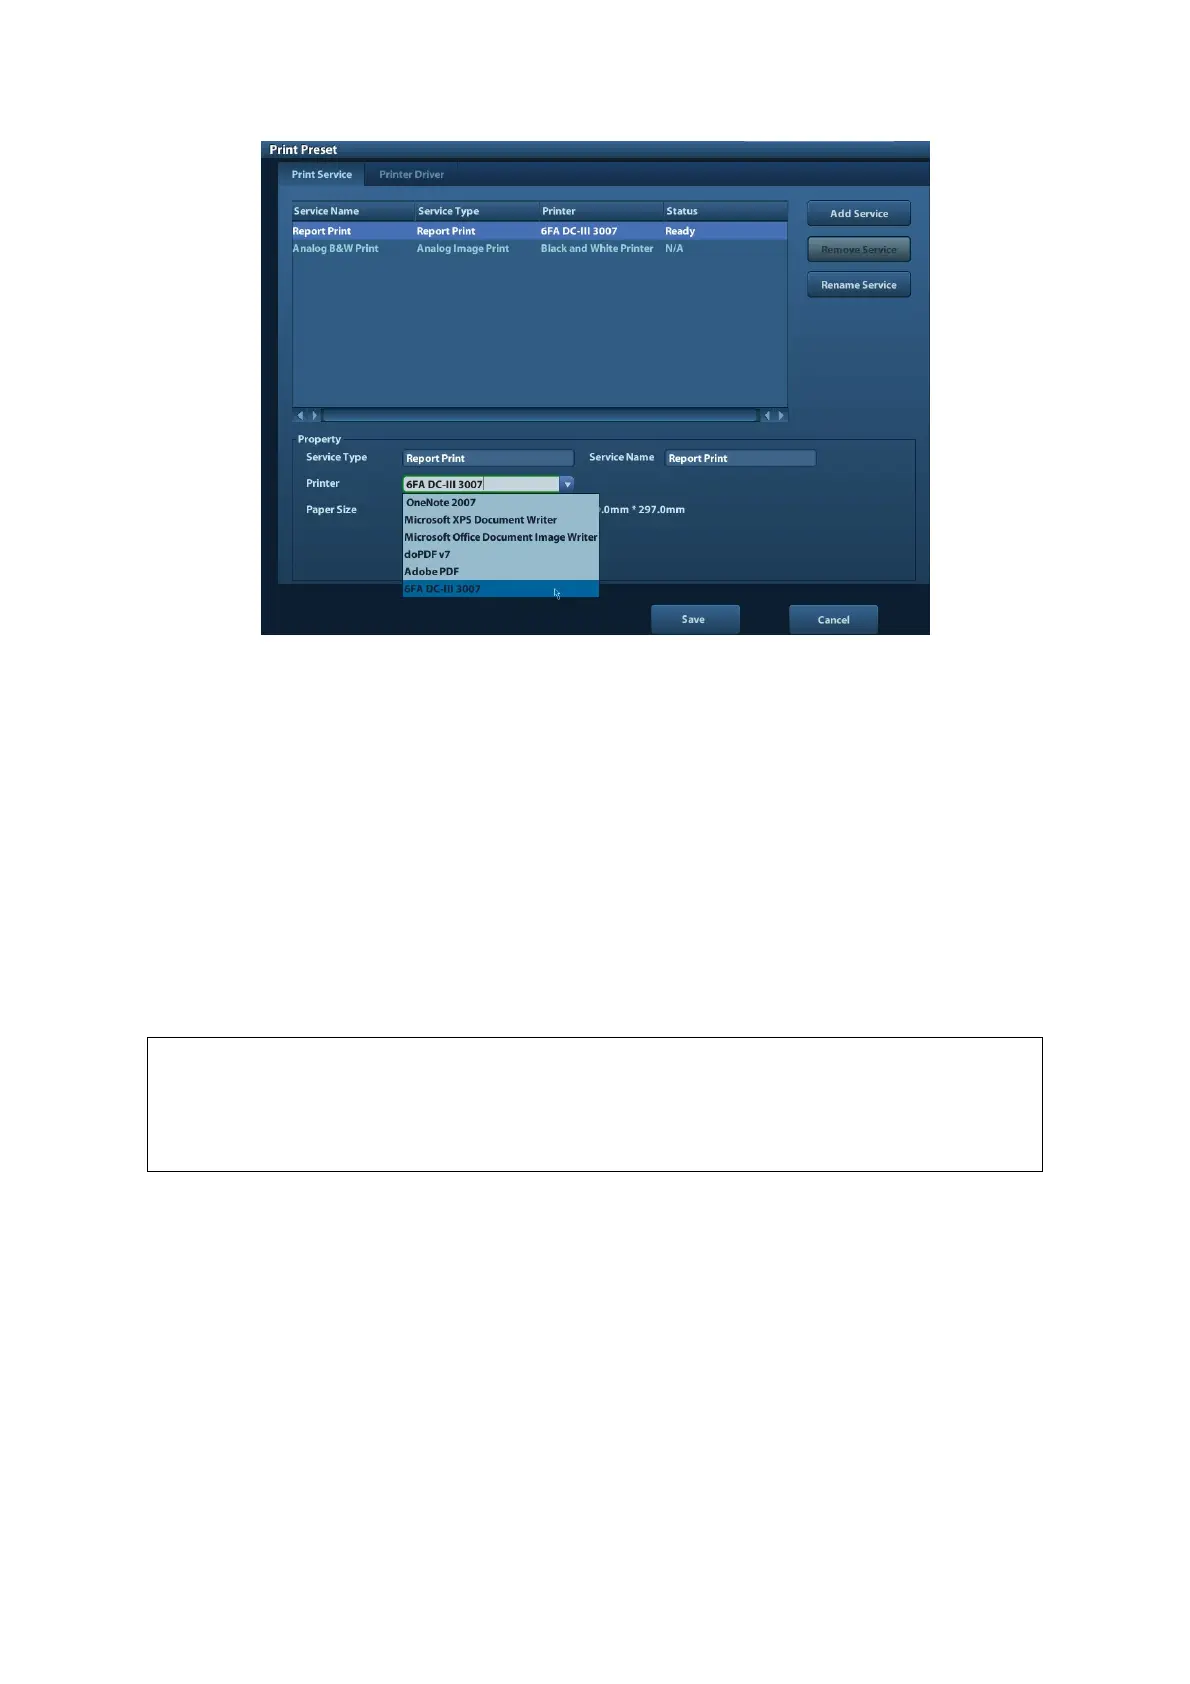
b) Connect the USB disk to the ultrasound system, click [Setup]->[Print Preset]-
>”Printer Driver”->[Add Local Printer] to run the ppd file and finish the installation.
All printer drivers integrated in the ultrasound system come from official website of
each printer manufacturer (you can check models in the [Setup]->[Print Preset]-
>”Printer Driver”->[Supported Printer List]).Printer drivers may not be updated in
time due to software version and region limitation, consult printer manufacturer for
details.
3.7.2 Add Network Printer
1. Make sure the target network printer and the ultrasound system are both connected into
the same LAN.
2. Check the IP address of the network printer (for details, please refer to the accompanying
documents of the printer).
3. Enter [Setup]->[Print Preset]->”Printer Driver” page, click [Add Network Printer] to enter
the screen, type in the IP address of the network printer. (Port is 9100 in default).
4. Click [Verify Net Printer], the IP address, name and port information of the network printer
will be displayed under the “Port” box. Change the port to match the verified printer
information if necessary.
5. Click [OK] to enter the ppd installing screen: