Chapter 5
31
The graphical user interface
Edit tag names
The Edit tag names button opens the central Tag name editor (see Section 5.6.10).
Online edit mode button
If you need to change the configuration while the Setting and Monitoring Tool is
connected to the system, you can use the Online edit mode button in the upper right
corner of the screen over the configuration area to switch into the edit mode. This way
it is possible to edit the configuration without disconnecting from the system first.
5.5.1 Exercise for configuring the MELSEC-WS modules
Create a new standalone project using the New Project button. All available
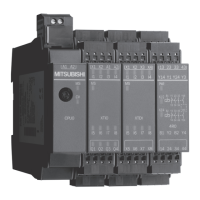
MELSEC-WS modules are displayed in the Modules selection window. All modules
are grayed out with the exception of the CPU modules.
Select the function package from the dropdown list under the desired CPU module
(WS0-CPU0, WS0-CPU1 or WS0-CPU3). Function package Revision V 2.xx
requires CPU firmware version 2.01 or higher (see Chapter 3).
Use the mouse to drag the CPU module into the Configuration area. The CPU
module is displayed magnified there. The inputs/outputs and terminals are visible.
The CPU modules are now grayed out and the other modules (network modules,
I/O modules) can be selected in the Modules selection window.
Move further safety I/O modules in the Configuration area. Green arrows indicate
where the new module will be positioned. Grey arrows indicate possible other
positions. The CPU module is always located at the left. Up to two network modules
follow directly to the right of the CPU module. Then the safety I/O modules follow.
The safety relay output modules have to be positioned at the far right.
Right-click the individual modules and select Edit... in the context menu. Enter a
new tag name (module name) for the respective module and close the window by
clicking OK.
Change the positions of the modules subsequently by using the mouse to drag
them to a different position.
Remove modules from the configuration area by right-clicking the module and
choosing the Remove module… command in the context menu. Alternatively, you
can use the mouse to drag the module to the trashcan at the bottom left of the
Configuration area.
Figure 7:
Edit tag names button
Figure 8:
Online edit mode button in
the hardware view
Exercise
 Loading...

