SETUP AND INSTALLATION
SECTION 2
7
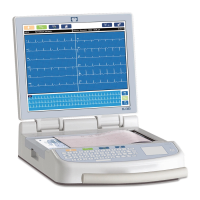
X-Scribe System Setup and Installation
NOTE: Refer to Interconnect diagram, Figure 2-1.
1. Assemble the X-Scribe system cart and connect all system components according to the instructions included
with the cart assembly. Make sure all cables are seated completely onto their respective connectors and that all
methods of securing cables to connectors are properly used.
2. Refer to Appendix E for X-Scribe to treadmill or X-Scribe to ergometer hookup instructions.
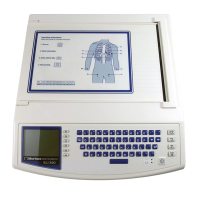
3. Refer to Appendix F for configuring and using the printer.
4. Connect all power cords on the CPU and the printer to the isolation transformer; leave the power switches of
these components in the ON position. Connect the isolation transformer to an approved hospital-grade AC
power outlet and turn the isolation transformer to the ON position.
5. Start the X-Scribe system by turning on the CPU power button; the program will start automatically. When the
Windows screen appears, log onto the system.
NOTE: After initial equipment installation is complete, the power switch on the isolation transformer will
power up the X-Scribe system. The isolation transformer also supplies power to the Z200+ thermal writer
which does not have its own ON/OFF switch.
NOTE: When finished using the X-Scribe system, a Windows system shutdown should be performed. This
will power off the CPU and put the display in standby mode. The isolation transformer will remain
powered on.
6. Refer to Appendix C for TTL and analog output setup and installation.