APPENDIX F
76
Setting Up the Z200+ Thermal Printer
1. Connect the AC power cord to the AC connector on the printer and to an AC power outlet.
2. Connect one end of the crossover network cable to the network connector on the Z200+ thermal printer and
the other end to the network (LAN) connector on the back of the X-Scribe PC.
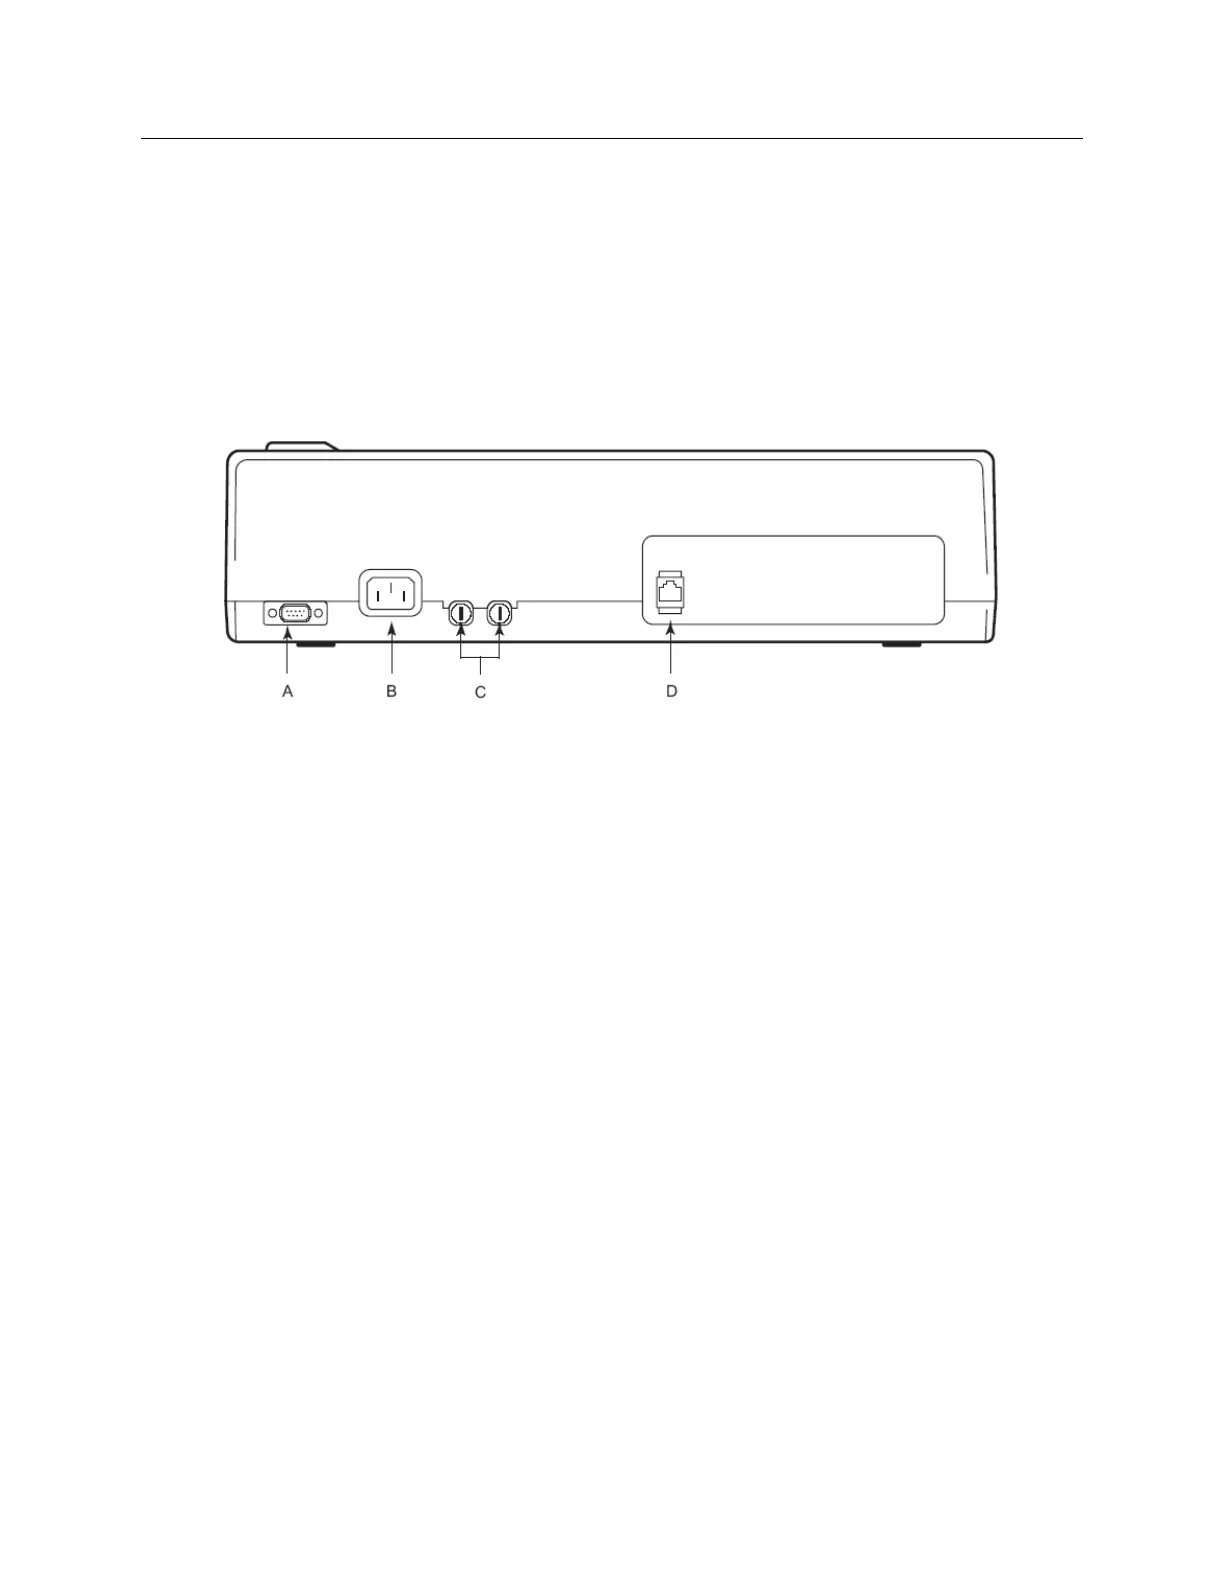
Figure F-3
A Serial connector. Not used. C AC fuses
B AC connector (for power cord) D Integrated network (LAN) connector
The Z200+ thermal printer operates on line power and is controlled by a LAN connection to the X-Scribe.
To configure the LAN connection for the Printer
1. On the X-Scribe PC, log in as Administrator.
2. Click Start > Settings > Control Panel.
3. Double click Network Connections.
4. Double click the appropriate Local Area Network icon. The Local Area Connection Properties
dialog box will appear.
5. In the items list, select Internet Protocol (TCPIP), and click Properties. The Properties dialog box
will appear.
6. Fill in the fields and click OK in each dialog box to save the entries and exit.