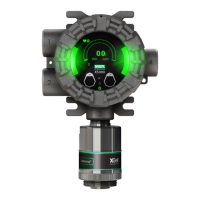
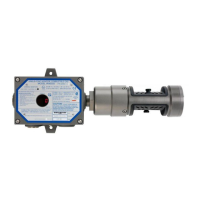
14. For Toxic, Oxygen, or Combustible IR Ultima Gas
Monitors:
Reconnect sensor wiring on the termination printed circuit board
in the module by aligning and inserting the connector into J4
(FIGURE A-9).
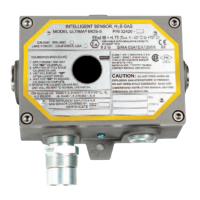
For Catalytic Combustible Ultima Gas Monitor:
Reconnect sensor wiring on the termination printed circuit board
in the module by aligning and inserting the connector into
TB2 (FIGURE 1-22).
15. Re-install the Ultima Gas Monitor cover.
"
WARNING
Do not let the cover remain off of an explosion-proof Ultima
Gas Monitor. Since a source of ignition is exposed, an
explosion may occur if a metal object contacts the circuitry
and produces sparks in an atmosphere of combustible gas.
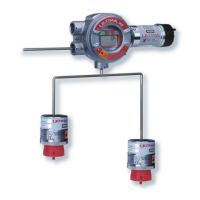
16. Locate the Ultima Gas Monitor mounting bracket and two
#10-32 X5/16 screws and lock washers.
17. Install the mounting bracket onto the back of the Ultima Gas
Monitor via the two tapped holes with the two supplied
screws; tighten the screws.
18. Push the Ultima Gas Monitor (with bracket attached) through
the slit gasket on the Duct Mount base plate (FIGURE A-11).
19. Fasten the mounting bracket to the back of the Duct Mount
base plate with the remaining two #10-32 X5/16 screws and
lock washers.
• Do not tighten these screws at this time.
20. Locate the two Ultima Gas Monitor spacers and screw one
end of each spacer into the Duct Mount Kit’s base plate.
21. Place the Ultima Gas Monitor clamp on top of the spacers.
• Ensure that the folded part of the clamp is mounted on
the back side of the Ultima Gas Monitor; the clamp will
only fit one way on the spacers.
22. Ensuring that the Ultima Gas Monitor is level, use the
1/4-inch hex nut and lock washers to secure the clamp onto
the spacers (FIGURE A-11). Tighten the two #10-32 screws
at the mounting bracket at this time.
23. Fasten the calibration tubing fitting into the center post of the
SensorGard (FIGURE A-11).
Appendix A, Optional Ultima Duct Mount Kit
A-8