9. Identify each conductor of the cable to enable proper
connection at the control equipment.
10. If installing a RESET push-button:
a. Route a two-conductor cable to terminal block TB2
(FIGURE C-4).
• Route this cable with DC power to avoid noise
interference from relay wiring.
b. Connect the two-conductor cable to the two positions
of terminal block TB2.
c. Identify the cable to enable proper connection at the
button.
d. Route cable to the push-button location; wire
the button.
11. Replace the previously removed printed circuit board in the
module.
12. Secure this printed circuit board with the two screws.
• If removing the power wiring harness, complete that
task before further assembly of the unit.
13. Re-install the wiring plugs.
• Ensure that wiring plugs are firmly seated into their mates.
14. Re-install the front label assembly and the two attached
printed circuit boards.
15. Re-install the two screws that secure the front label assembly
(FIGURE 1-21).
16. Screw the conduit onto the conduit opening and pull the cable
away from the unit to relieve any excess slack.
• It is important not to have excess wire or cable within
the module.
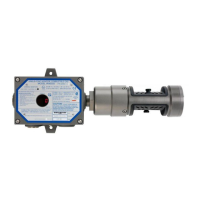
17. Re-install the cover of the Ultima Gas Monitor.
"!
WARNING
Do not let the cover remain off of an explosion-proof Ultima
Gas Monitor. Since a source of ignition is exposed, an
explosion may occur if a metal object contacts the circuitry
and produces sparks in an atmosphere of combustible gas.
Appendix C, Internal Relay Option
C-10