5.
As an option for greater security, set new WiFi network names (SSIDs) for the
NETGEAR_11N and NETGEAR_11AC default SSIDs and new WiFi passphrases for
the default sharedsecret WiFi passphrase that is used for both SSIDs.
The new SSIDs and WiFi passphrases replace the default SSIDs and WiFi passphrase,
so we recommend that you write down the new information or save it in another
way.
6.
If your router does not function as a DHCP server (this is very uncommon), assign a
static IP address to the AP by typing the static IP address information.
Note: If you are not sure, we recommend that you leave the default setting (that is,
leave the Get dynamically from existing router button selected). The default
settings works for almost all networks.
7. Click the Apply button.
Your settings are saved.
8.
If you set a new SSID and passphrase, reconnect to the AP using the new SSID and
passphrase.
9. Log back in to the local browser UI using your new admin password.
The Home page displays. The IP Settings pane shows the IP address that is assigned
to the AP.
10. Write down the AP IP address or save it in another way.
You might need this IP address to log in to the AP in the future.
You can now use the AP or customize the settings for your network environment.
Connect over Ethernet using a computer connected to the
same network
The following procedure assumes that your network includes a router that functions as
a DHCP server and that the AP and the computer are on the same network. By default,
the DHCP client of the AP is enabled.
If you want to set up the AP with a static (fixed) IP address, we recommend that you
follow the procedure that is described in Connect over WiFi using a computer or mobile
device on page 19 or Connect over Ethernet using a directly connected computer on
page 23.
User Manual21Install and Access the AP in Your
Network
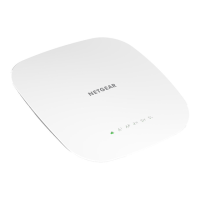
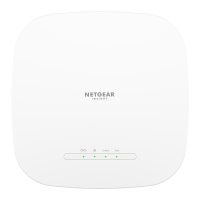
802.11ac Wireless Access Point Model WAC104

 Loading...