35
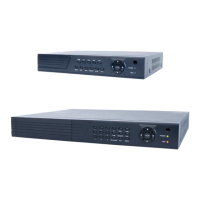
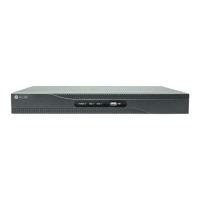
H.264 4/8/16-channel Networkable DVRs
SECTION 4: NETWORKING YOUR DVR
NOTE
The Ethernet adapter data you see by using ipcong will probably be dierent from that shown in the example above.
If you are using Windows Vista or Windows 7, the IP address is identied as the “IPv4 Address.”
Table 1. PC/DVR network settings
Computer (PC) DVR
IP Address
Subnet Mask
Default Gateway
2. At your PC, nd an IP address on your network that is not in use:
a. Write down the EXACT IP address of your PC up to the third/last period. Using the example shown above in the screen
capture of ipcong, this number would be: 192.168.1.
b. After the third period, choose any number between 1 and 255 that is dierent from the one in your PC’s IP address, 168.
As a rst try, let’s choose 100, which will form the IP address 192.168.1.100.
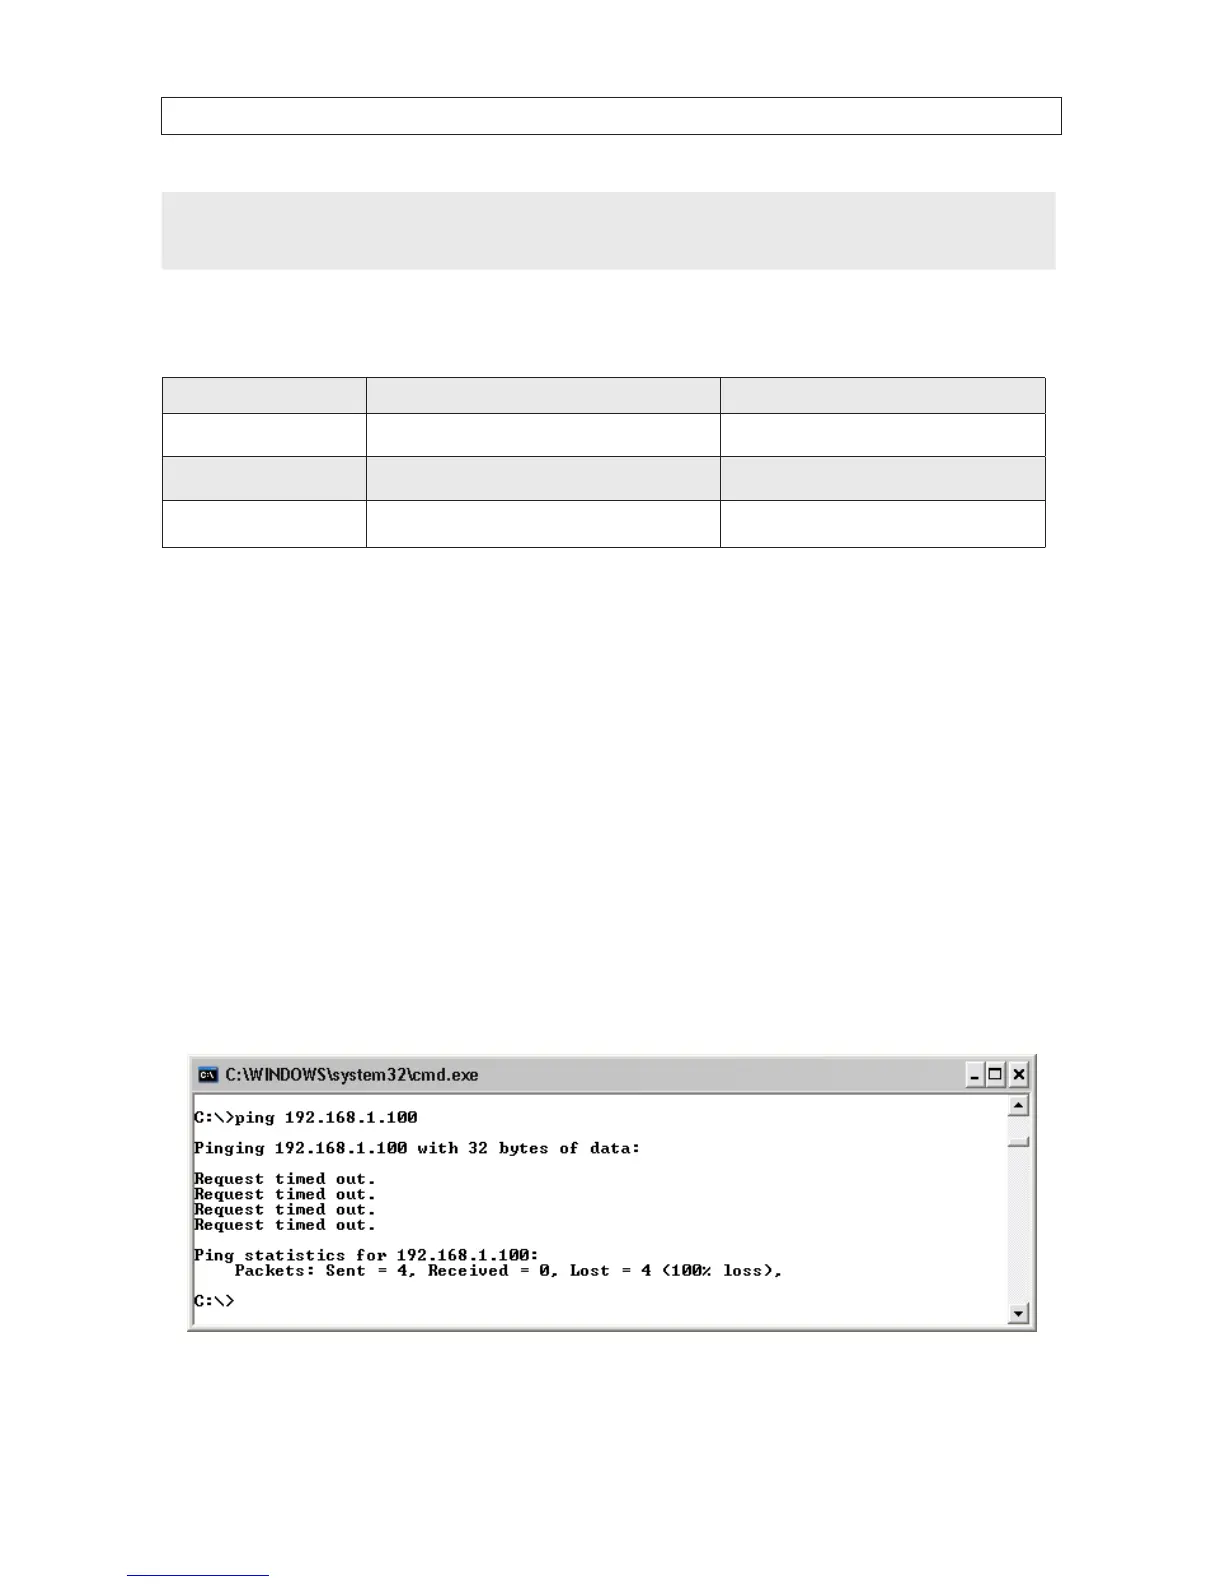
c. Next, use the ping command in the DOS window to see if that IP address is in use on your network. The format of the
ping command is:
ping <IP address> For this example here, we entered: ping 192.168.1.100
To test your IP address, enter ping 192.168.1.100. Any reply received from the ping indicates that a device on the
network is already using this IP address and you can connect to it.
d. Examine the screen capture shown above. If the response to the ping command was “Request timed out.” like that
shown above, use this IP address for your DVR, enter into Table 1, skip step 2.e and continue at step 2.f.