– 111 –
Chapter 5 Preparation — Mounting and adjusting the lens
Mounting and adjusting the lens
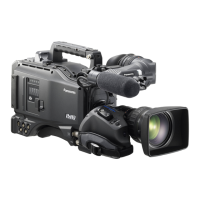
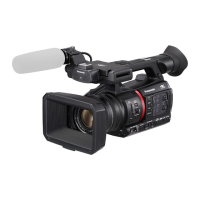
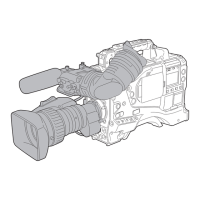
Mounting the lens
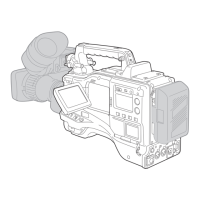
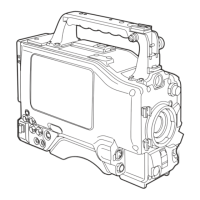
Fig. 1
Fig. 4
Fig. 2
Fig. 3
Lens lever
Mount cap
Mark
Cable clamp
<LENS> terminal
1
Raise the lens lever and remove the mount cap. (Fig. 1)
2
Align the indentation at the top center of the lens mount with the center mark of the lens to mount the lens. (Fig. 2)
3
Lower the lens lever to firmly clamp the lens. (Fig. 3)
4
Secure the cable through the cable clamp and connect it to the <LENS> terminal. (Fig. 4)
5
Perform lens flange back adjustments.
For details, refer to “Flange back adjustment” (page 111).
@@
NOTE
t For handling the lens, refer to the lens operating instructions.
t For details on the current from the <LENS> terminal, refer to “Details of the connector signals” (page 255).
t When the lens is removed, install the mount cap to protect the device.
Flange back adjustment
If images are not clearly focused at both telephoto and wide-angle positions during zoom operations, adjust the ange back (distance from the lens
mounting surface to the image formation surface).
Once adjusted, the ange back does not need to be readjusted until the lens is changed.
@@
NOTE
t Refer to the lens operating instructions for guidance on adjustment methods and positions of lens parts.
 Loading...