338
JAN 2006
Ver. 5.2
DP-3510/3520/3530/4510/4520/4530/6010/6020/6030
8.16. Installing the Accounting Software (DA-WA10)
8.16.1. Contents
Note:
1. The part number may differ depending on the Destination.
2. Refer to the Parts List in the Parts Manual.
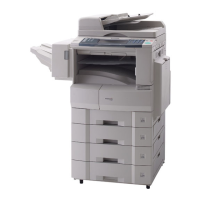
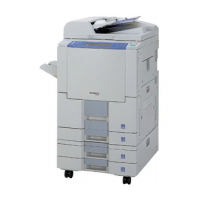
8.16.2. Installation
1. Before installing this option, make sure the Hard Disk Drive Unit (DA-HD60) is installed into
the machine first. Refer to the Installation Instructions for the Hard Disk Drive Unit (DA-HD60).
2. Install the Accounting Software into the PC with the Operating Instructions by following the
prompts of the Installation Wizard.
3. Set the Key/Dept. Counter function by following the steps below.
1) Press the "FUNCTION", "ORIGINAL SIZE (LEDGER/A3)" and "3" keys simultaneously in
that order to enter the Service Mode.
2) Press the "5" key to enter the F5 Service Mode (Function Parameters).
3) Press the "START" key.
4) Press the "4", "2", and then "START" keys sequentially to enter the F5-42 "KEY/DEPT
Counter".
5) Select the "DEPT.", and then "OK" buttons to activate the Key/Dept. Counter function.
6) Press the "STOP" key.
Note:
The factory default setting for the Key Operator ID Code is "0000", to ensure security it is
recommended to change this code
Follow the steps below to change the Key Operator ID Code:
• While in the Service Mode, press "7" to enter the F7 Service Mode.
• Press the "START" key.
• Select "01 Key Operator ID Code".
• Select "CHANGE" button, and then input a new 4-digit ID Code.
• Select "OK" button to set it and "OK" again to exit F7 Service Mode.
7) Press the "FUNCTION" and "C" (CLEAR) keys simultaneously to exit the Service Mode.
4. Set the Key/Dept. Code by following the steps below.
1) Press the "FUNCTION" key, "General Settings", "04 Key Operator Mode" and input the 4
Digit Code to enter the Key Operator Mode.
2) Select "14 Dept. Counter Mode" and set the Dept. Counter Codes (up to 300).
3) Press the "STOP" key to return to the stand-by mode.
Qty. Description Part No. Remarks
1 Accounting Software CD See Note Includes Operating Instructions
1 Installation Instructions DZSM000741 This document
 Loading...