32
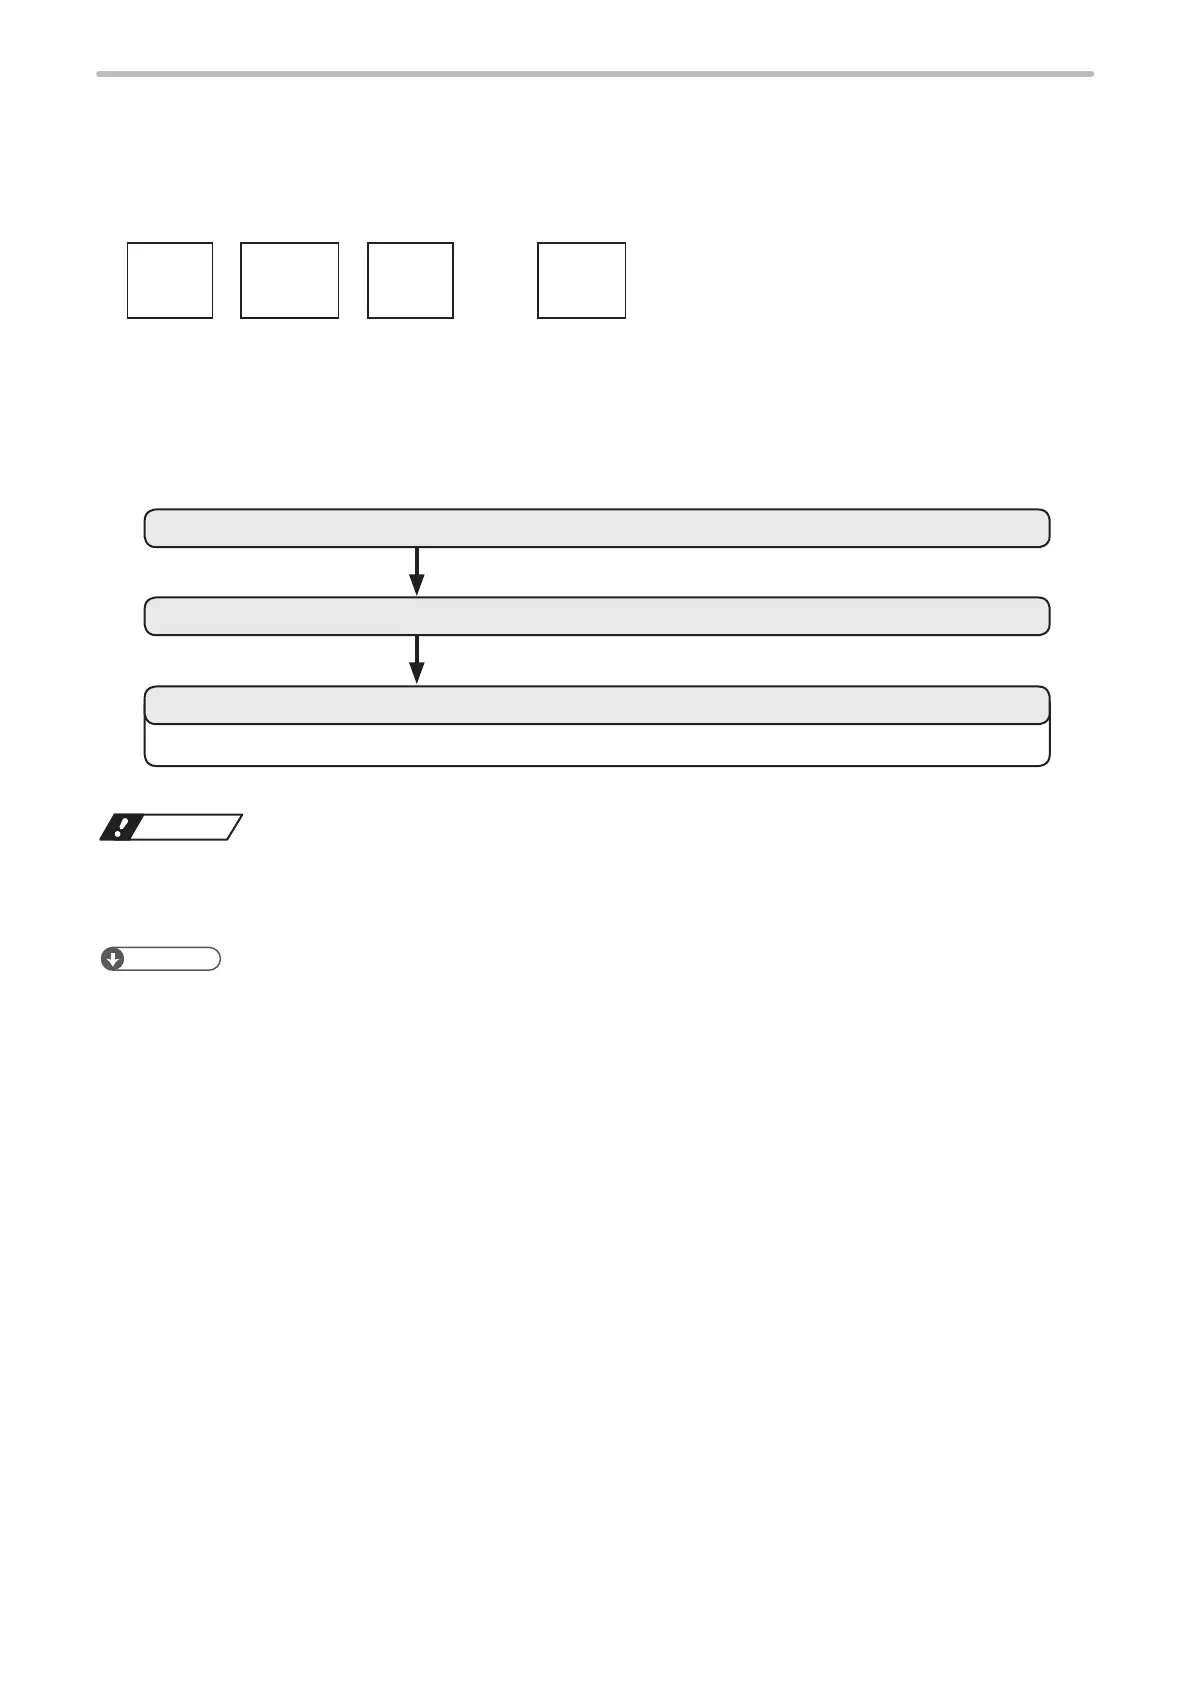
1-3-3 Mark Lot No.
Sample
January
February
March
December
JAN FEB MAR … DEC
Period : Current Date
Unit : Month
Set the lot No. to replace month data with the specied characters as above mentioned.
2. Input the function character of the lot.
1. Set the Lot.
Refer to “3. Set the marking layout” (P.19) and “4. Set the laser condition” (P.20), “1-2-3 Set the marking data” (P.17).
3. Set the conditions of the function character of the lot and laser.
Notice
• The following items, Date, Lot, and Expiry date are marked based on the internal clock of the laser marker.
The internal clock might be deviated caused by the error of the internal parts or degree of the battery drain. Therefore,
be sure to check the time of the internal clock before the operation.
Reference
• For details on the lot function, refer to “2-9-3 Lot” (P.122).
• By using “TIME HOLD IN” signal of the I/O connector pin No. 23, the functional characters such as date/time and lot
do not update and the laser marker marks the time and date at the point when the input was turned ON. For the TIME
HOLD IN function, refer to the “Safety / Setup / Maintenance Guide”.
 Loading...