Playing Back and Editing of Images – [Video Repair]
512
2
Select [Card Slot 1] or [Card Slot 2].
≥Press 34 to select, and then press or .
•
Video files that can be repaired are filtered.
3
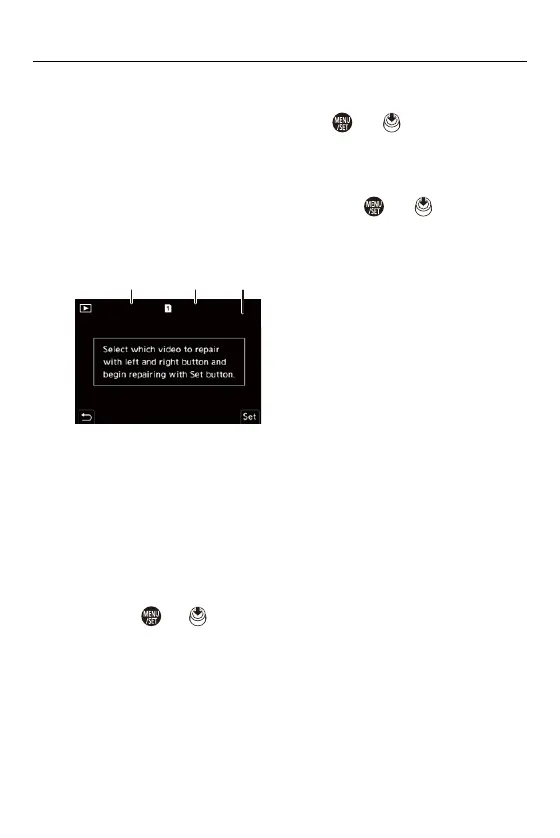
Select the video file to repair.
≥Press 21 to select a file and then press or .
•
Refer to the recording date and time (A), folder/file number (B), and video
recording time (C) to help with selecting the video file.
4
Select [Yes] on the confirmation screen.
• Video repair starts. Repair takes some time.
• The video file after repair is saved in the same folder as the file before repair.
Canceling Video Repair
Even if you cancel video repair, the file is not deleted, so the procedure can
be done over again later if required.
1 Press either or in the video repair progress screen.
2 Select [Yes] on the confirmation screen.
(B)(A) (C)
2023.12.1 10:00 100-0001 1/2
8m30s

 Loading...