ENGLISH - 27
Setting up
Installation mode
There are four ways to set up the projector. Set the [Display] menu → [Project way] (x page 51) depending on the
installation location.
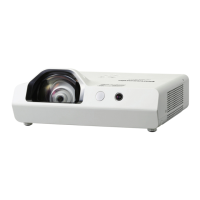
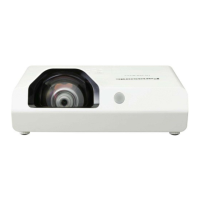
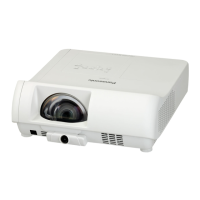
Setting on a desk/oor and projecting forward Setting on a desk/oor and projecting from rear
(Using the translucent screen)
Menu item Method Menu item Method
[Project way] [Front] [Project way] [Rear]
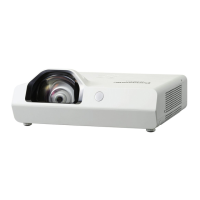
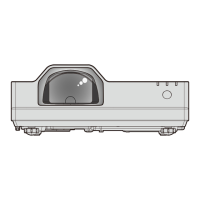
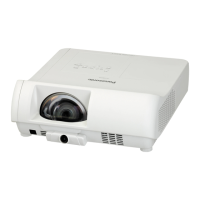
Mounting on the ceiling and projecting forward Mounting on the ceiling and projecting from rear
(Using the translucent screen)
Menu item Method Menu item Method
[Project way] [Ceiling/Front] [Project way] [Ceiling/Rear]
Parts for ceiling mount (Optional)
This requires an optional ceiling mount bracket. Be sure to use the Projector Mount Bracket together with the ceiling mount
bracket for high ceilings or low ceilings.
Model No.: ET-PKL100H (for high ceilings), ET-PKL100S (for low ceilings), ET-PKL430B (Projector Mount Bracket)
f Use only the ceiling mount brackets specied for this projector.
f Refer to the Installation Instructions for the ceiling mount bracket when you install the bracket and the projector.
Attention
f To ensure projector performance and security, installation of the ceiling mount bracket must be carried out by your dealer or
a qualied technician.
Chapter 2 Getting Started - Setting up