Using the Retrieval Software
HandiLaz Data Retrieval Software, Installing and Running
Page
E-10
Save all Data
1
Click the
Save All Records
button. The
Save Data
dialog box will open.
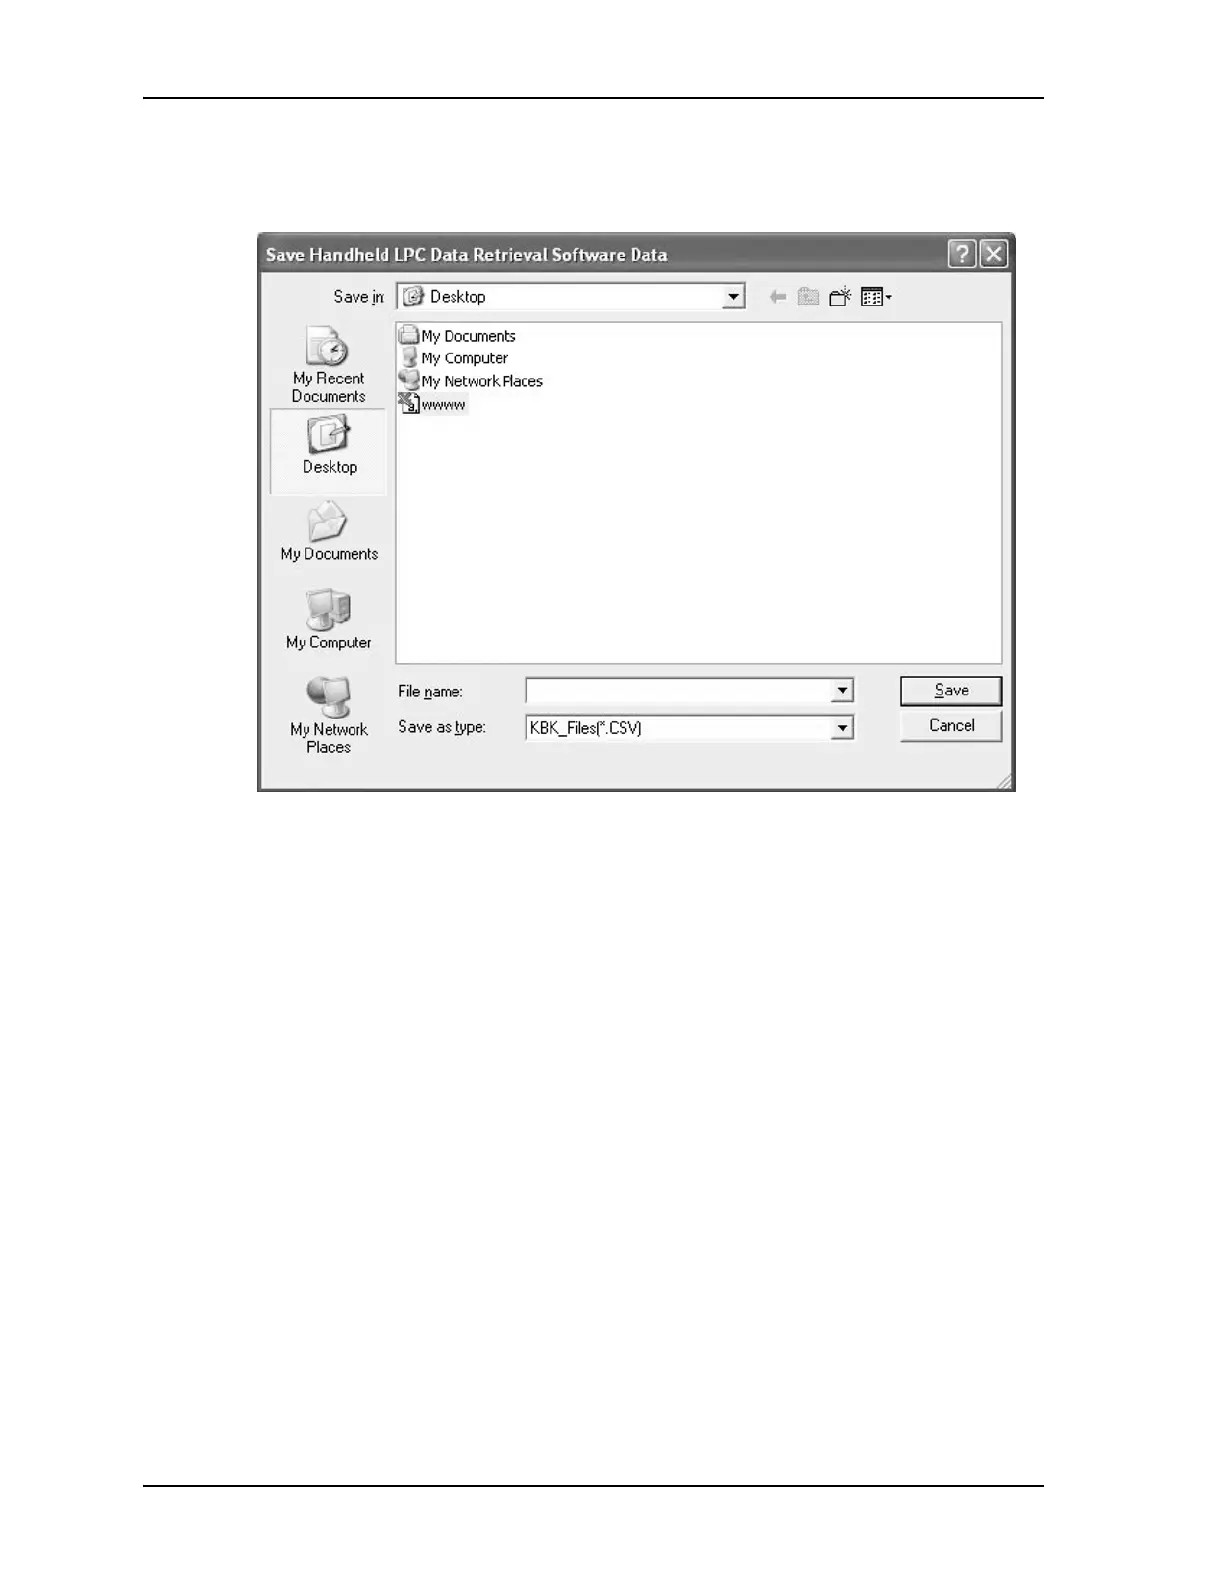
2
In the
Save as type:
field, select the
CSV
file type.
3
In the
File name:
field, change the file name as needed.
4
In the
Save in:
field, select the location the data will be saved to.
5
When all fields are correct, click the
Save
button. The data will be uploaded to
the PC as specified.
Save Data from a Time/Date Range
1
On the upper-right part of the Data Retrieval Software display, type the Start
Time: (date and time).
2
Type the Stop Time: (date and time).
3
Click on the
Data List
button. Only the data within the specified dates/times
will be displayed.
4
Click the
Save Selected Records
button. The Save Data dialog box will open.
5
In the
Save as type:
field, select the
CSV
file type.
6
In the
File name:
field, change the file name as needed.
7
In the
Save in:
field, select the location the data will be saved to.
Figure E-10: File Location, Name, and Extension