Statistics Mode OperationStatistics Mode Operation
LASAIR II Operator’s ManualLASAIR II Operator’s Manual
PagePage
8-158-15
When Using Auto-selection of User-created Location NamesWhen Using Auto-selection of User-created Location Names
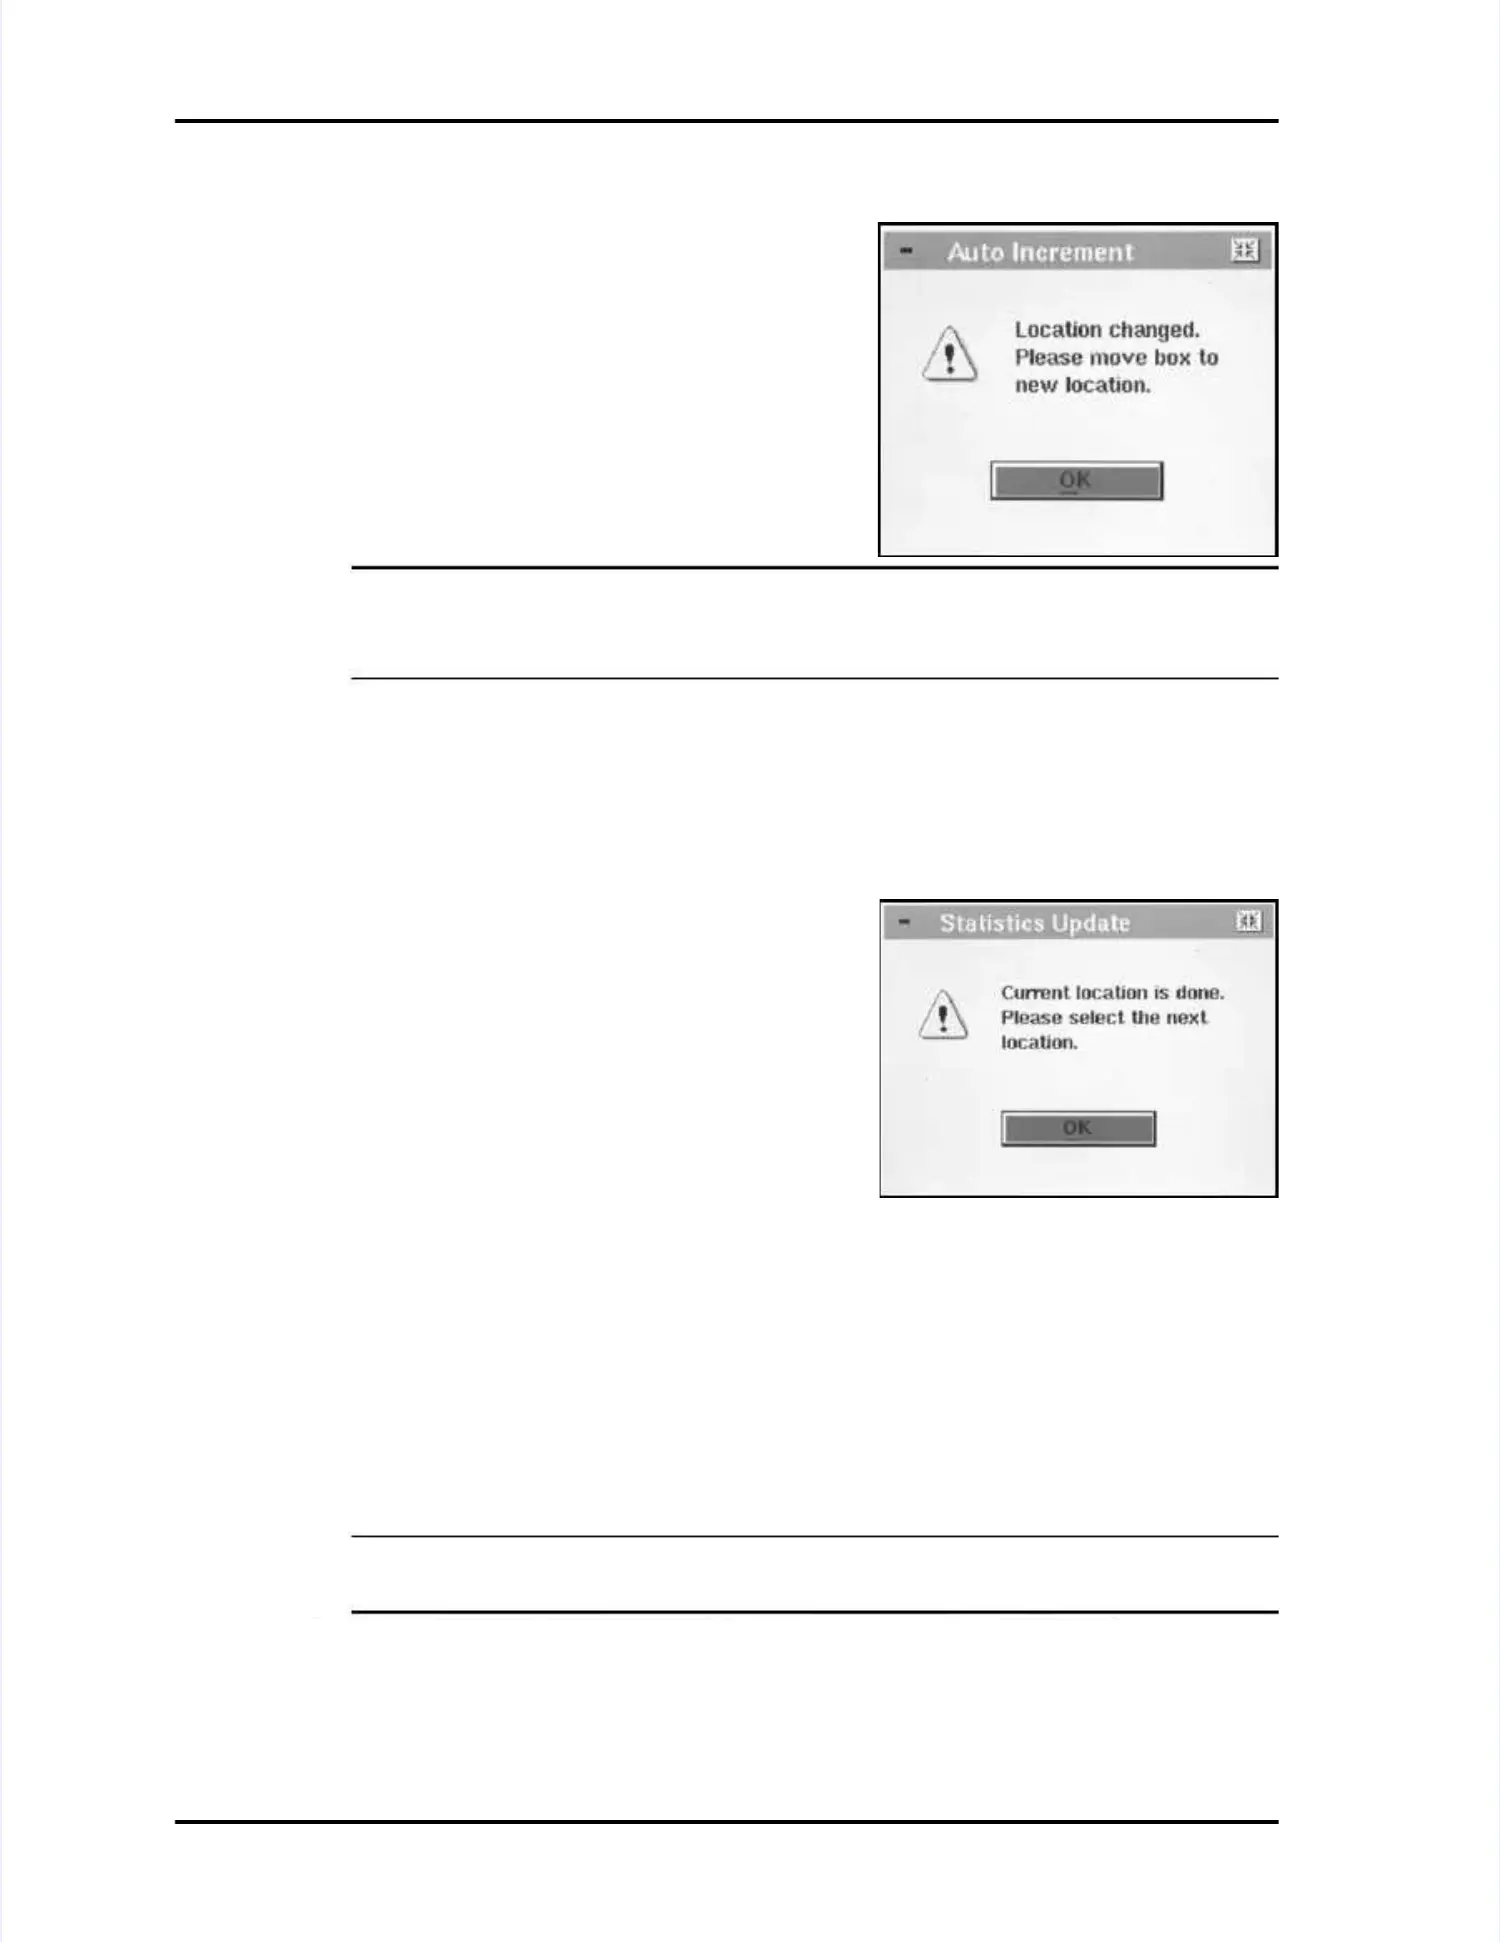
When the sample is complete, the When the sample is complete, the followingfollowing
dialog box will display:dialog box will display:
To continue sampling:To continue sampling:
11 Move the LASAIR II to the next Move the LASAIR II to the next location.location.
22
Acknowledge the dialog box by pressingAcknowledge the dialog box by pressing
thetheEnterEnterbutton.button.
NOTE:NOTE:
On theOn theMain DisplayMain Display, observe that LASAIR II has changed the, observe that LASAIR II has changed the
location name to the next name location name to the next name in sequence. Example: from “Room 1 Col B12”in sequence. Example: from “Room 1 Col B12”
to “Room 1 Col B15.”to “Room 1 Col B15.”
33 Start the next sample by pressing theStart the next sample by pressing the StartStartbutton.button.
44
Repeat steps 1–3 until the Repeat steps 1–3 until the LASAIR II notifies you that all samples are complete.LASAIR II notifies you that all samples are complete.
When Not Using the Auto-increment ModeWhen Not Using the Auto-increment Mode
If you have not enabled auto-increment, theIf you have not enabled auto-increment, the
following dialog box will be displayedfollowing dialog box will be displayed
when sampling is completed at a locawhen sampling is completed at a location:tion:
To select the next location name andTo select the next location name and
continue sampling:continue sampling:
11 Press thePress theEnterEnterbutton to close thebutton to close the StatisticsStatistics
UpdateUpdatedialog box.dialog box.
22 Open theOpen the Sampling SetupSampling Setupscreen.screen.
33 Press thePress theEnterEnterbutton to activate the edit mode. The location selection box button to activate the edit mode. The location selection box willwill
be active when the screen changes to the edit mode.be active when the screen changes to the edit mode.
44 Use the up and down Use the up and down arrow buttons to highlight the location name you arrow buttons to highlight the location name you want towant to
use for the next sample.use for the next sample.
55 Accept the location name and navigate to theAccept the location name and navigate to theMain DisplayMain Display..
66 Move the LASAIR II to the location that matches the location name you haveMove the LASAIR II to the location that matches the location name you have
selected.selected.
NOTE:NOTE:
YYou could have moved the LASAIR II to the ou could have moved the LASAIR II to the next location at any pointnext location at any point
before pressing thebefore pressing the StartStartbutton.button.
77
Ensure that the proper location appears on Ensure that the proper location appears on the display and then pthe display and then press theress the StartStart
button to collect the next samplebutton to collect the next sample
 Loading...