26 On-ScreenStatusDisplays
A status displaywill appear when you press the STATUS/EXITbut-
ton or certain function buttons.The contents of the status dis-
playwill vary.To choose the status display mode, follow the
steps below.
If you select STATUS ON, then select COUNTER ONLY
OFF:
Whenever you press the STOP/v button or the PLAY/A but-
ton, the status displaywill appear for five seconds.Portions of
the status display also mayappear when you press other func-
tion buttons.
If you select STATUS ON, then select COUNTER ONLY
ON:
Whenever you press the PLAY/A button, the status displaywill
appear for five seconds.After five seconds,only the counter will
remain on the screen. Portions of the status displayalso may
appear when you press other function buttons.
If you select STATUS OFF:
The status display will not appear when you press function but-
tons.You must press the STATUS/EXIT button to seethe status
d_,olay.
!
Press the MENU button.
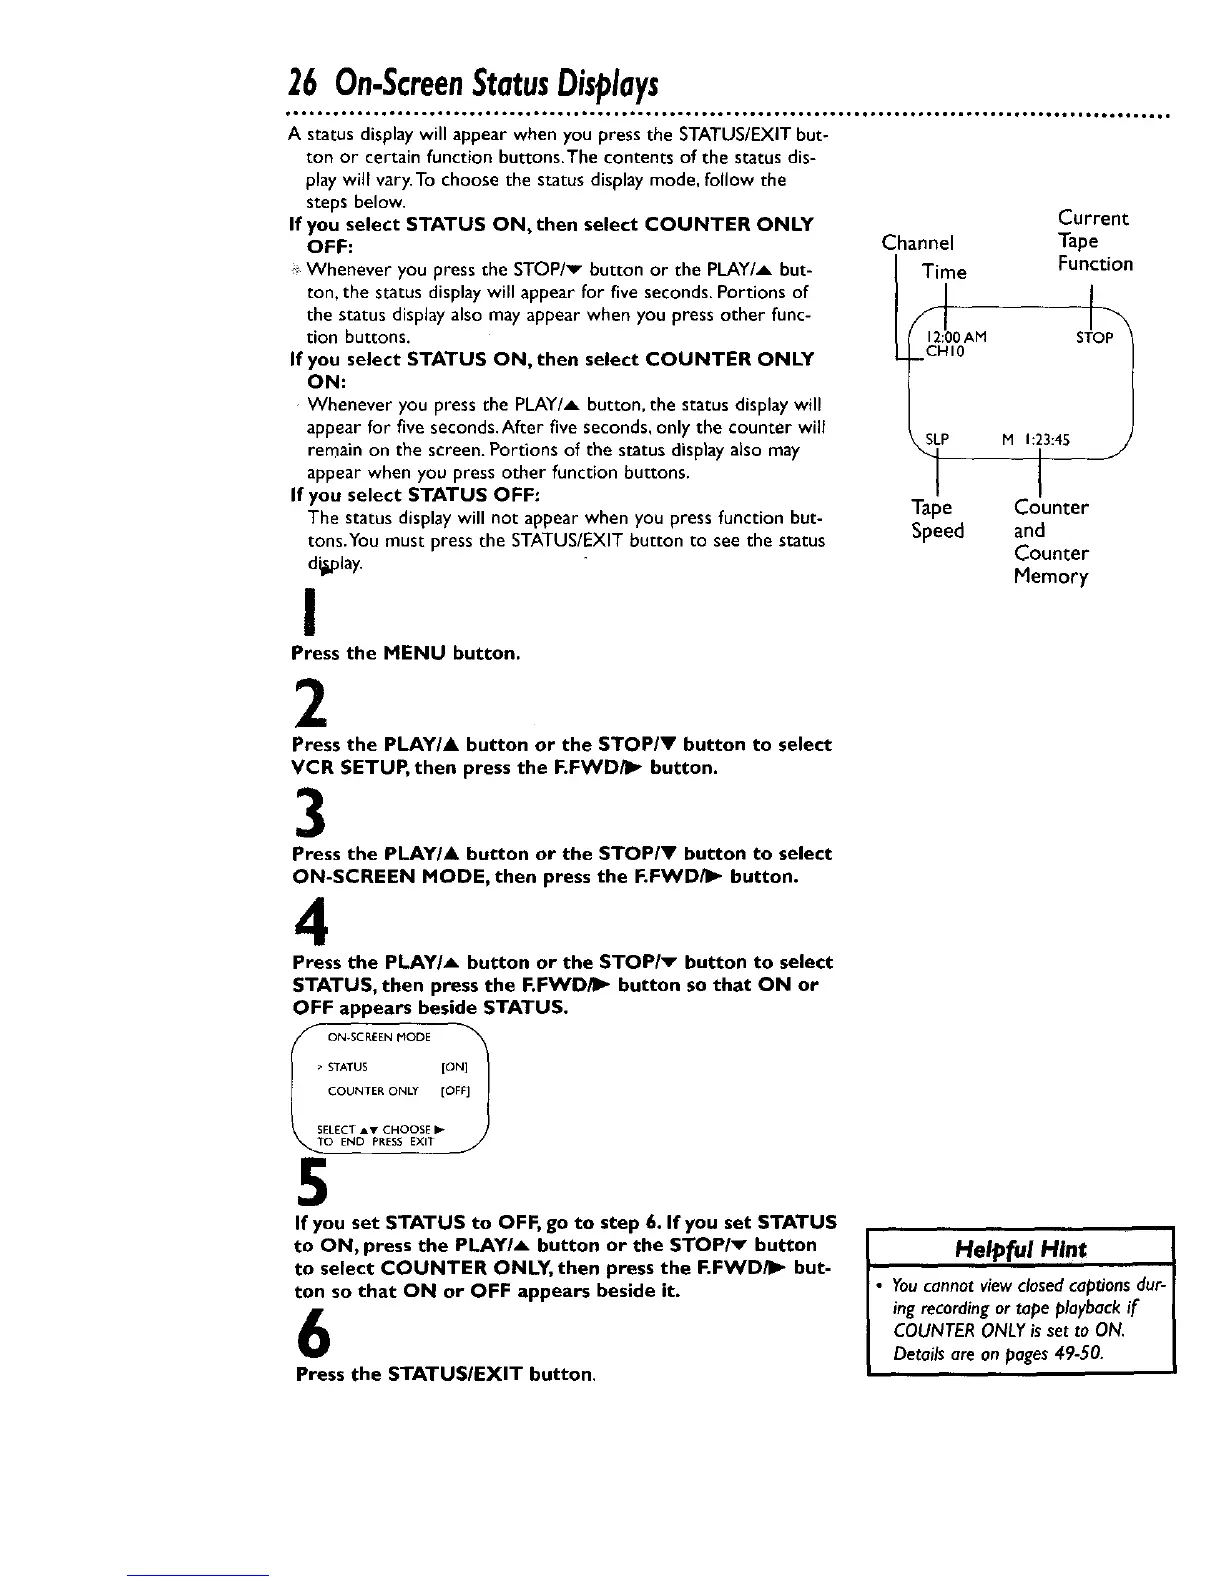
Current
Channel Tape
Time Function
Jo1
12:00 AM S
CHI0
M 1:23:45
I
"1-__e Counter
Speed and
Counter
Memory
2
Press the PLAY/& button or the STOP/V button to select
VCR SETUP, then press the F.FWD/I_ button.
3
Press the PLAY/A button or the STOP/V button to select
ON-SCREEN MODE, then press the F.FWD/I_ button.
4
Press the PLAY/A button or the STOP/v button to select
STATUS, then press the F.FWD/_ button so that ON or
OFF appears beside STATUS.
> STATUS [ON]
COUNTER ONLY [OFF]
SELECT AY CHOOSE _"
O END PRESS EXIT
5
If you set STATUS to OFF, go to step 6. If you set STATUS
to ON, press the PLAY/_ button or the STOP/_ button
to select COUNTER ONLY, then press the F.FWD/I_ but-
ton so that ON or OFF appears beside it.
6
Press the STATUS/EXIT button.
Helpful Hint
• You cannot view closed captions dur-
ing recording or tape playback if
COUNTER ONLY is set to ON.
Details are an pages 49-50.
I