14 SETTINGS
User’s Manual Planmeca ProOne 97
Touch the
Save images on USB memory stick
field to
switch the function on. To switch the function off, touch
the field again. The field will be shown highlighted (green)
when the function is switched on.
Accept your selection by touching the green check mark
button in the bottom right corner of the display. To exit the
display without saving the changes, touch the red cross
button in the bottom left corner of the display.
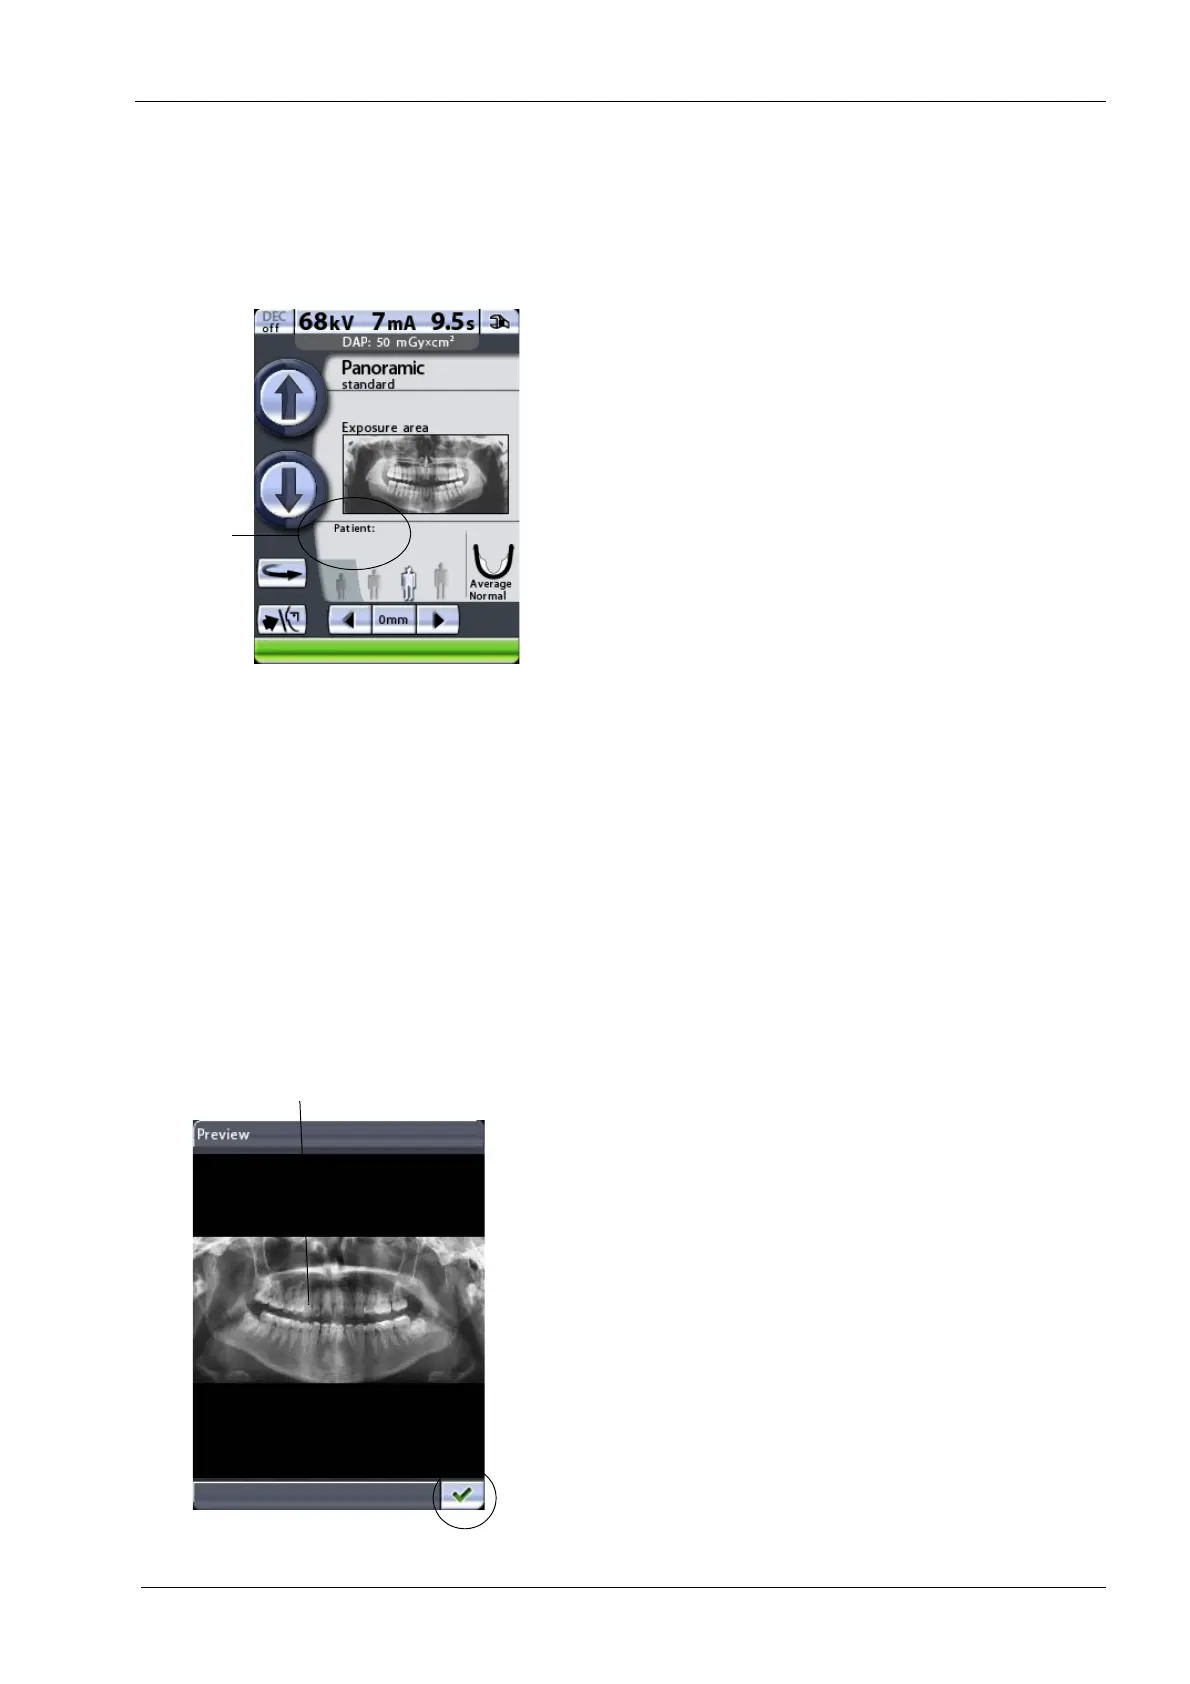
The
Patient
field will appear on the main display when the
Save images on USB memory stick
function is switched
on. Enter the patient name as described in section 9.6
“Entering patient name” on page 32. The patient name will
be shown in the image list on the
Imaging without PC
(P2600)
display.
We recommend that you always enter the patient name
before you take an exposure. This will ensure that images
of different patients cannot be mixed up.
When you take an exposure the image will be saved on
the USB memory stick and not on the computer. Note,
however, that the saving process will now take a few
seconds longer and you should not switch the X-ray unit
off immediately after you have taken an exposure. When
using a USB memory stick, wait for approx. 15 seconds
before you switch the X-ray unit off after exposure.
When you have taken an exposure the image information
(date, time, patient name if used) will be shown in the
image list on the
Imaging without PC (P2600)
display.
Use the up or down arrow to select an image from the list.
The selected image will be shown highlighted. You can
then use the function buttons at the bottom of the display:
•Preview
Touch the Preview button to see a preview of the selected
image on the control panel display.
The preview image can be zoomed in and out to resize it,
or dragged to move the image on the display. Touching
the image will zoom in and show you the image in more
detail at the point that was touched. Touching the image
again will zoom out and bring you back to the original
size. Dragging the zoomed image with your finger will
move the image in the desired direction on the display.
Touch the green check mark button in the bottom right
corner of the
Preview
display to return to the
Imaging
without PC (P2600)
display.
Touch = Zoom in
Touch again = Zoom out
Drag = Move zoomed image along display