INSTALLING THE CUSPIDOR
24 Planmeca Sovereign
Installation manual
6.2 Dental units with fixed base: Changing the cuspidor installation position
(right-handed/left-handed)
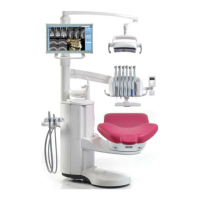
The dental unit is fully symmetrical enabling either right-handed or left-handed installation.
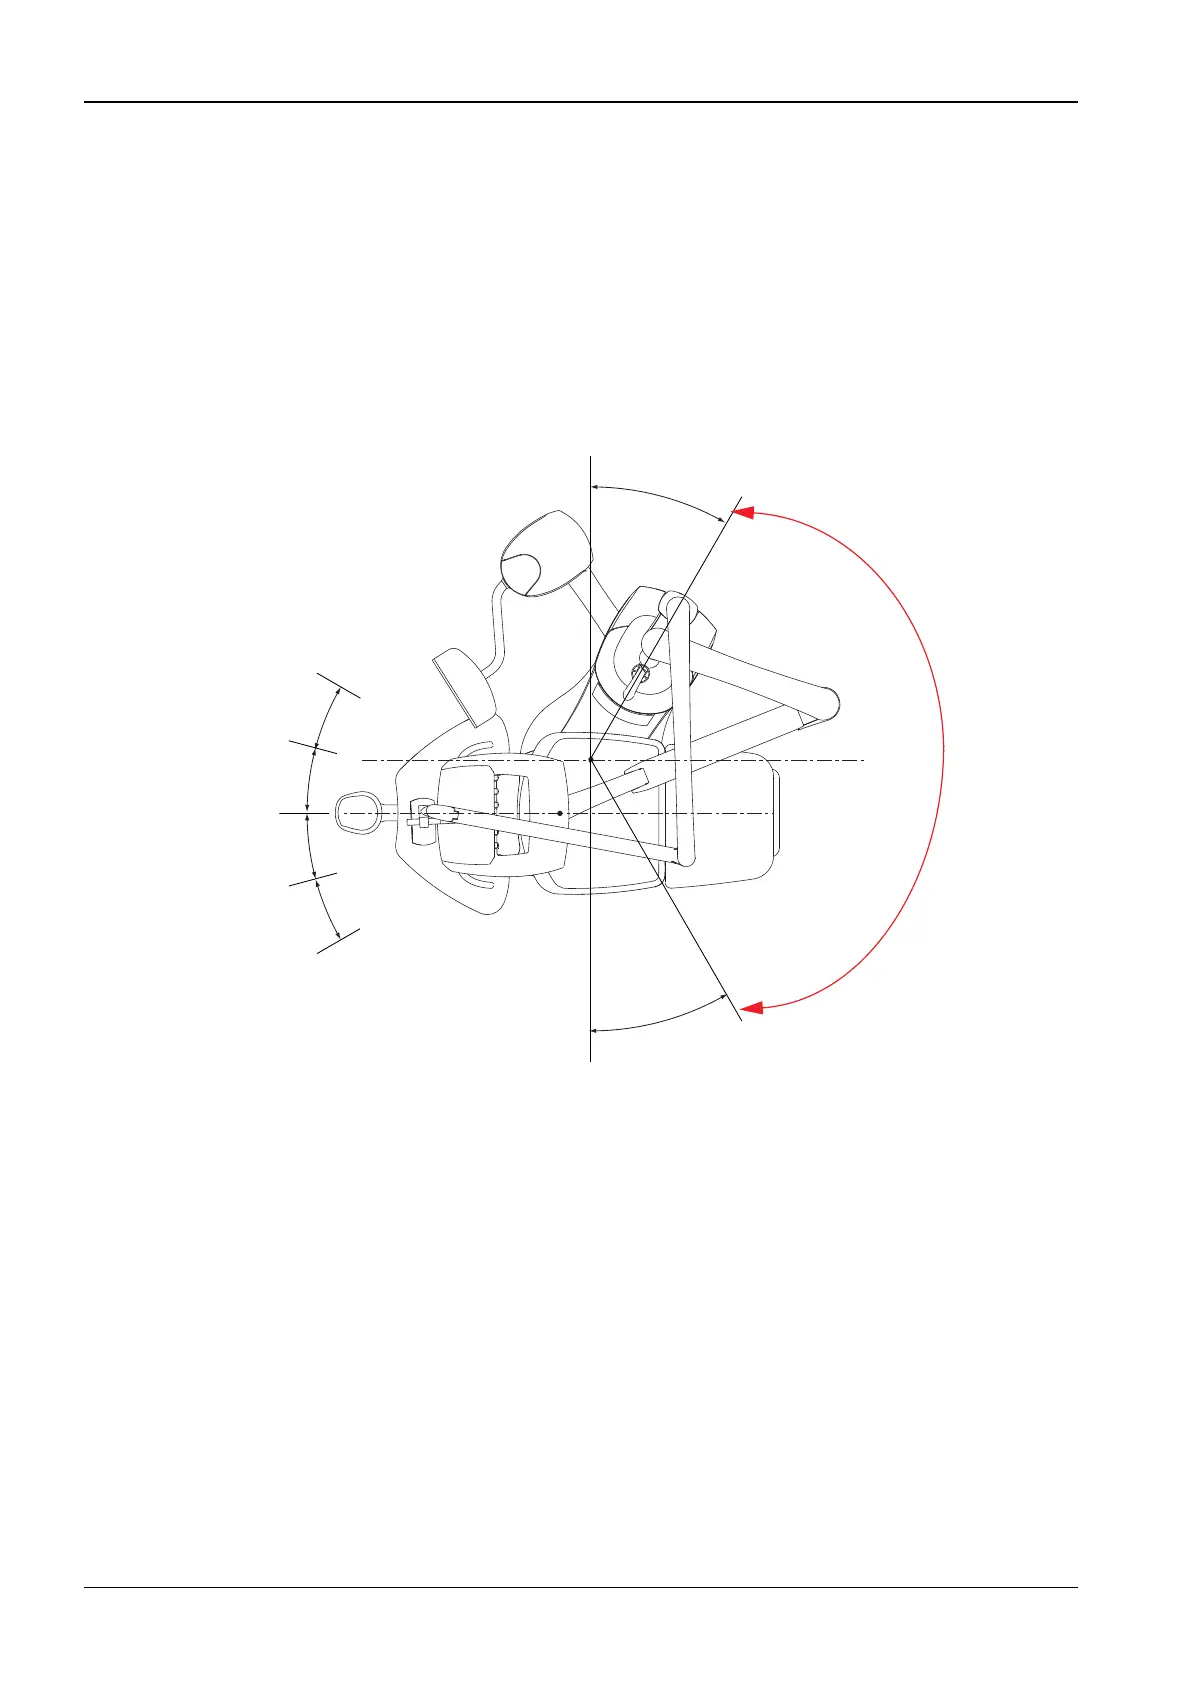
The angle of the cuspidor can be chosen from four predetermined positions, and the angle of
the patient chair can be chosen from six predetermined positions (3 positions / handedness).
All positions are locked during installation and can not be changed during operation.
The dental unit installation positions are presented below:
NOTE The cuspidor is in CR1 position in the transport packing.
NOTE Change the cuspidor position before removing the transport handles.
CAUTION Aways rotate the cuspidor from right-handed to left-handed position COUN-
TERCLOCKWISE and vice versa. DO NOT ROTATE THE CUSPIDOR IN AREA
MARKED TO THE FIGURE ABOVE. Rotate the cuspidor up 240°.
30°
30°
Installation positions for cuspidor (C);
right-handed (R) installation
CR1
CR2
CL1
CL2
Installation positions for cuspidor (C);
left-handed (L) installation
Installation positions for patient chair (P);
right-handed (R) installation
Installation positions for patient chair (P);
left-handed (L) installation
15°
15°
15°
15°
PL3 / PR3
PL2
PL1
PR2
PR1
Do not rotate the cuspidor
in this area.