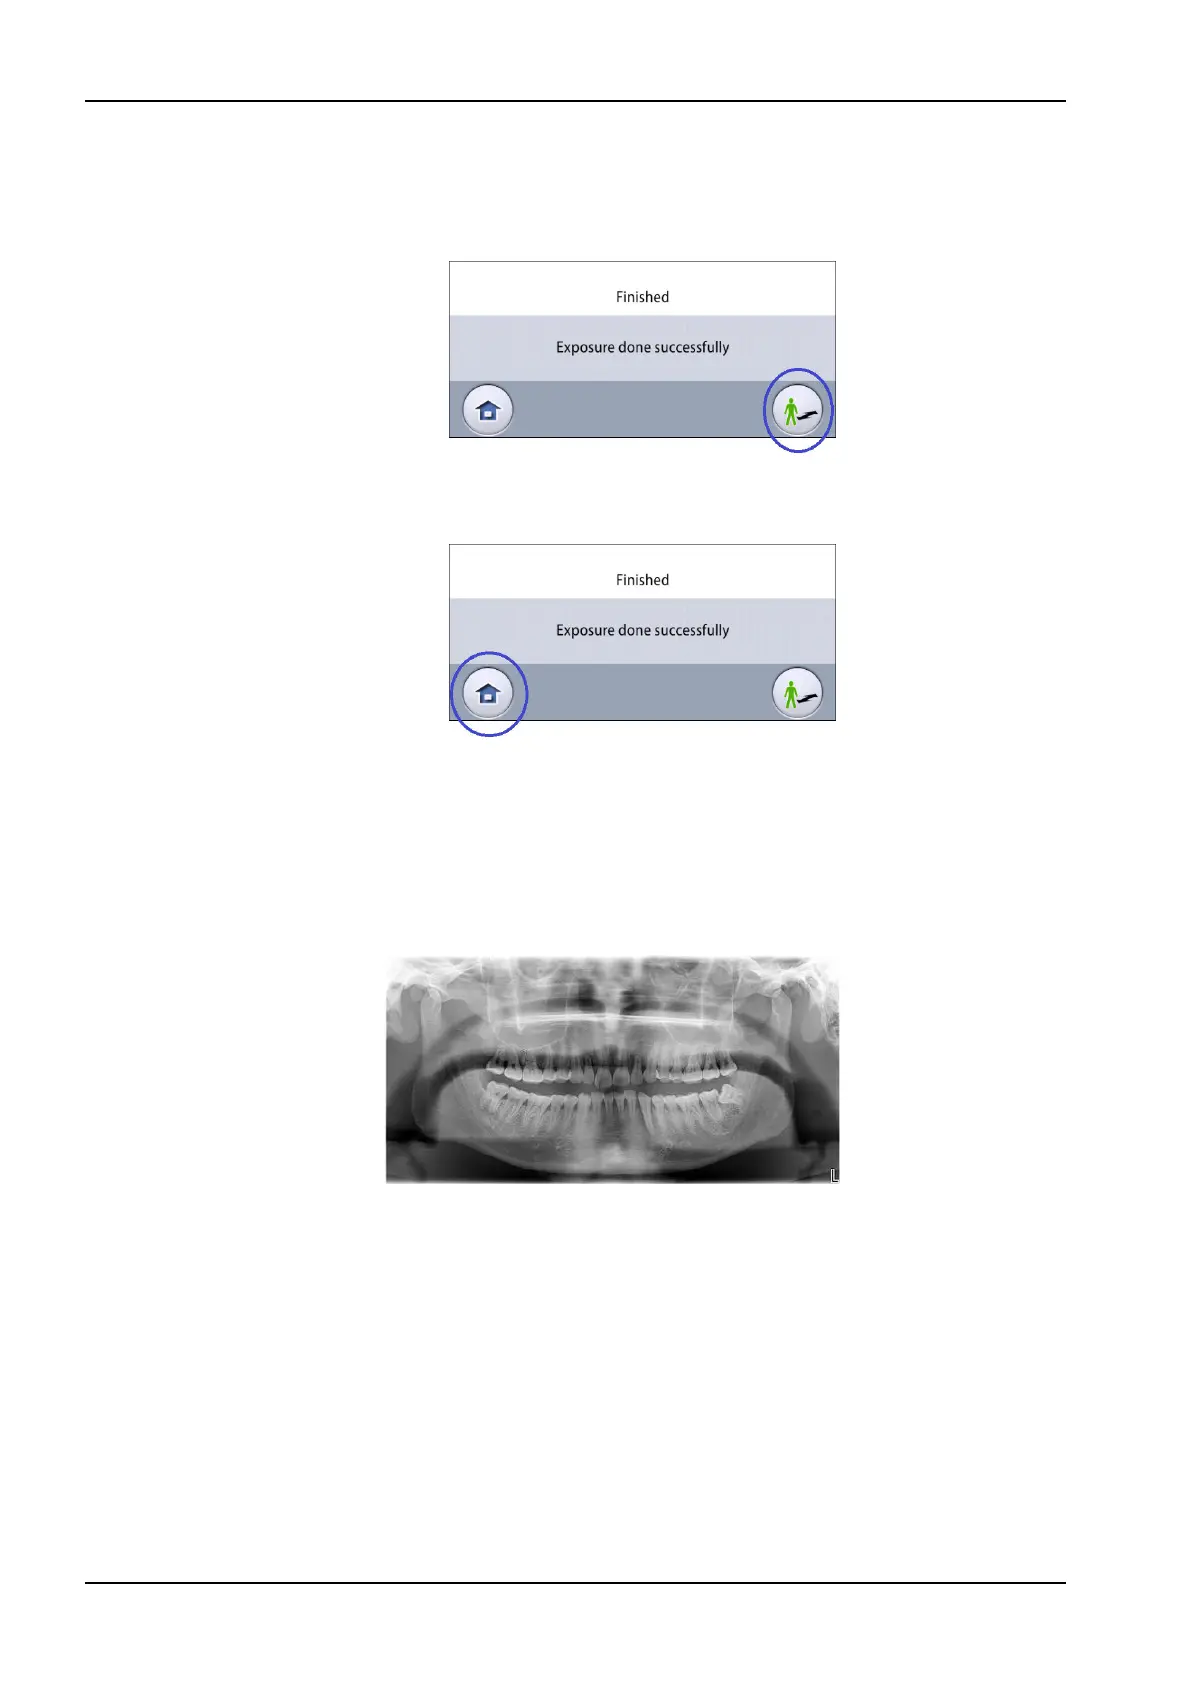
4. You see this message on the touch screen.
• Select this button if you want to retake the exposure with the same
settings.
• Select this button if you want to go to the home screen.
5. Release the patient from the head support.
6. Guide the patient away from the X-ray unit.
7. The image is shown on the computer screen.
Results
The image is shown on the computer screen.
10.6.2 2D View exposure
Before you begin
Make sure that you have selected the correct patient in the Planmeca
Romexis program.
About this task
Follow these steps to take a 2D View exposure.
Steps
1. Make the necessary selections on the 2D View screen, for example PA
image, LAT image or both.
10 2D exposure
46 Planmeca Viso User's manual