3.15
ENGINE
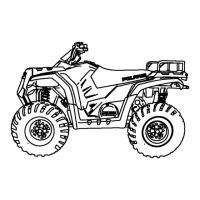
15. Remove rear plate (lower control arm bolts) and upper
control arm bolts.
16. Remove rear shocks.
17. Remove rear suspension (both sides) with drive
shafts.
18. Rear lower engine mount
19. Sub frame bolts (2 each side)
20. Remove sub frame.
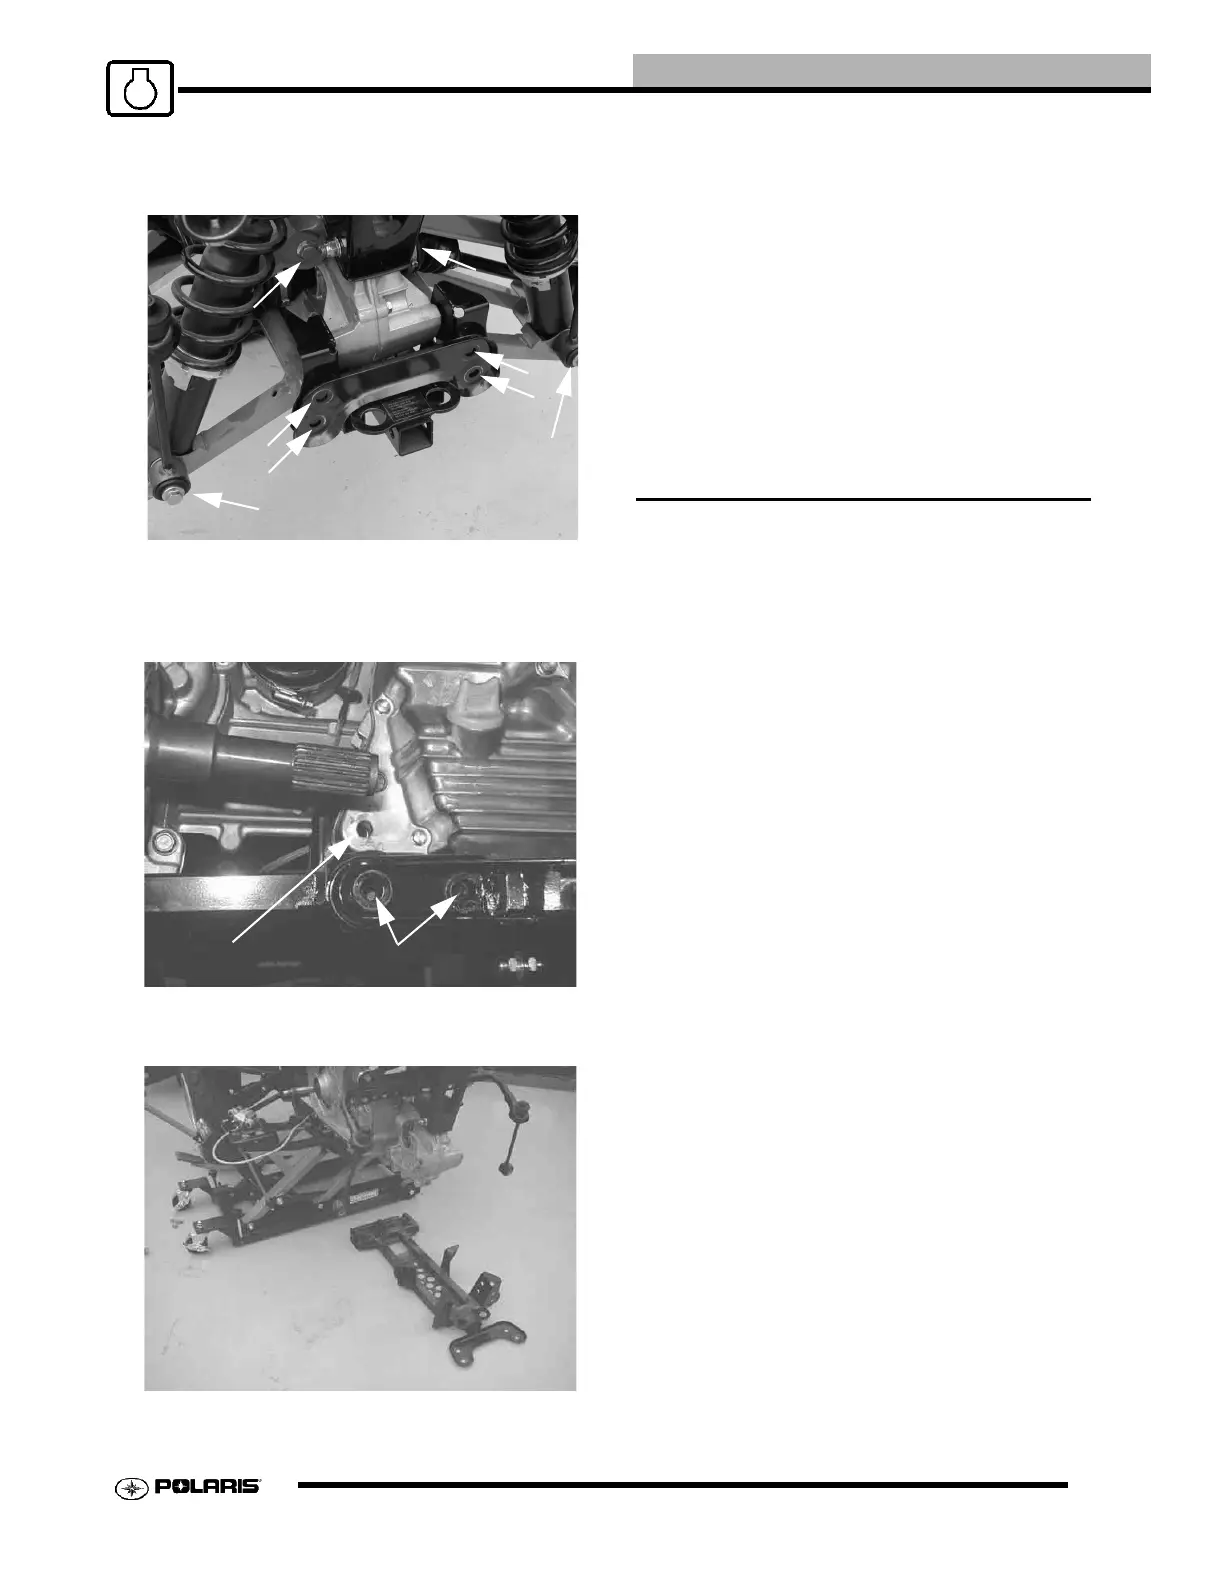
21. Support transmission with another jack.
22. Loosen, but do not remove the 4 bolts from the rear
transmission hanger bracket.
23. Remove (9) transmission-to-engine bolts.
24. Remove the top 2 rear bracket bolts.
25. Carefully lower the transmission jack until rear bracket
is clear of frame.
26. Slide transmission to the left until alignment pins in
cover are release from engine case.
27. Remove transmission out to the left side.
28. Remove sway bar bracket from transmission.
29. Refer to transmission disassembly in CVT/
Transmission Chapter 8.
TRANSMISSION INSTALLATION NOTES
1. Install new gasket on engine
2. Install transmission to engine until alignment pins are
engaged, and screw in 4 bolts to hold in place but do
not completely tighten at this time.
3. Loosely install upper frame mount bolts and all
subframe bolts.
4. Install all remaining transmission-to-engine crankcase
bolts and tighten all in 2 steps to specified torque
following a cross pattern.
5. Tighten subframe to main frame bolts (4) and rear
engine mount bolts.
6. Tighten rear upper bracket bolts.
7. Tighten rear upper bracket bolts.
Rear mount
2 both sides
 Loading...