3.31
ENGINE
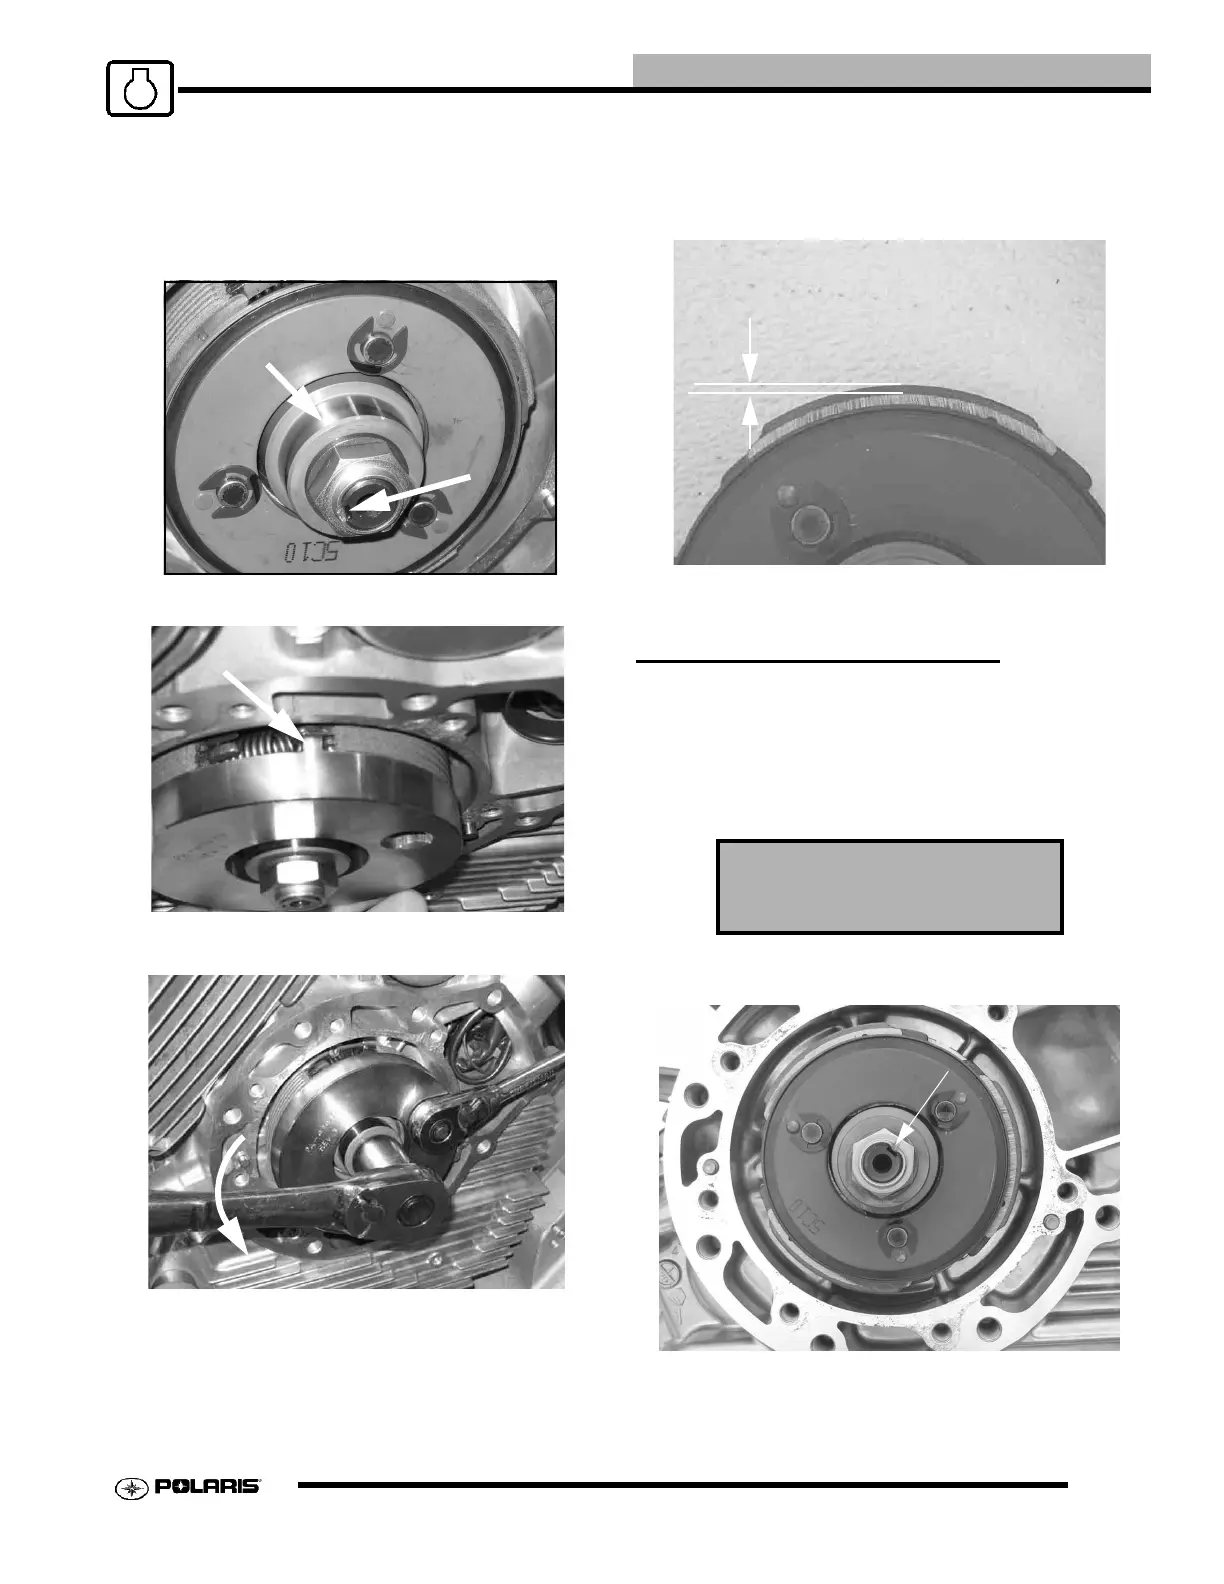
5. Open the staked portion of the nut (A) with a center
punch. Inspect the one-way clutch hub surface on the
starting clutch (B). The hub must be smooth without
any nicks or burrs. Replace the starting clutch
assembly if the one-way clutch hub is uneven or
damaged
6. Install the starting clutch holder (PA-47457) onto the
starting clutch and engage the tabs (C).
7. Remove the nut (counterclockwise). This is a standard
thread.
8. Inspect the shoes and springs of the starting clutch.
Measure the thickness of the friction material on the
shoes as shown, from the bottom of the friction
material to the top at the thinnest point.
STARTING CLUTCH ASSEMBLY
1. Clean the mating surfaces of the crankcase and clutch
starting clutch housing to remove all gasket material.
2. Install the starting clutch on the shaft.
3. Start a NEW stake nut on the shaft.
4. Install the starting clutch holder on the clutch.
5. Torque the nut to specification.
6. Use a center punch or a pin punch to thoroughly stake
the nut at the depression in the shaft.
Inspect entire surface of
one-way clutch hub.
A
B
C
Starting Clutch Stake Nut:
103-118 ft. lbs. (140-160 Nm)
Standard Thickness: .100” (2.54mm)
LIMIT: .039” (1.00mm)
 Loading...