Note: K1 and K2 are 2 groups of contactors in the electric control part of the laser. The
number of contactors in each group shall be subject to the actual laser of each power. For an
example, RFL-C20000TZ laser’s K1 and K2 are used with two 50A contactors and one 32A
contactor in parallel, and used six signal terminals in series.
4.7 Start Operation Sequence
a) Turn on the water cooler, check whether the water pipe is leaking, turn off the water cooler and
connect electrically.
b) Make sure the circuit breaker is in a OFF state and the stop button on the front panel of the laser
EMERGENCY STOP pressed; all electrical connections must be completed before the laser is
powered on.
c) Confirm that the three-phase electrical connection is correct and the power supply meets the
specifications of the power supply.
d) Close the rear panel circuit breaker, release the laser front panel emergency stop switch; turn on
the key switch, and the laser has a temperature and humidity alarm, turn off the key switch.
After the air conditioner works for 10 minutes, turn on the key switch again. Wait for the air
conditioner to continue working for 10 minutes until the temperature and humidity alarm of the
laser does not appear, at this time, turn off the key switch and turn on the water cooler; ensure
that all laser doors are closed, optical cable output head has been inserted into the cutting head
(or corresponding equipment), all interlock interfaces have been closed;
e) Select the required control mode according to “5. Control Mode Selection”, turn on the key
switch, start the main power supply waiting for the laser to Ready, the laser Ready, the tricolor
green light above the machine, representing that the laser can emit light.
5 Control Mode Selection
The Raycus high-power CW laser has two control modes: namely ON mode and REM mode.
Users can select the mode to be entered through the key on the front panel.
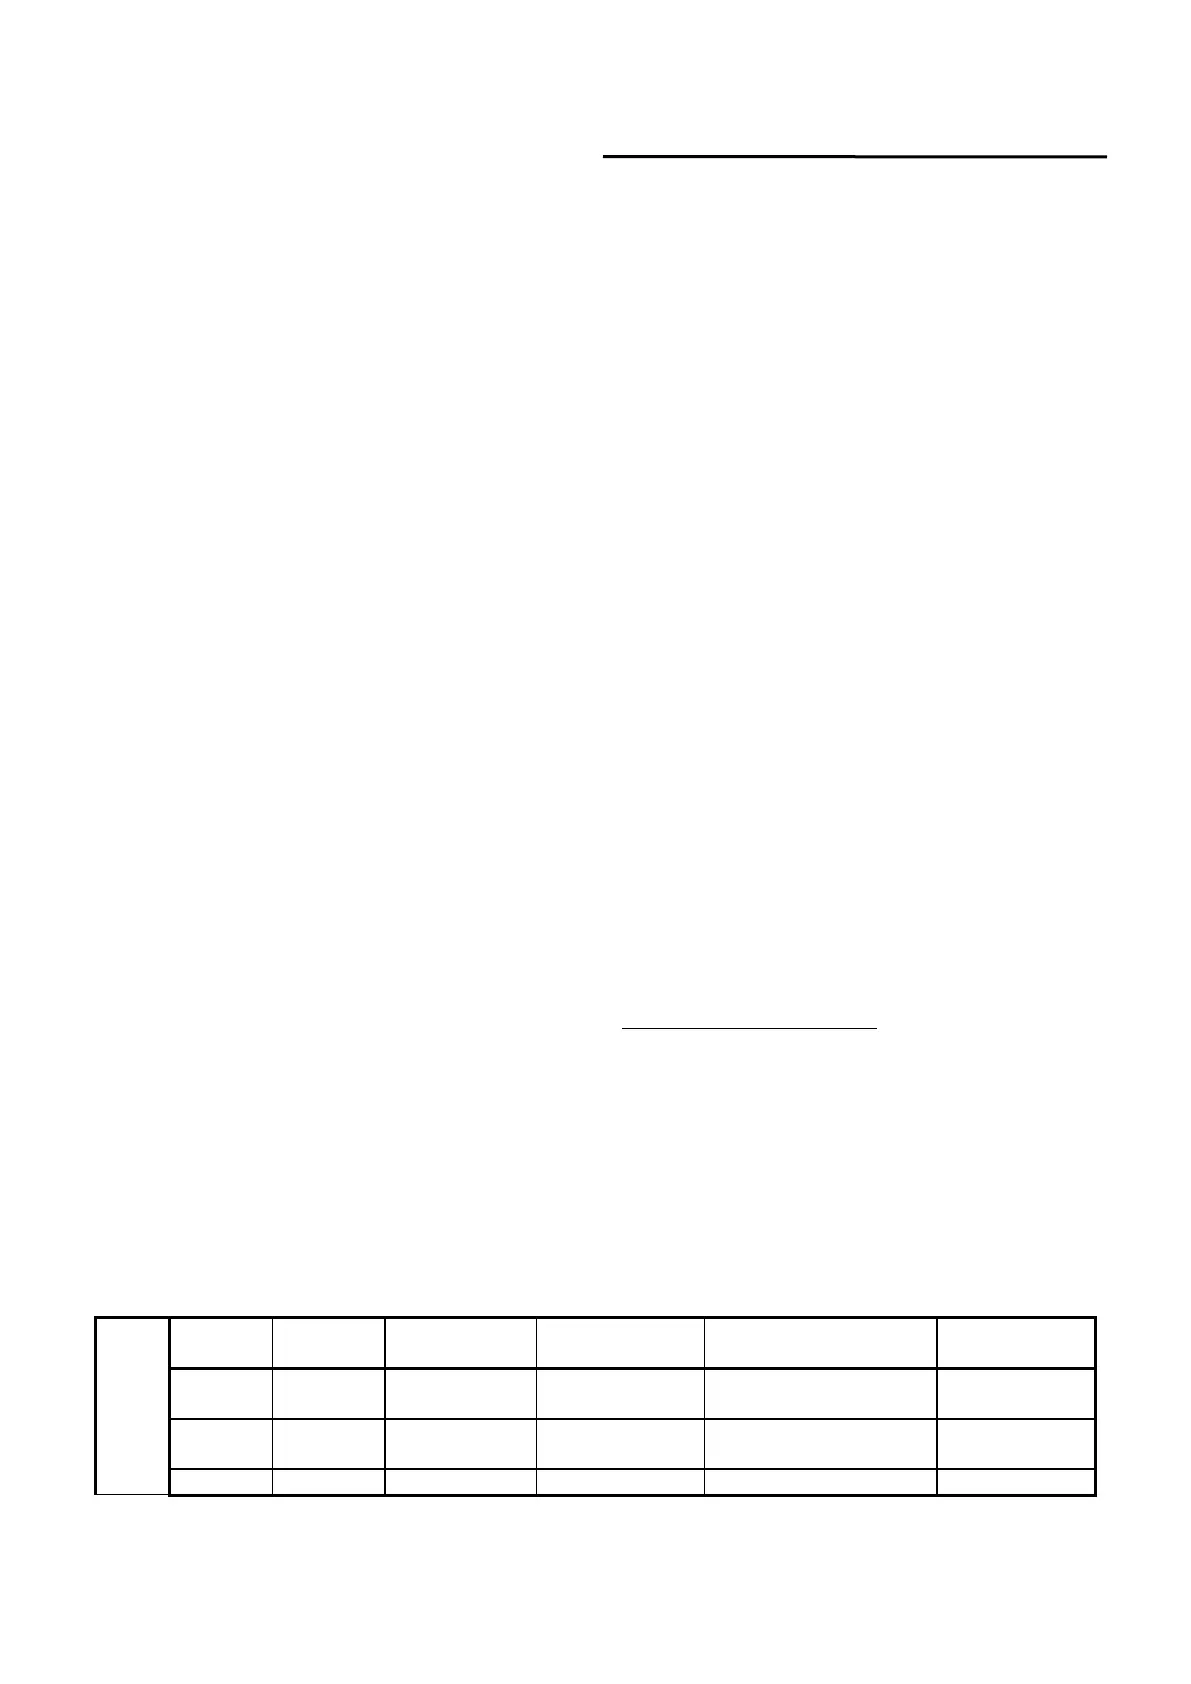
Table 11 Function of ON and REM mode
 Loading...