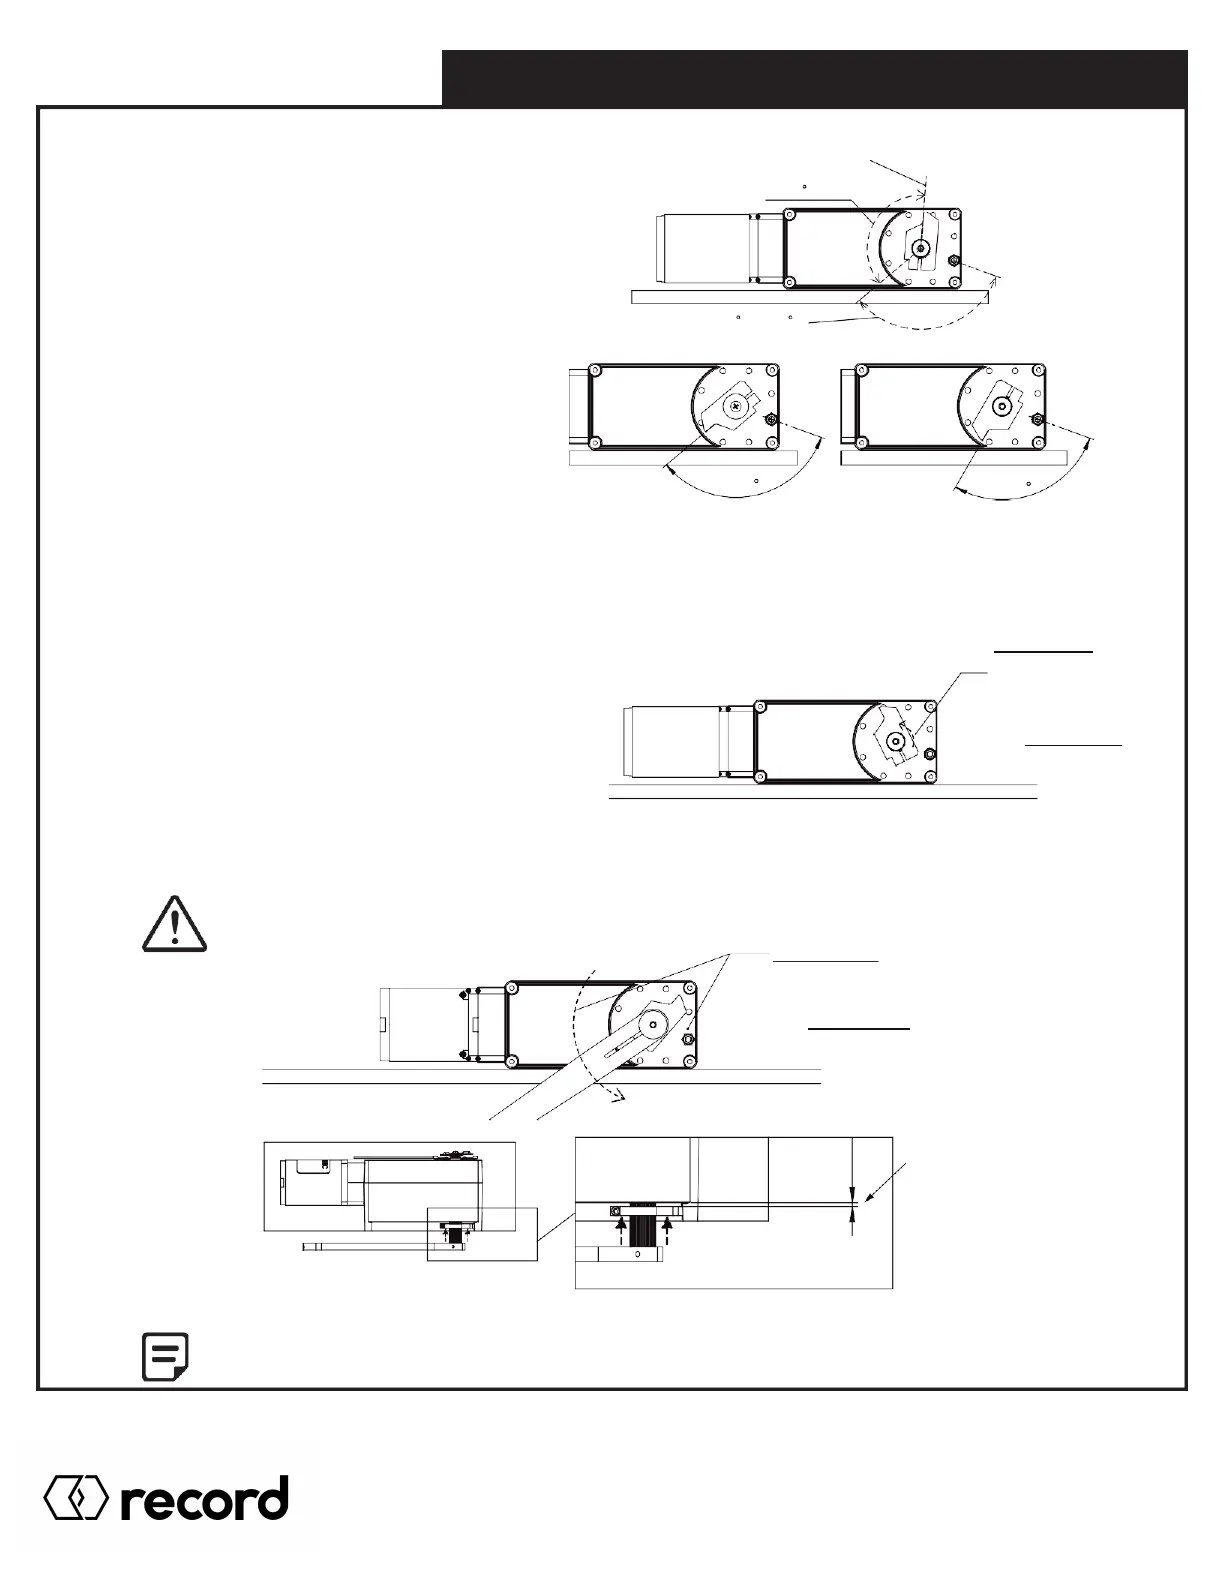
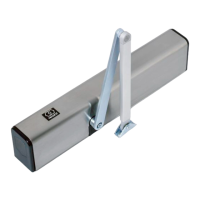
STEP 3 - Adjust Stopper Position
To add more closing force to the door, you must
re-insert the spline stop onto the shaft. The
recommended maximum position is about a
third of a turn (~135 degrees) as shown below.
Anything beyond this point puts excessive stress
on the spring, and also exceed AAADM
recommendation of closing force.
ADDING SPRING TENSION,
MAX POSITION
135 MAX
120 OR 90
DEPENDING ON SPRING
STEP 4 - Eliminate Spring Slack
“W5-105” REGULAR SPRING
FACTORY DEFAULT POSITION
“W5-106” XP SPRING
FACTORY DEFAULT POSITION
Once the spline stop is in the appropriate position, eliminate the existing spring slack by hand manually turning the spline
stop towards the nut.
For Right Hand operator, turn the spline stop counter clockwise towards the nut.
For Left Hand operator, turn the spline stop clockwise towards the nut.
This step is to ensure the spring is tight from the get go,
and does not lose any tension (closing force) after wind.
RH OPERATOR
TURN SPLINE STOP
COUNTER CLOCKWISE
MANUALLY TO ELIMINATE
SLACK IN SPRING.
FOR LH OPERATOR,
TURN CLOCK WISE.
STEP 5 - Add Spring Tension
Using the operator arm, wind the stop until it is above the nut.
Remember to secure operator as injury may occur while adjusting spring tension,
if operator not held in place.
RH OPERATOR
USING OPERATOR ARM,
WIND COUNTER CLOCK WISE
UNTIL STOPPER IS ABOVE NUT.
FOR LH OPERATOR,
WIND CLOCK WISE.
0.125in
3.18mm
After adjustment, reinstall operator and other components as shown in section 2.0 and onward.
Pg. 42
HA8-SP Manual V. 7.0
Record Canada Inc.
Toll Free: 1-877-348-6837
info.ditec.ca@recorddoors.com
www.recorddoors.ca
Record USA Inc.
Toll Free: 1-866-901-4284
info.ditec.us@recorddoors.com
www.recorddoors.com