38
TighteningtheY-guiderails
Move the X-guide rail forward and back in the Y-direction several
times.
ObservethattheguidecarriagesdonotslidefromtheY-guiderail.
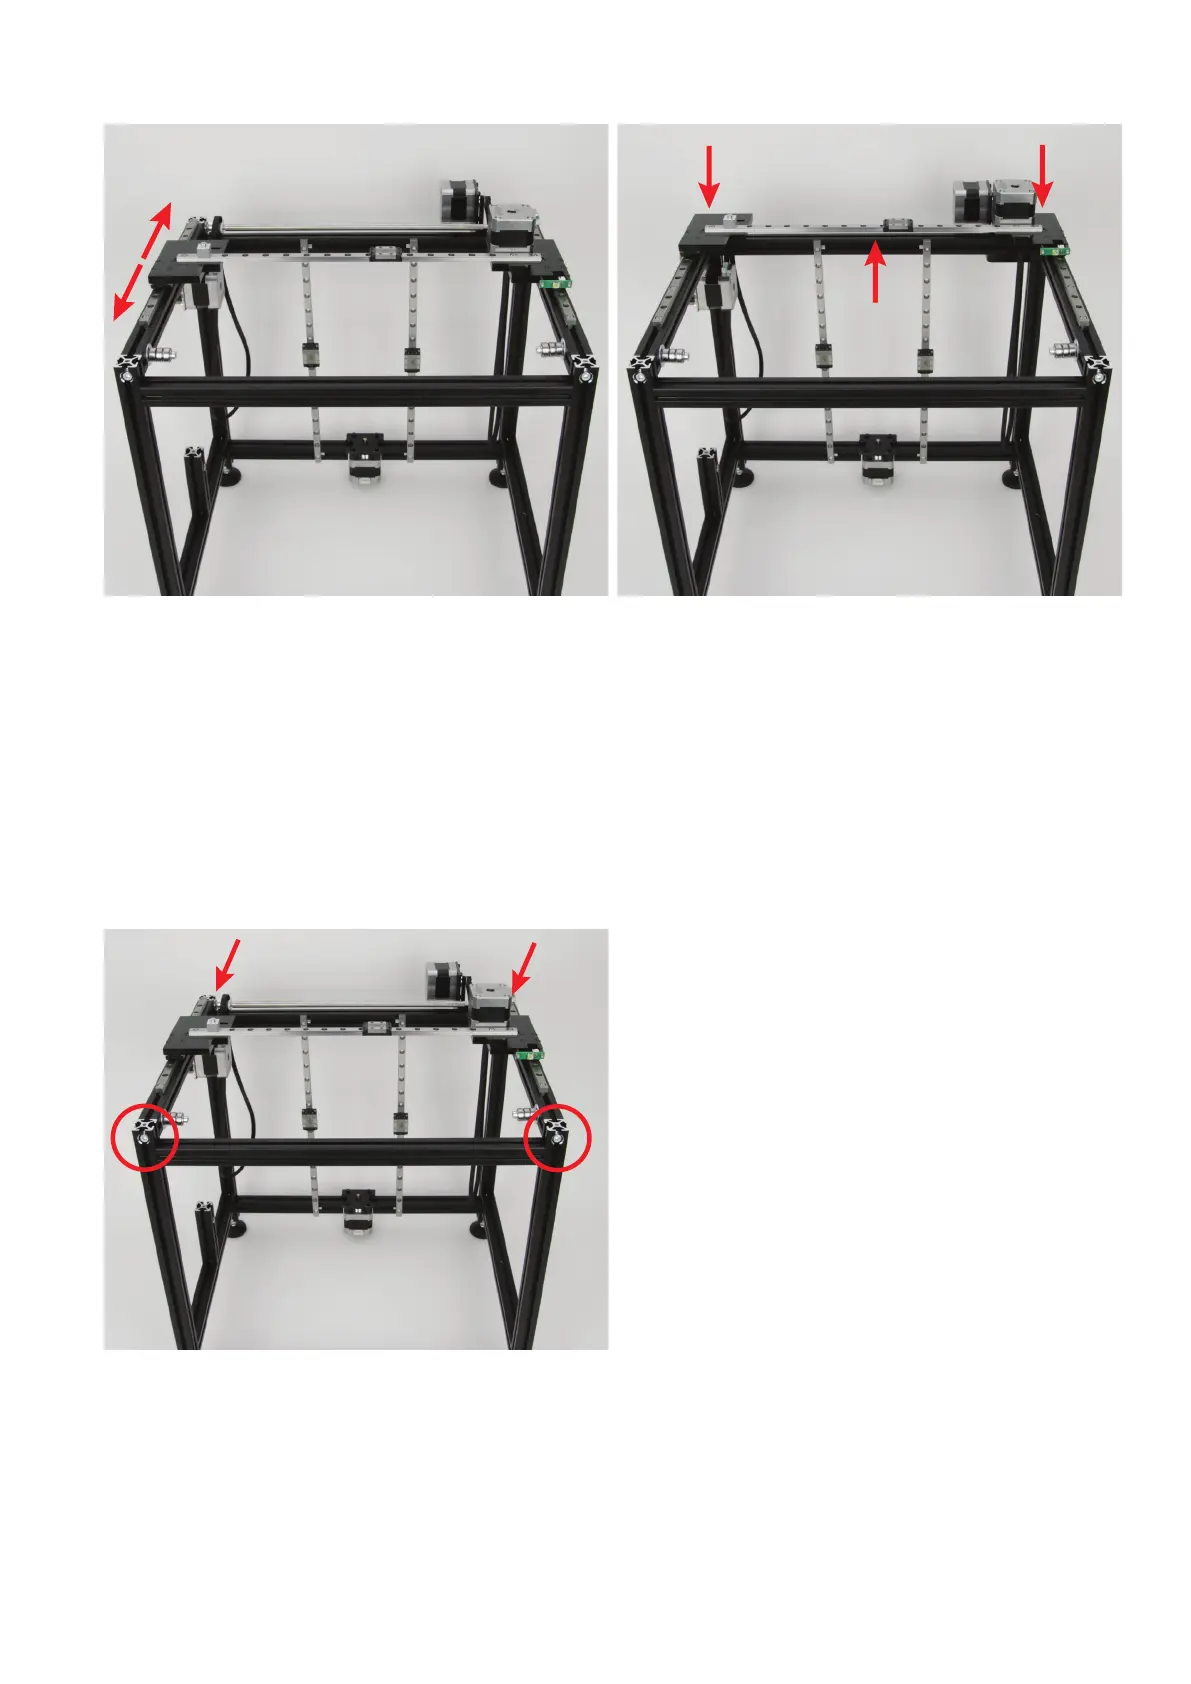
MovetheX-guiderailallthewaybackintheY-direction(1),sothat
you can just reachthe two rear-most attachment screws of theY-
guiderailsanymore(2).
Tighten the two screws slightly.
Move the X-guide rail forward and back in the Y-direction several
times again and tighten the next attachment screws slightly as well.
Repeat the steps until you have slightly tightened all 8 cylinder-head
screwsofbothY-guiderails.
Then tighten the 8 screws all the way.
RelievetheX-unit
AftertighteningtheY-guiderails,theX-guiderailwillmovemorestify
intheY-directionthanbefore.
Therefore,theX-unitnowneedstoberelieved.
Forthis,releasethe4screwsofthetwoaluminiumproles,onwhich
theY-guiderailsareinstalled.
ThenmovetheX-guiderailforwardandbackintheY-directionsev-
eral times again.
Finally, tighten the4 screwsof the aluminiumproles againin se-
quence.Aftertighteningeverysinglescrew,theX-guiderailshould
moveaseasilyintheY-directionasbefore,whenall4screwswere
loose.
1
2
2