www.resourcedm.com
Revision 2.3 Page 7 of 72
Commissioning & Service Guide DMTouch
Warning
Please Note
The specifications of the product detailed on this
Set-Up Guide may change without notice. RDM
Ltd. shall not be liable for errors or for incidental
or consequential damages, directly and indirectly,
in connection with the furnishing, performance or
misuse of this product or document.
Ensure that all power is
switched off before
installing or maintaining
this product
Interacting With the Touchscreen
The DMTouch display has no physical buttons or switches, all user interactions are carried out by pressing areas on the touchscreen
similar to a mobile phone or tablet PC. The touchscreen should be operated using your finger and care should be taken not to apply
excessive force as it could lead to damage. The DMTouch utilises a capacitive display technology and therefore objects such as pen nibs
or screwdriver tips will not operate the display. Either a finger or a dedicated tool, such as a capacitive stylus pen, should be used when
interacting with the DMTouch to provide the correct operation.
Each press of the display is accompanied by a click from the sounder. On some pages where lines of text are shown, such as the
parameter list, the user can scroll down the page by running their finger from the bottom to the top of the list in the same manner as with
a touchscreen enabled mobile telephone. During this motion the user’s finger should remain in contact with the touch screen.
Navigation Buttons
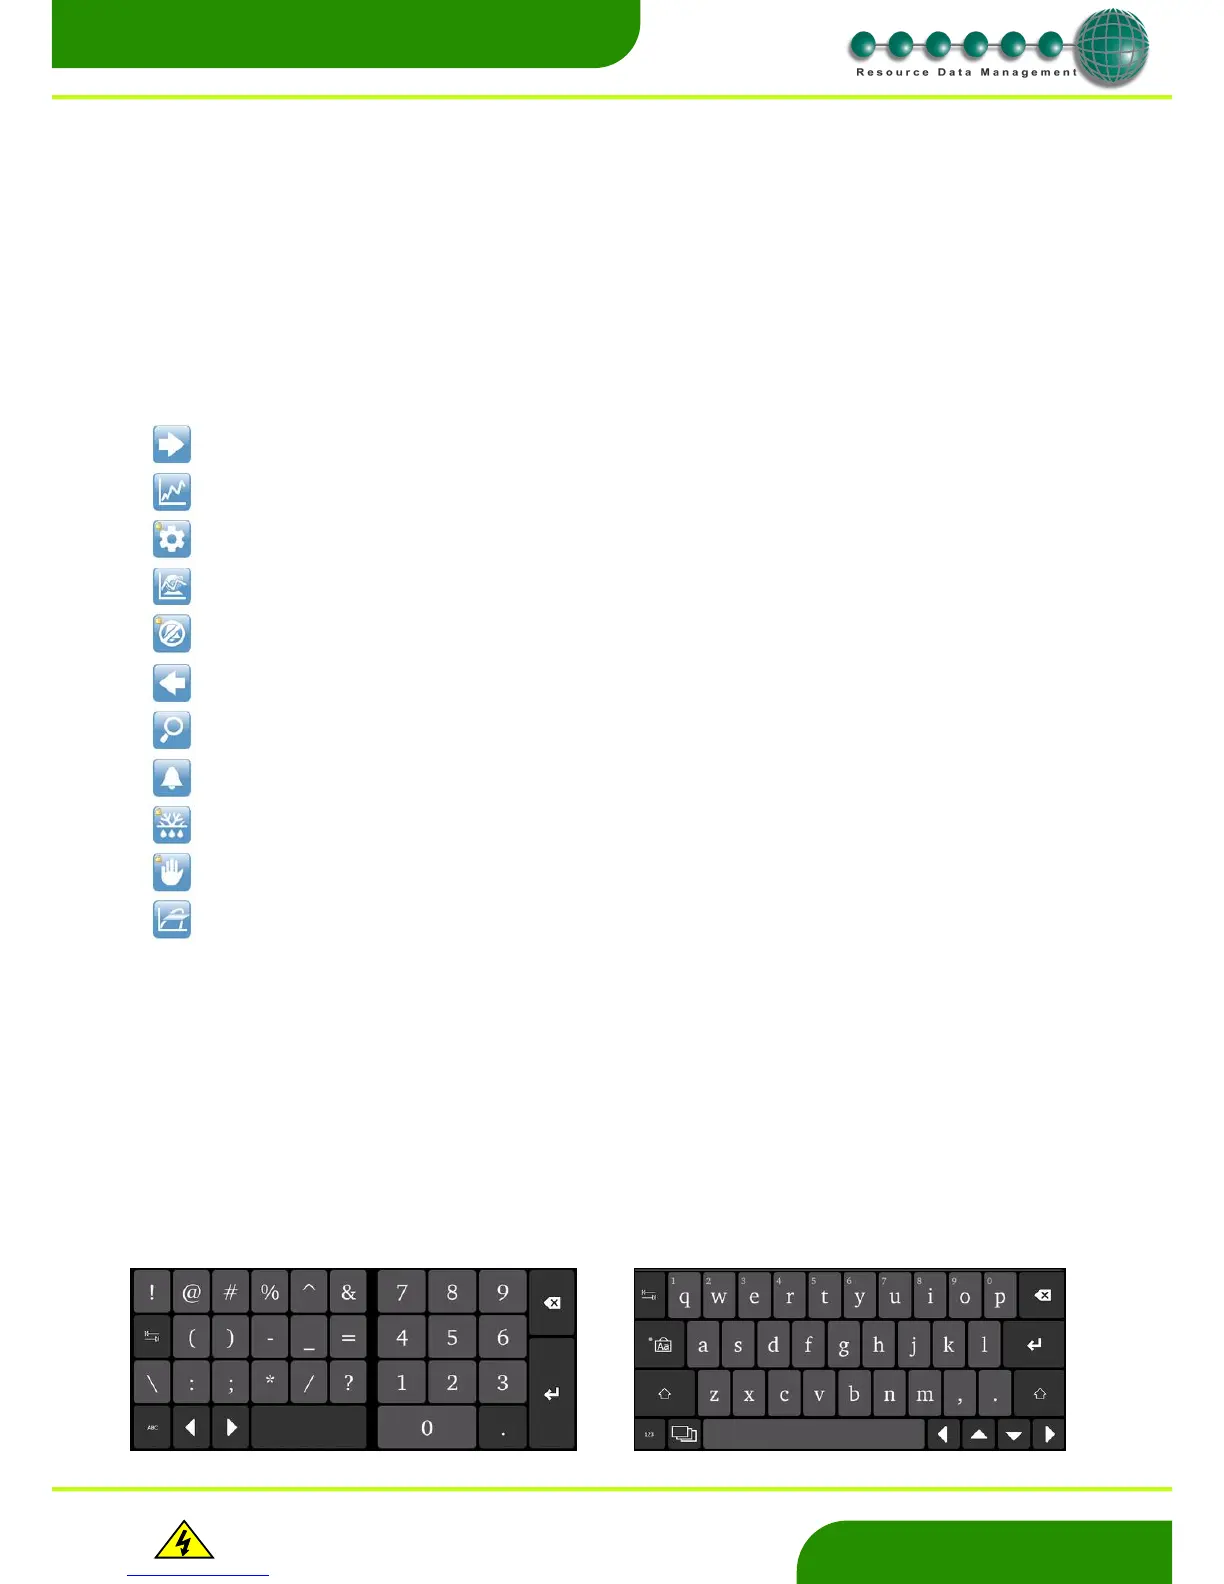
When entering information or setting parameters on the DMTouch, a keyboard will be displayed. Depending on the information that the
DMTouch is expecting, it will show one of two layouts. One is numerical and the other is alphabetic. The user can change between the
two by using the ‘ABC’ button on the numerical keyboard and the ‘123’ button on the alphabetic keyboard. Both these buttons can be
found in the bottom left of the keyboard.
See below for pictures of keyboard layouts
Numerical Alphabetical
Note: Icons with the padlock on the top left hand corner will require the user to log in with a user name and password.
Next – Touch to view the ‘Next’ device
Graph - Touch to browse to the ‘Graph’ screen, here historical data can be viewed in a graphical format.
Set – The user will be prompted for credentials, once entered a device(s) parameters can be viewed and set.
Efficiency Graph – if configured in the ‘Energy’ section, a graph of the cabinet’s valve performance will be shown.
Inhibit – Allows the user to place devices into Inhibit and thus prevent alarms for the duration selected.
Previous – Touch to view the ‘Previous’ device
Settings – Touch to view a devices parameter settings. Note this is ‘read only’.
Alarms – Current and previous alarms
Manual Defrost – Initiates a defrost for the device selected. Note device dependent.
Manual Override - Allows a user to override key functions on HVAC and BMS equipment via a BACnet interface.
COP – Generates a graph of the Coefficient Of Performance for that case.