1. Check the Input Power
Please make sure that the input AC power fulfills the requirements in
Table 4.3 AC
input power specifications (including AC selector setting)
.
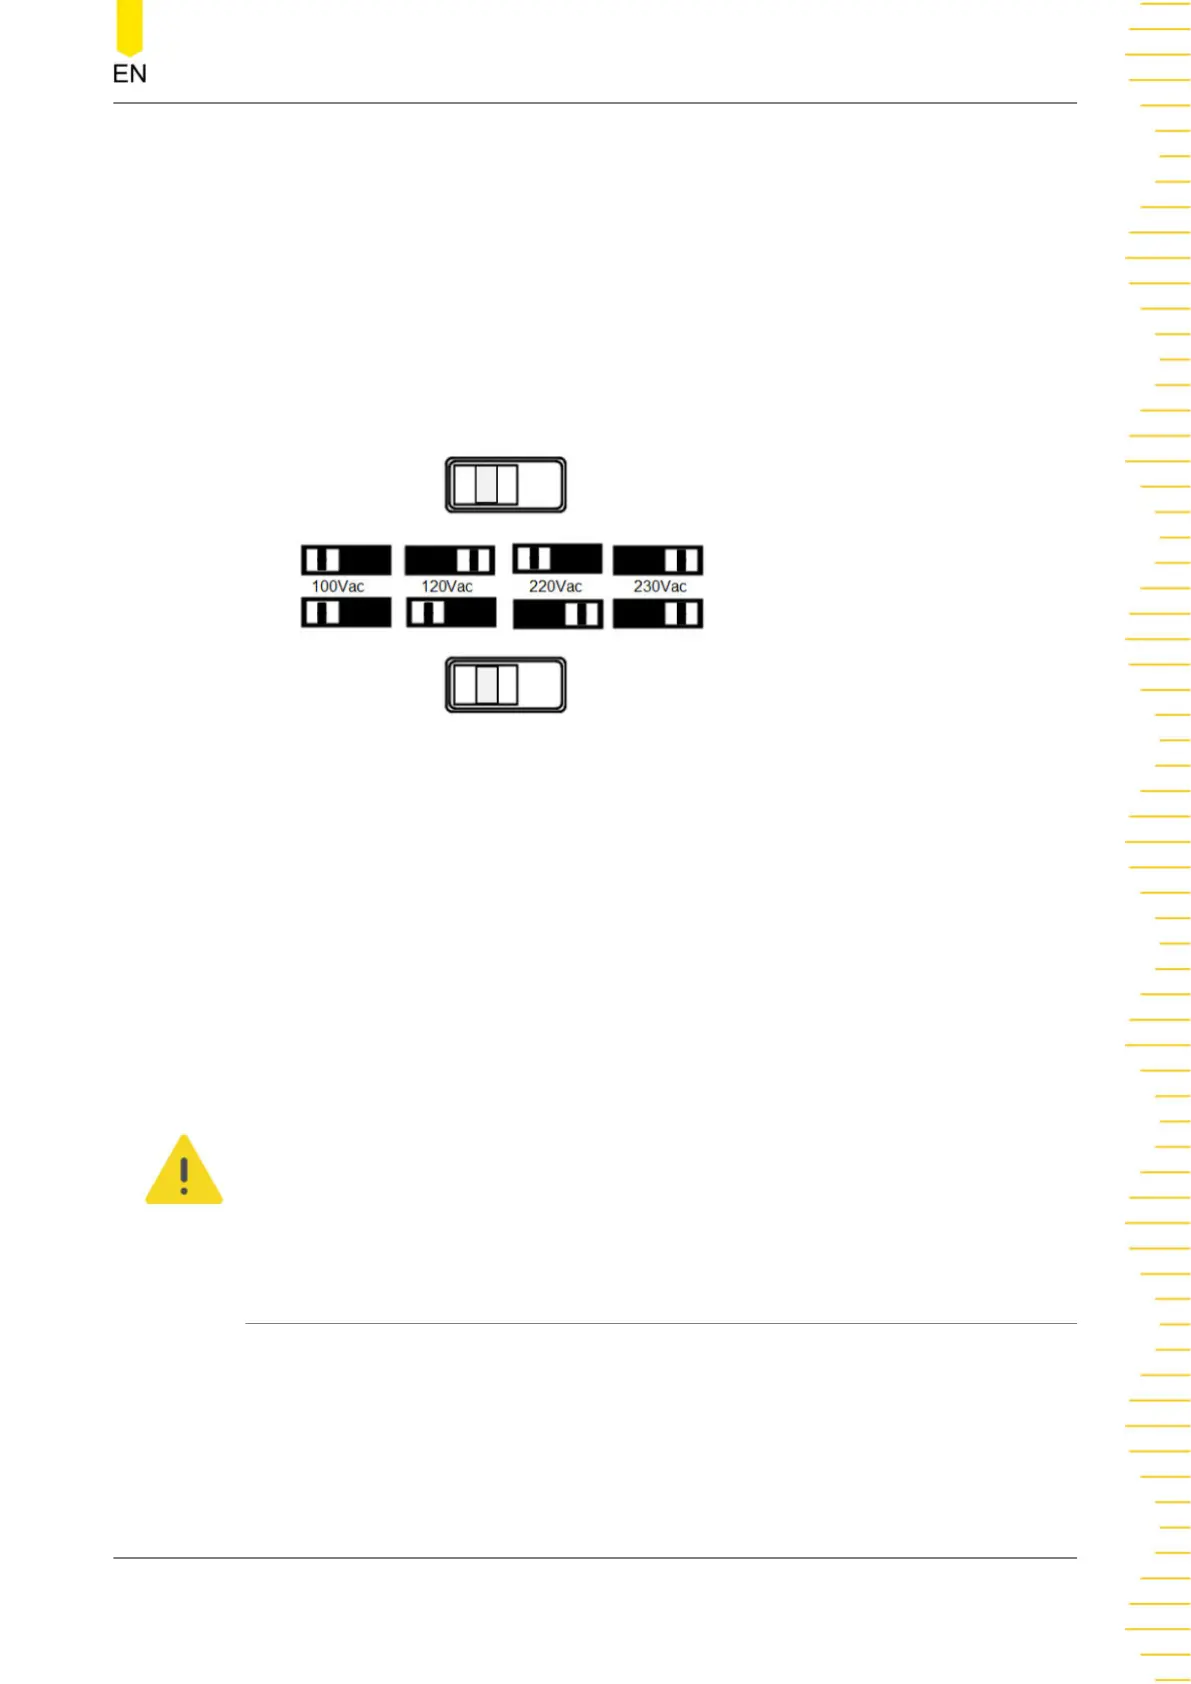
2. Check the AC Voltage Selector on the Rear Panel
Please make sure that the AC voltage selector (100, 120, 220, or 230) on the rear
panel is set to match the actual input voltage. To change the input AC voltage
selector on the power supply, use the two AC selector switches on the rear panel of
the power supply as shown below.
Please set the switches following the diagram above. For example, to select 100 V,
slide both switches to the left; to select 220 V, slide the upper switch to the left and
the lower switch to the right.
3. Check the Fuse
The instrument has been equipped with the specified fuse when it leaves factory.
Please make sure that the fuse matches the actual input voltage by referring to
“Input power requirement” or
Replacing the Fuse
.
4.
Connect to AC Power
Please connect the instrument to AC power using the power cord provided in the
accessories.
WARNING
To avoid electric shock, please make sure that the instrument is correctly grounded.
4.7 Power-on Inspection
Press the power key on the front panel to switch on the instrument. During the start-
up process, the instrument performs a series of self-tests. If the instrument passes the
self-test, the welcome interface will be displayed; otherwise, the corresponding self-
test failure information will be displayed.
Quick Start
Copyright ©RIGOL TECHNOLOGIES CO., LTD. All rights reserved.
DP900 User Guide
21