Chapter 5 Trigger RIGOL
MSO4000/DS4000 User’s Guide 5-17
2. Adjust the trigger level
In runt trigger, you need to set the trigger level upper limit and trigger level
lower limit which correspond to the trigger labels
and respectively.
Select the trigger level to be adjusted
Press Vertical and turn the multi-function knob to select the desired
vertical window type (different type of vertical window corresponds to
different trigger level adjustment mode). You can also press Vertical
continuously to switch the current vertical window type.
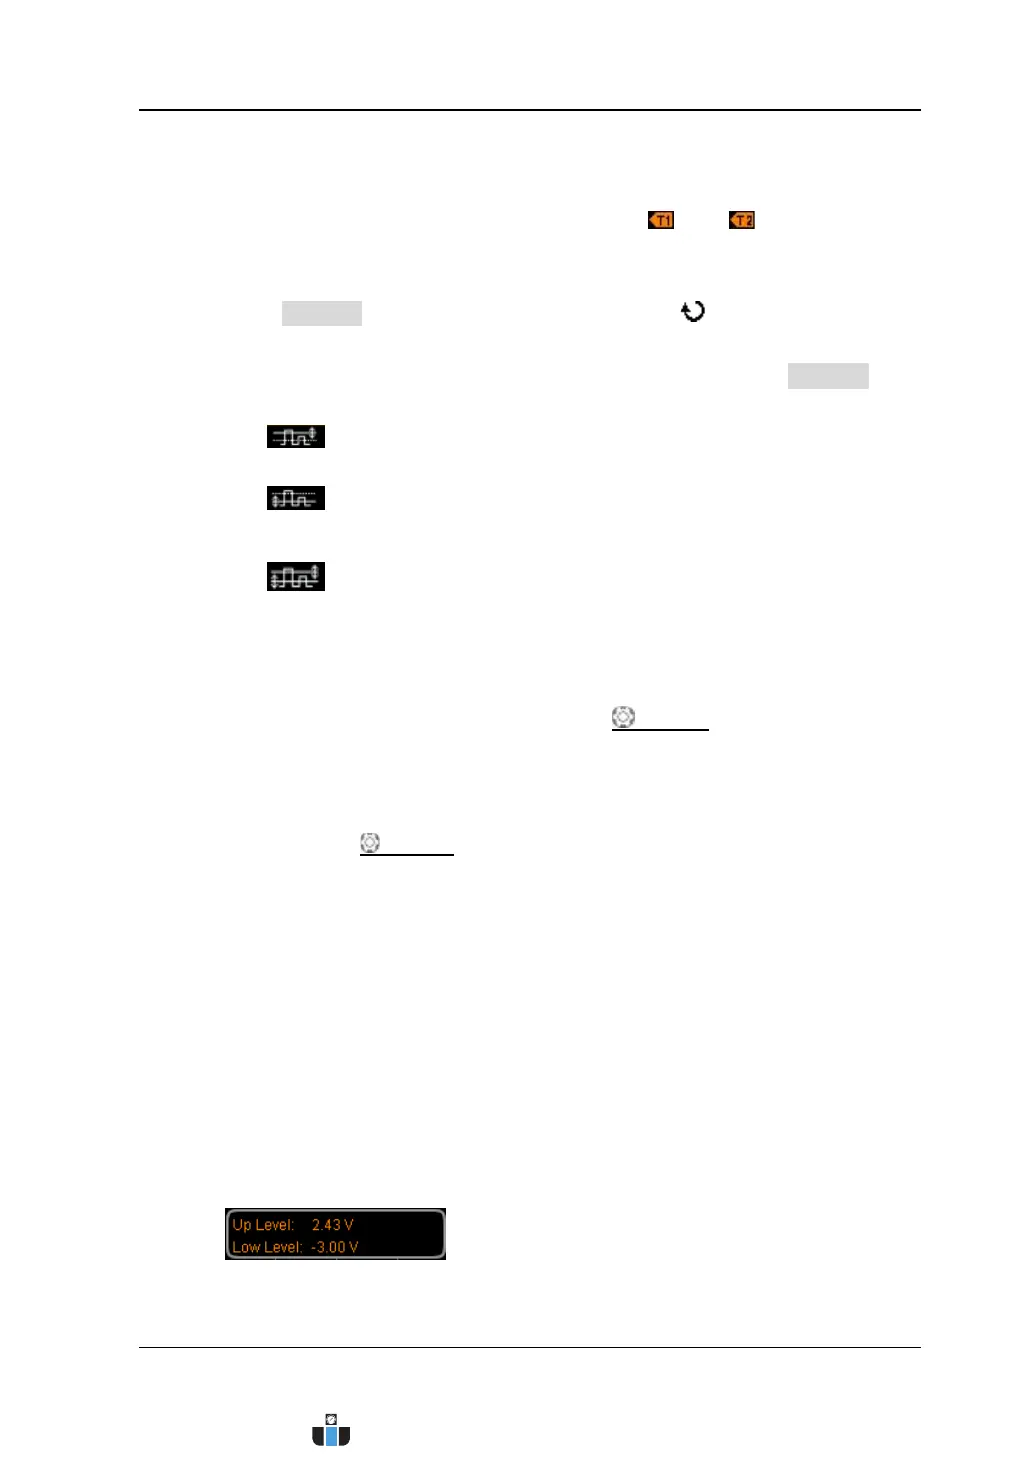
― : only adjust the upper limit of the trigger level and the lower
limit remains unchanged.
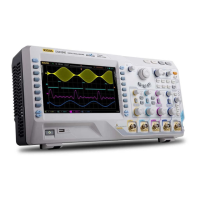
―
: only adjust the lower limit of the trigger level and the upper
limit remains unchanged.
―
: adjust the upper limit and lower limit of the trigger level at the
same time and the trigger level difference (namely the difference
between the upper limit and lower limit) remains unchanged.
Here, in runt trigger, pressing TRIGGER LEVEL can quickly switch the
current vertical window type.
Adjust the trigger level
Turn Trigger LEVEL to adjust the corresponding trigger level
(determined by the type of the vertical window currently selected).
During the adjustment, two trigger level lines (orange dotted lines) appear
on the screen and move up and down with the variation of the trigger level.
At the same time, the trigger level information (as shown in the figure
below, Up Level denotes the upper limit of the trigger level and Low Level
denotes the lower limit of the trigger level) pops up at the lower-left side of
the screen in real-time. The trigger level lines and trigger level information
at the lower-left side of the screen disappear about 2 s later after you stop
modifying the trigger level. The current trigger level difference is displayed
at the upper-right side of the screen.
www.calcert.com sales@calcert.com1.800.544.2843
0
5
10
15
20
25
30