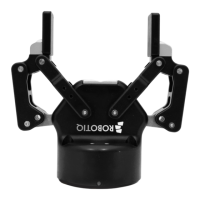
2F-85 & 2F-140 - Instruction Manual
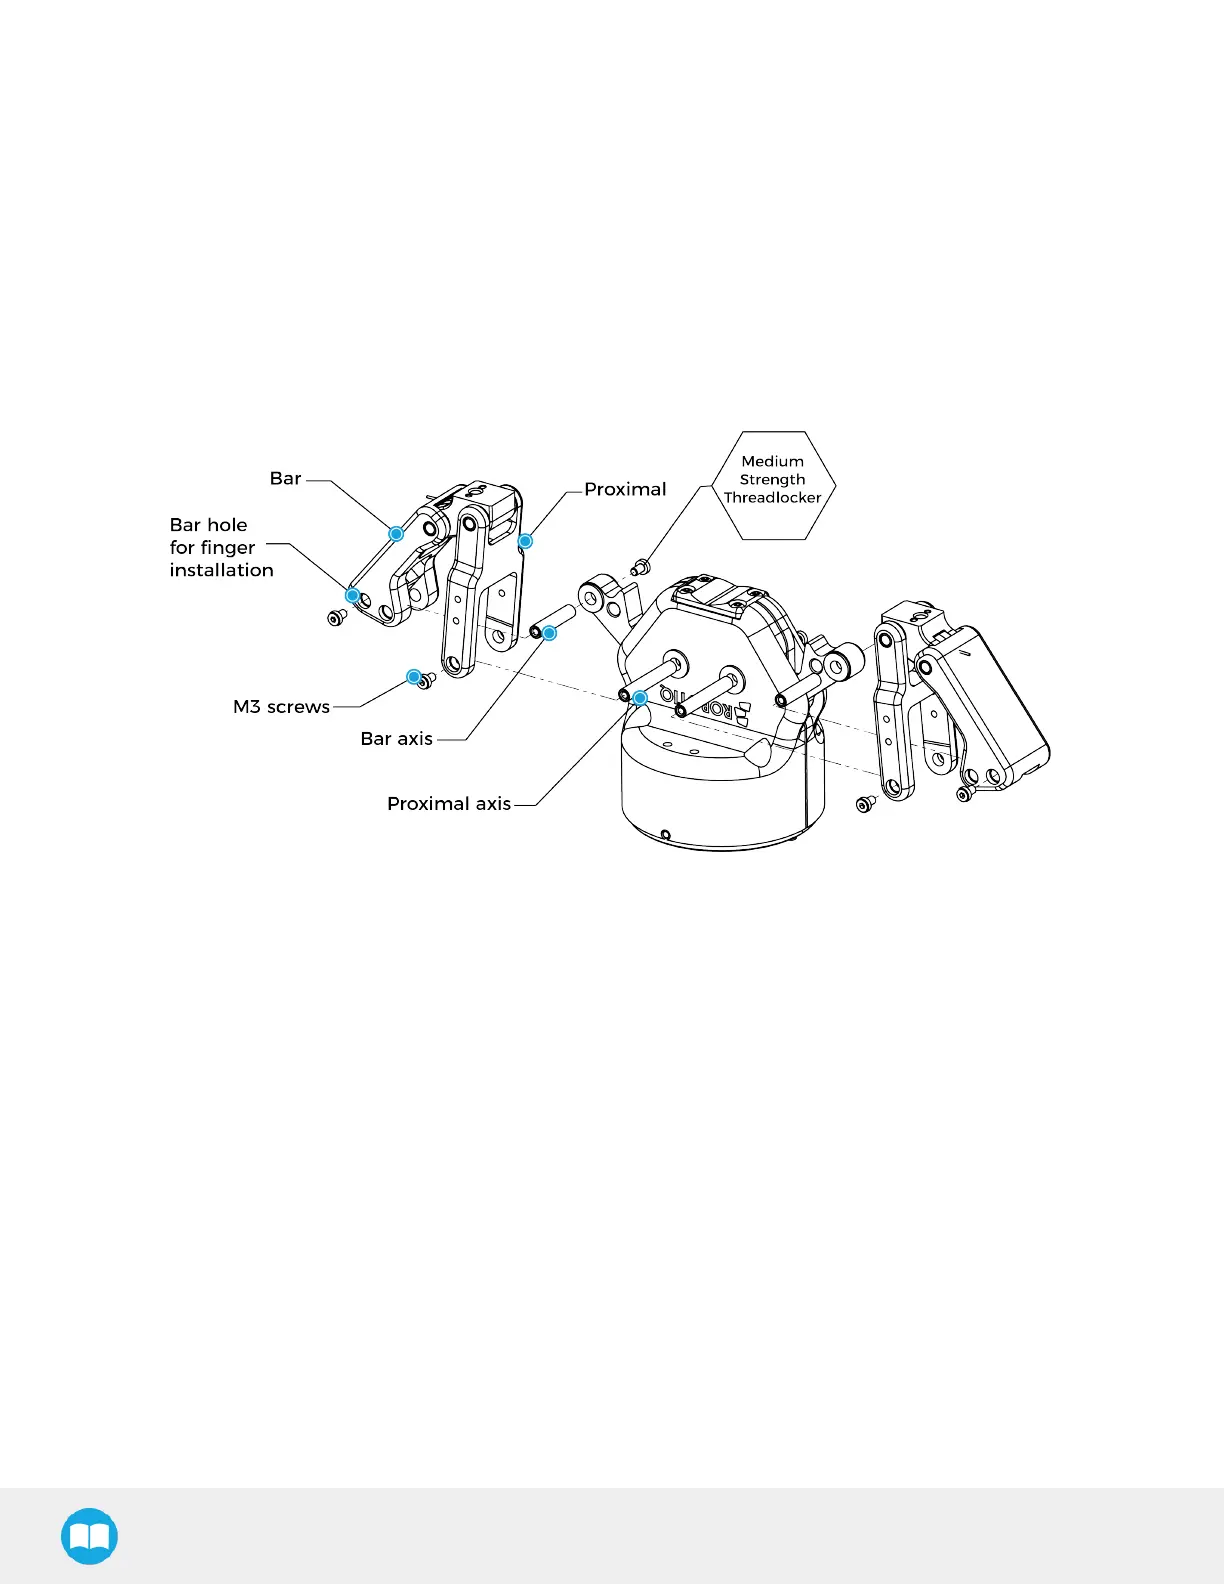
3.4.2.Installing Fingerson the Gripper
If you need to change the fingers, followsthe instructions below.
1. Align finger with chassis axis. To do so, the holes on the bar and the proximal should be aligned correctly with the cor-
responding chassis axis.
2. Insert the bar axis in the bar hole and through the chassis axis (top hole is for parallel locking while bottom hole is for finger
installation).
3. Insert the proximal axis in the holes located on the proximal and through the chassis axis.
4. Apply medium strength threadlocker on the provided screwsand secure the finger to the chassis.
5. Repeat for the other finger.
Fig. 3-7: Installing the Fingers on the Gripper.
28