23/05/2019Roundshot VR Drive Instruction Manual – Firmware Version 2.023 108
5.3 Creating HDRs – quality vs. HDR mode (continued)
VR Drive full with motor and
electronic release cable
Set up when using the VR Drive quality mode with camera-internal bracketing
elev.
0
images
7
[-90..90]
[1..9999]
pause start
image
0
s
pause end
image
10
[0.0..999.9]
[0.0..999.9]
s
On your DSLR:
• Set the bracketing (number of images + EV spacing)
• Activate the multi-shot feature (for example Nikon: mode “CL”)
• Set the camera to exposure mode “M” (manual) and set the
medium exposure time
On the VR Drive:
• Create a quality program
• Edit the program by going to the bracketing menu and selecting
a fixed number of images (3, 5, 7 …) or “bracketing special”
• Calculate the total duration of exposures by adding them
together
• For “bracketing special”, enter this total duration in seconds
Confirm with “OK” or cancel with “X”.
• Add a pause after position which is equal to the total duration
of exposures
Confirm with “OK” or cancel with “X”.
elev.
0
images
7
[-90..90]
[1..9999]
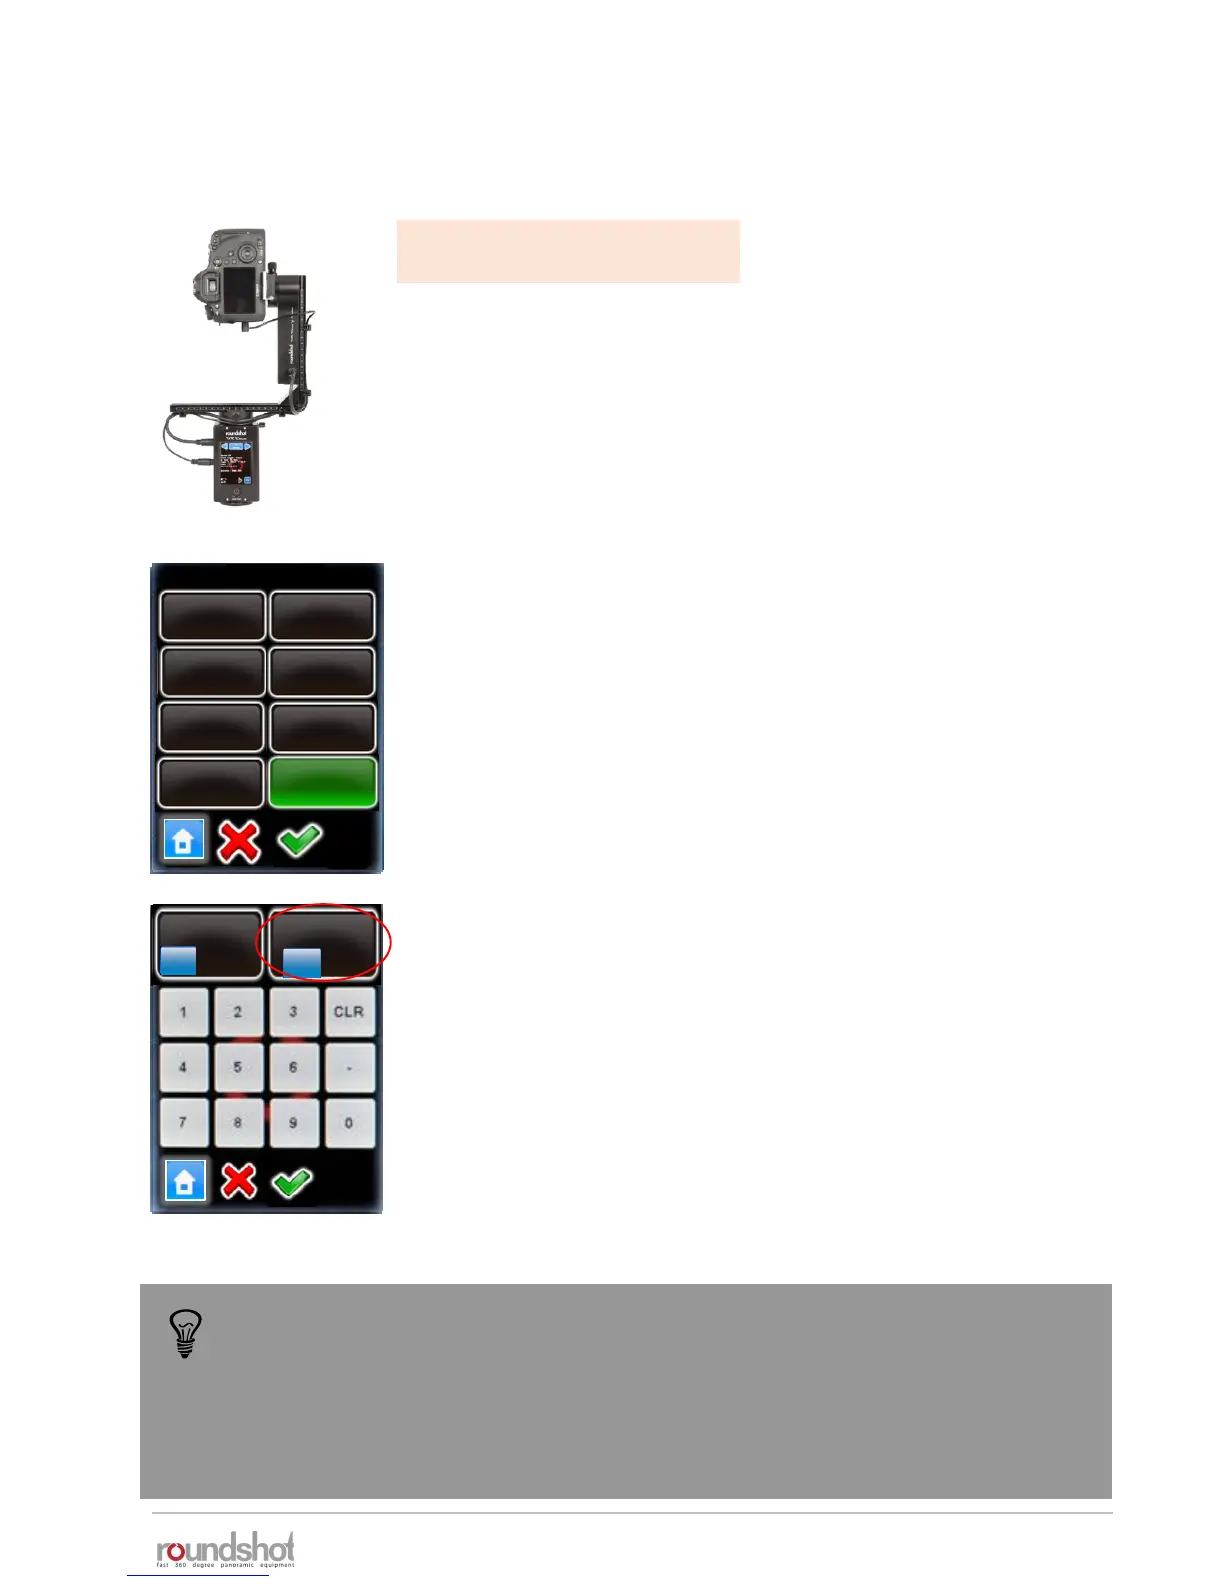
bracketing
5
3
7
9
11
13
special
1
When using a fixed number of VR Drive bracketing releases (3, 5, 7…) the VR Drive
will know the number of exposures and will correctly generate the xml file.
However, when using “bracketing special”, this information is not available to the
VR Drive and it will output an xml with only one image per position (bracketing=1).
To overcome this problem, switch from “bracketing special” to a fixed number
and then export this xml file.