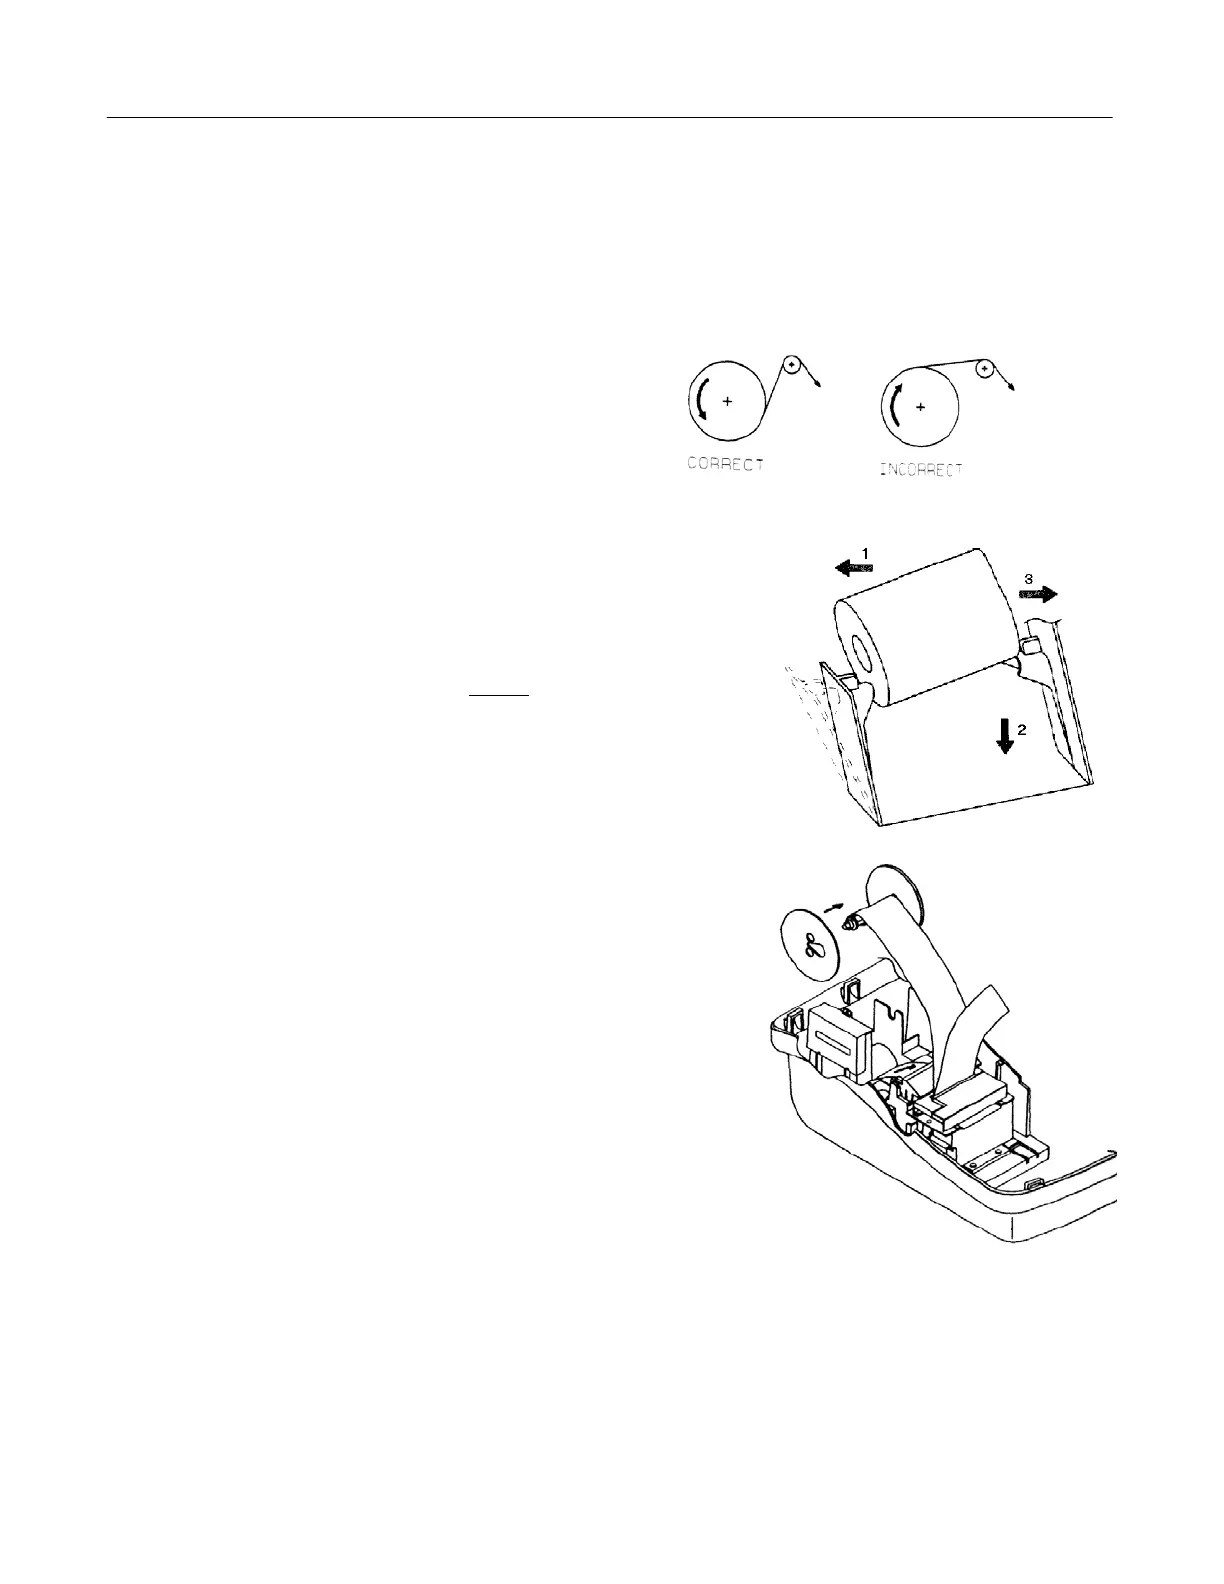
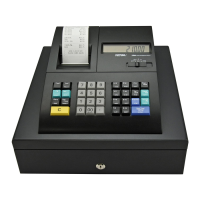
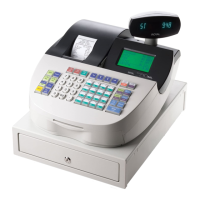
INSTALLING THE PAPER ROLL
Your cash register features a heavy-duty printer which uses one roll of 2-ply, 57mm (2¼") carbonless cash register
paper, one for the customer receipt (outside) and the other for the journal record (inside). The register will also
accept standard 2¼" calculator paper for a single tape record . If a customer receipt is not required, a paper saving
option is offered to reduce the number of blank lines between each transaction printed on the journal tape, for further
details see Flag 15 on Page 60.
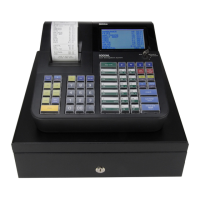
INSTALLING THE PAPER ROLL
11
1. Plug in your cash register and set the Control Lock in
the "REG" (Register) mode.
2. Open the journal compartment cover, first be sure
that the lock (located on t he left side of the journal
compartment cover) is unlocked using the Cash
Drawer/Journal Lock key #515. Grip the left side of the
journal cover and gently pull back. The cover will remain
open in an upright position.
3. Cut the end of the paper roll evenly for a straight
even edge for proper feeding through the printhead.
4. Lower the paper roll into the space behind the printer
so that the paper feeds out from the bottom
of the roll.
(see illustration)
5. Work the paper roll gently between the two spindles
so that they slip into the center hubs of the roll.
6. Insert the end of the inside paper (journal) under the
plastic bar and the outside paper (customer receipt) over
the plastic paper separator bar. Bring both ends together
before inserting the paper into the paper slot (see
illustration). Depress the Feed key until the paper
catches and advances through the printer.
7. If the paper does not feed through the printer
properly, inspect the end of the paper tape and repeat
steps 3 through 6.
8. Ease the journal (inside) paper through the narrow
opening in the center of the journal winder spindle.
9. Manually turn the spindle several times to take up
some of the excess paper - turn towards back of register.