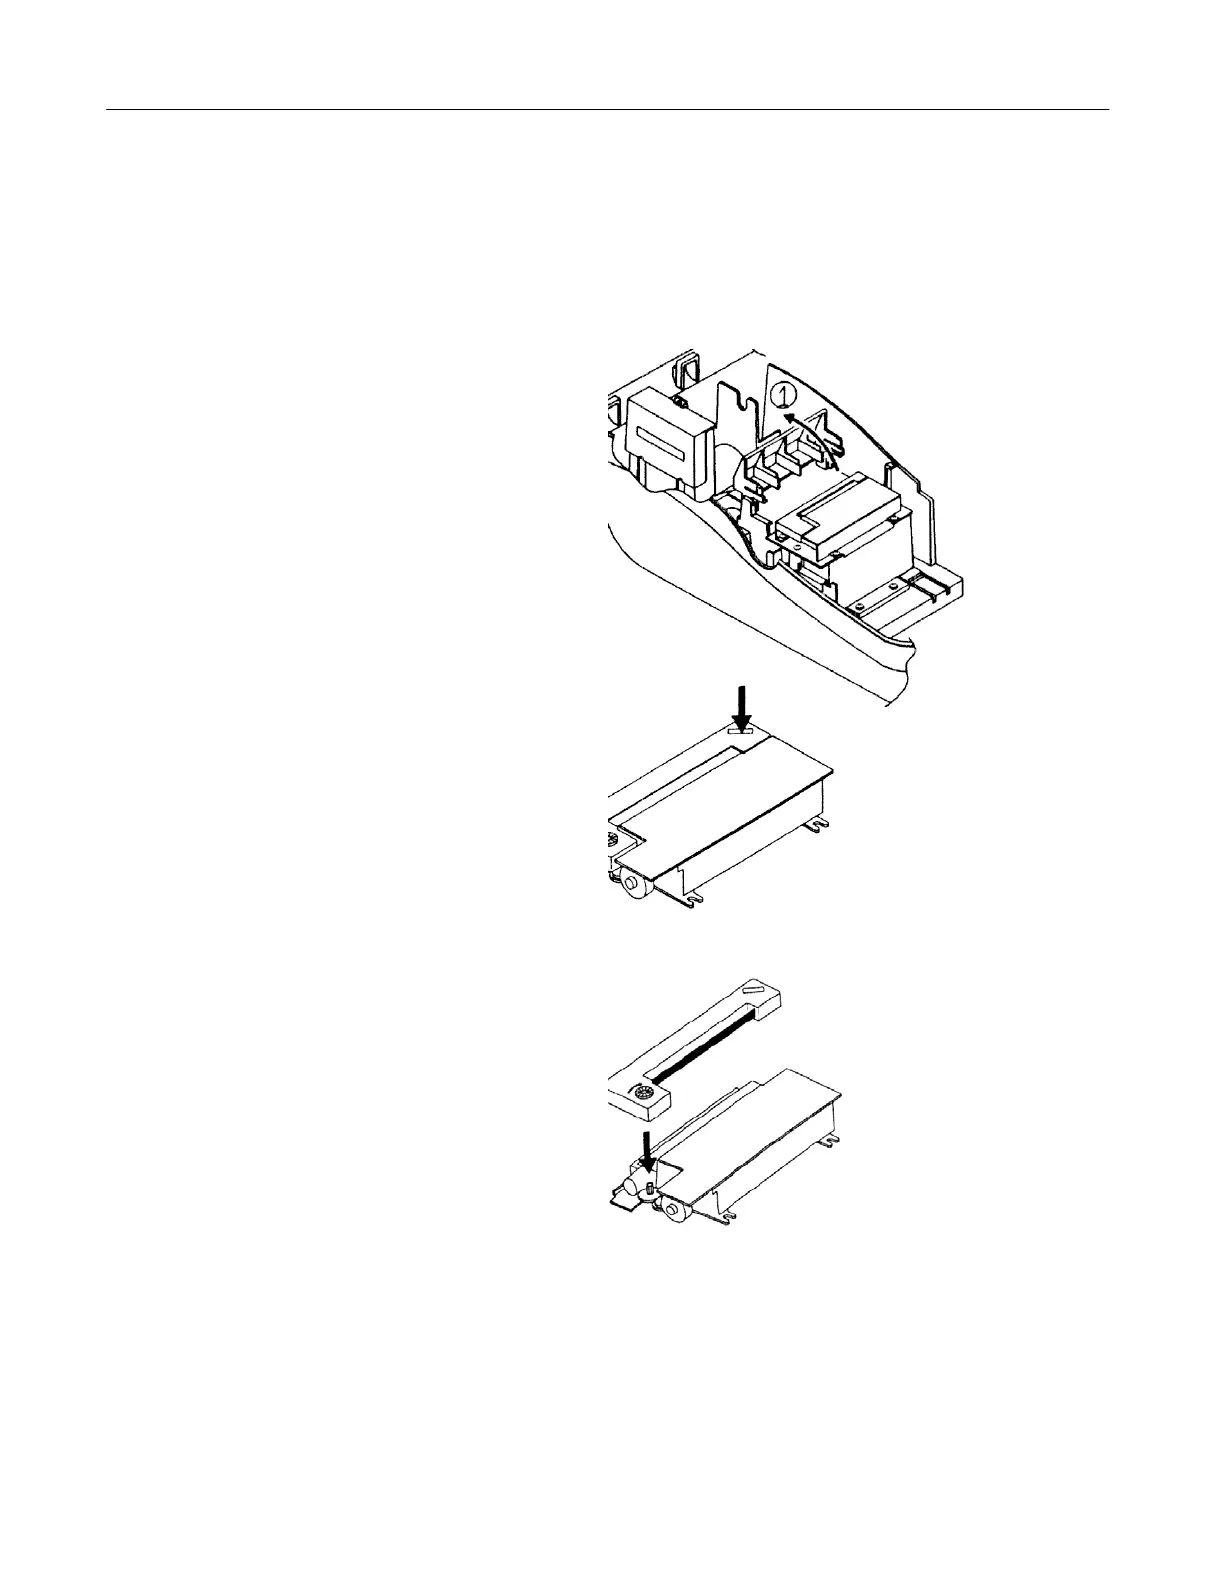
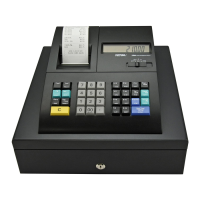
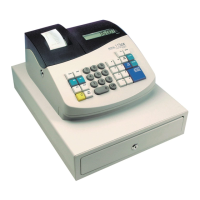
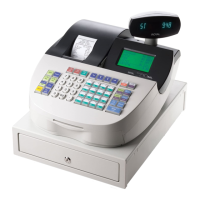
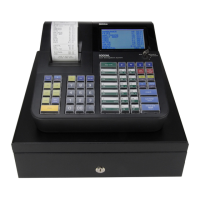
INSTALLING THE RIBBON
Your cash register comes with the ri bbon already installed. The ribbon releases special ink to the printhead which
produces the printout. After a period of time, depending upon the amount of use, the ink in the ribbon will be used
up. When printout becomes faint, the ribbon needs to be replaced.
CAUTION: The ribbon is not designed to be re-inked. Under no circumstances should this be done or
permanent damage to your cash register printer may result. Such damage will not be covered under Royal's
warranty.
INSTALLING THE RIBBON
NOTE: It is recommended to use Royal brand replacement ribbon (color-purple), Royal Reorder 013019.
13
1. Open the journal compartment cover, first be
sure that the lock (located on the left side of
the cover) is unlocked using the Cash
Drawer/Journal Lock key #515. Grip the left
side of the journal cover and gently pull back.
The cover will remain open in an upright
position; or if preferred, you can remove it
completely and set it aside.
The ribbon cartridge looks as follows (see
illustration).
2. Remove the used ribbon cartridge: On the
right side of the cartri dge, press down where it
is labeled "PUSH" in order to eject the ribbon
from the printer. The left side of the ribbon will
lift up and can be easily removed.
3. Remove the new ribbon cartridge from its
cellophane package. Be careful not to touch the
wet inked portion of the ribbon.
4. To install the new ribbon, holding the ribbon
on both ends, first lower the left side of the ribbon
and then the right side. Push gently on the right
side to snap the ribbon into place (see
illustration).
5. Make sure that the paper feeds up through
the ribbon cartridge. The inked portion of the
ribbon should be in front of the register paper.
6. After installing the ribbon, close the journal
compartment cover and use the Cash
Drawer/Journal Lock key #515 to lock it, if
desired.