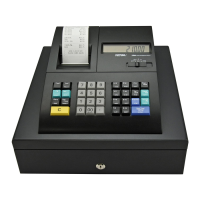
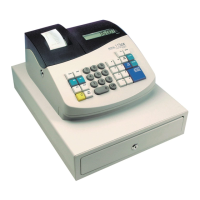
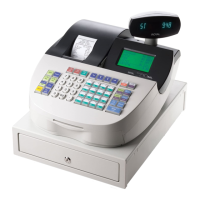
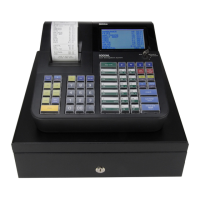
CLERK NUMBERS
A total of 10 Clerk Numbers are available for monitoring sa les of individual employees. Each Clerk Number can be
programmed with a 12 character name. The Clerk Num bers are designed to be used in the "REG" (REGISTER)
mode only. To obtain sales totals of each clerk, a Cler k Report is available in both the "X" and "Z" modes. Extra
Option: If desired, a procedure is offered to require entry of a Clerk Number before every transaction or each
time the position of the Control Lock is changed. For details see Flag 9, Option 7 and 8 on Page 56.
TO PROGRAM CLERK NUMBERS AND NAMES
1. Turn the key to the "PRG" (PROGRAM) position.
2. If a manager password has been programmed, TYPE the (PASSWORD #), then PRESS the [CLERK]
key, or if you did not program a manager password, go to Step 3.
"PRG" + (CLERK #) + [CLERK] + (SECURITY #) + [EC/VOID] + (NAME) + [AMT TEND/TOTAL]
1-10 4 digits
Example: For Clerk #1, code is 4456 and the name of the clerk is Tom:
TYPE (1), PRESS [CLERK], TYPE (4456), PRESS [EC/VOID], then input the name, up to 12
characters, using the alphanumeric keyboard (Depar tment keys) or the Alphanumeric Code Chart (see
Page 43). Remember the Department Shift key accesse s the letters in the lower green section of the
Department keys. PRESS [AMT TEND/TOTAL] to finalize.
4. To require entry of a Clerk Number before ev ery transaction or each time the position of the
Control Lock is changed, see Flag 9 on Page 56.
TO USE CLERK NUMBERS
"REG" + [CLERK #] + [CLERK]
4 digit #
Example: If Clerk #1 is 4456:
1. Turn the key to the "REG" (REGISTER) position.
2. TYPE (4456), then PRESS the [CLERK] key.
3. The cash register is now ready for operation.
NOTE: The Clerk Name will print on the receipt tape. If no name has been programmed, the clerk number will print
on the receipt.
19