76 CompTrol Interface V4.0.x | Issue 21-05-2021 | 1000932
Program 9 – direct frequency request with cascading
No. Name No. Name
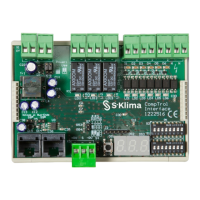
11 CompTrol Interface expansion module 12 Analog input X3-S, X3-(-RV)
13
Pin header S4 for setting the analog signal
type (analog input X3)
(see “Table 6: Analog signal type” on
page 19)
14
Pin header S7 for setting the analog signal
type (analog input X3)
(see “Table 6: Analog signal type” on
page 19)
15
Pin header S6 for setting the electrical
supply
(see “Table 5: Type of electrical supply” on
page 18)
16
Pin header S5 for setting the electrical
supply
(see “Table 5: Type of electrical supply” on
page 18)
15.2.3 CompTrol Interface connection diagram
Procedure
1. Connect the CompTrol Interface as shown in the connection diagram below.
U
U
U
U
GLT
14
2
7
1
6
13
15
11
4 5
9 10
3 8
Figure 17: Connection diagram for program 9 (cascading)
No. Name No. Name
1 Wired remote control RC-EX1 or RC-EX3 2
Switch gear cabinet for heat exchanger con-
nection module
3 X/Y remote control bus 4 Volt-free digital outputs
5 Digital inputs 6 Wired remote control RC-EX1 or RC-EX3
7
Switch gear cabinet for heat exchanger con-
nection module
8 X/Y remote control bus