5 Functional Checks
5.3 Functional checks and tests
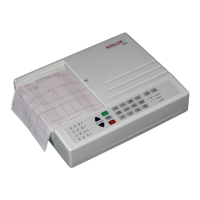
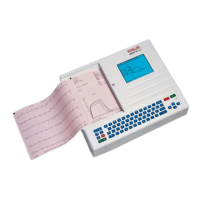
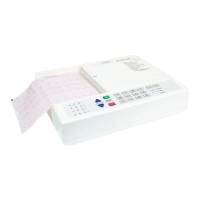
AT-10 plus
Page 36
Art.-no.: 2.540043 Rev.: a
5.3.7 Printer checks
Paper Feed
1. Start the printer by pressing the Man Start . Press the Stop key
twice to stop the printout and transport the paper to the paper perforation
point.
2. The paper must stop exactly at the perforation. If this is not the case:
– Check that SCHILLER paper is used.
– Clean the paper detection opto window with an alcohol solution.
– Check the paper mark detection circuit.
Print Quality Test
Carry out the print quality check as detailed in the service screen (see page 25).
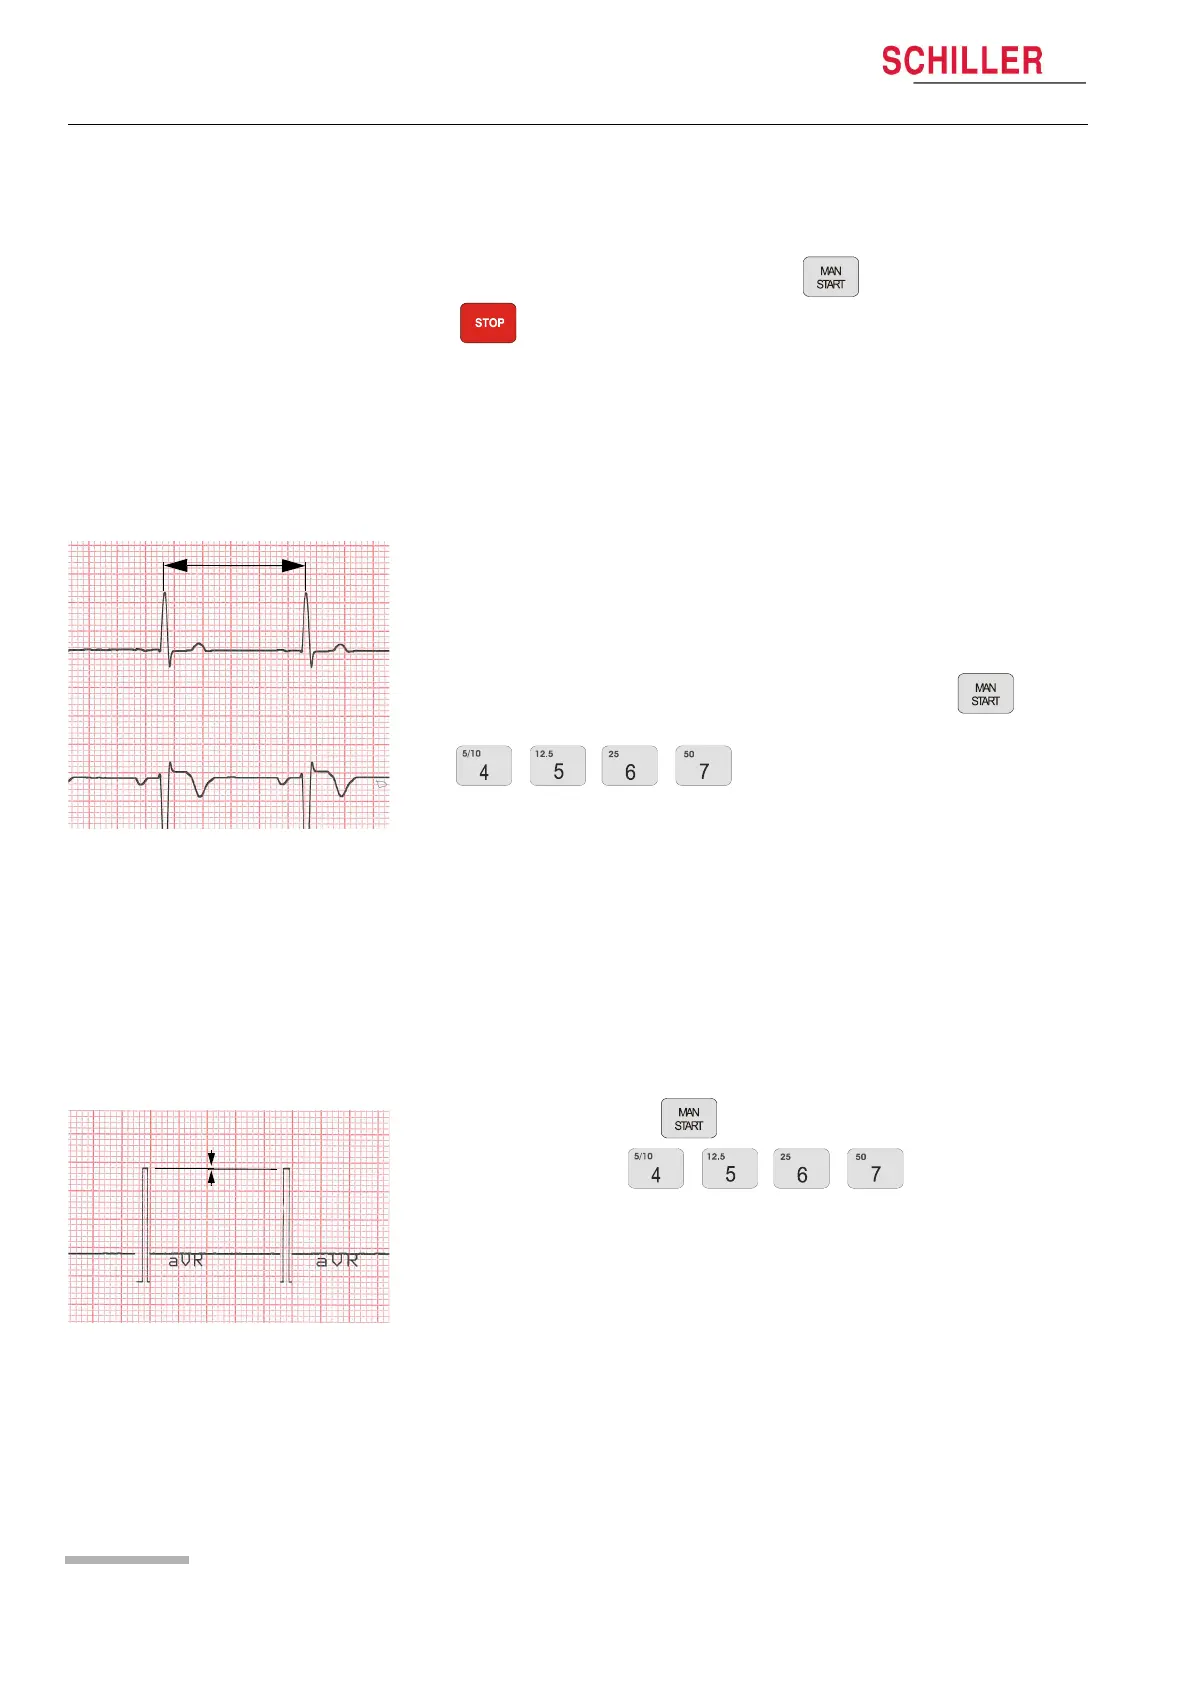
Printing Speed
1. Connect the calibrated simulator to the ECG device using the patient cable and
select a HR of 60 / min. No arrhythmias.
2. Check that the HR shows exactly 60 on the LCD.
3. Set the printing speed to 5 mm/s and press the Man Start key .
4. Select printing speed 10. 12.5, 25 and 50 mm/s
print one page in turn at each speed.
5. Stop the printout and check calibration waveform on the paper grid. A ruler can
be used or the paper grid scale can be used to do this.
– On the 10 mm/s printout the distance between two peaks must be 10 mm ± 0.5
mm.
– On the 25 mm/s printout the distance between two peaks must be 25 mm ± 0.5
mm ( example shown).
– On the 50 mm/s printout the distance between two peaks must be 50 mm ± 0.75
mm.
Parallelism test
This will test the mechanical adjustment of the print head to the paper grids.
1. Remove the simulator
2. Press the Man Start key .
3. Press any speed key twice. This will
generate a calibration waveform on the printout.
4. Stop printout and check the calibration waveforms on the paper grid.
– All calibration waveforms for each lead must be lined up vertically. The maxi-
mum deviation must not be more than ± 0.5 square (0.5mm). If the values are
outside this tolerance, the mechanical adjustment of the print head has to be
corrected.
25 mm
<0.5mm