4 Blood Pressure Measurement
4.1 Applying the Cuff
Page 30
BP-200 plus
Art. no.: 2.510701 rev.: c
4.1.1 Fixing the Microphone Directly on the Upper Arm
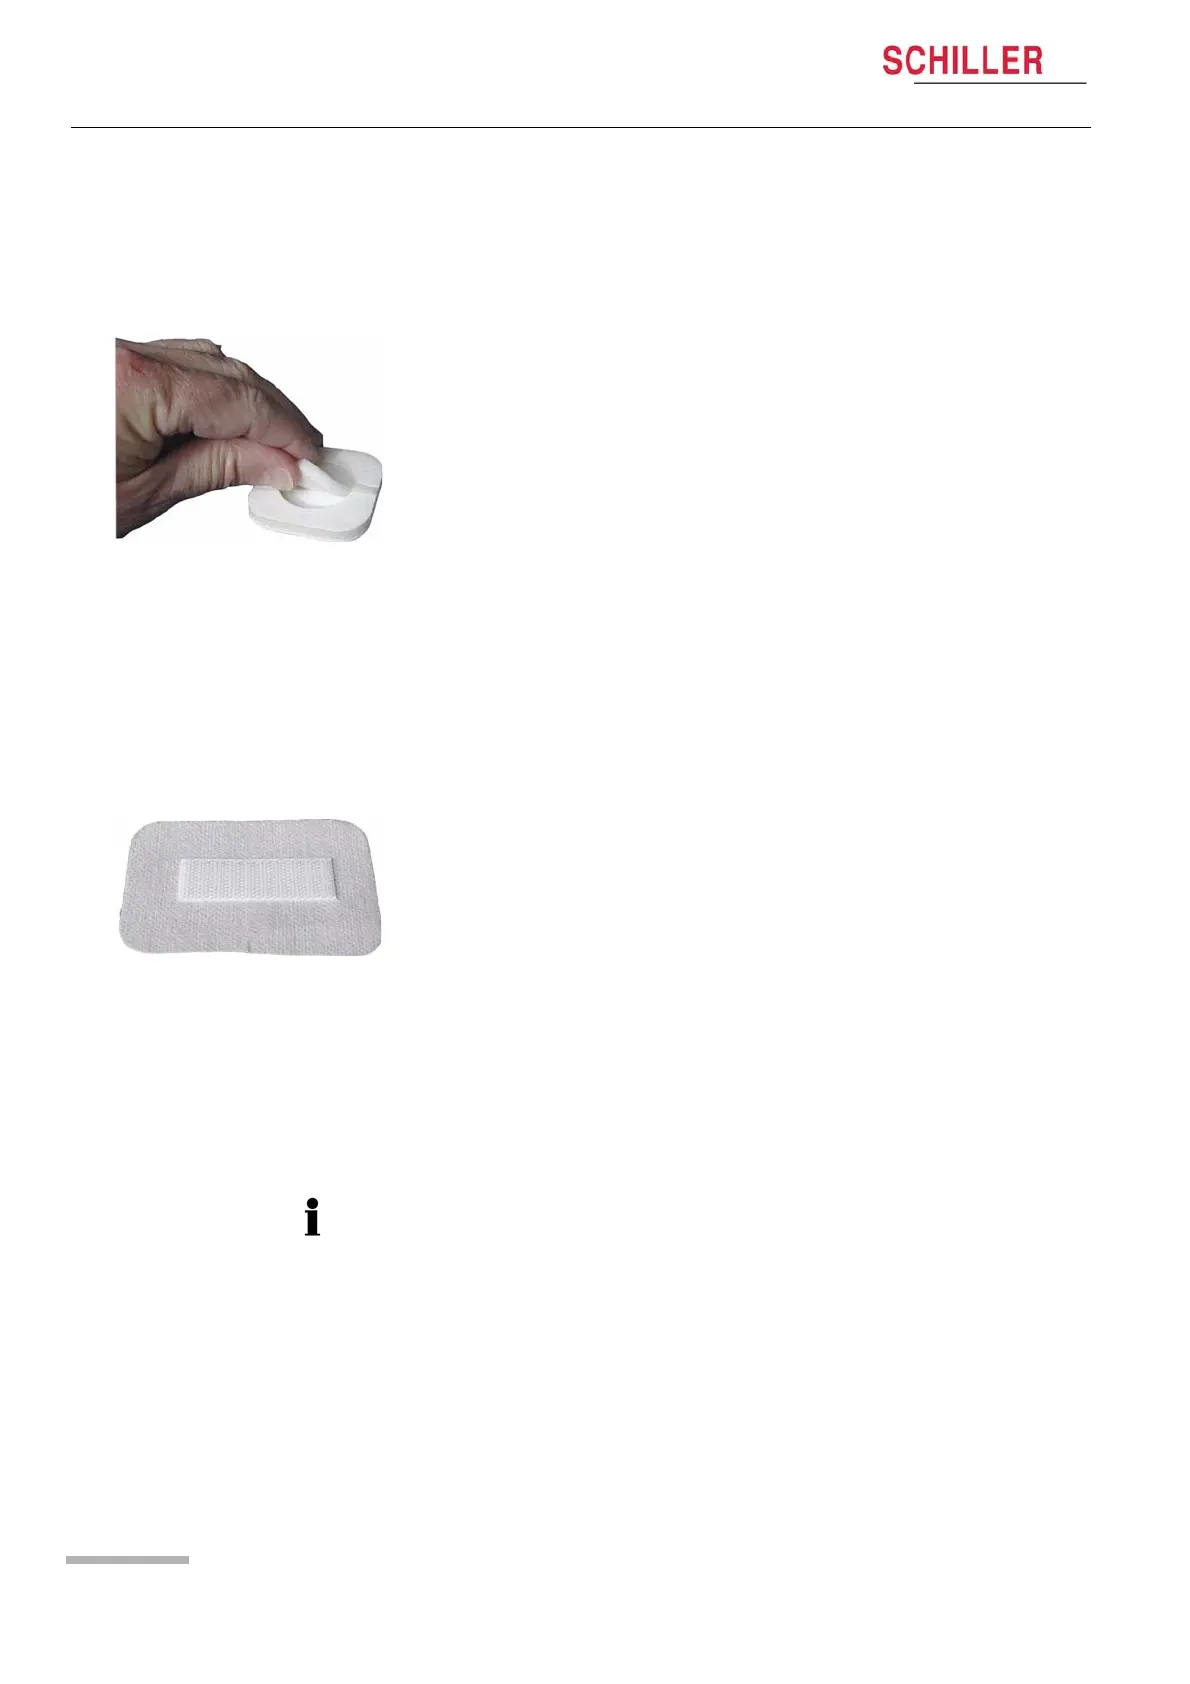
4.1.2 Securing the Cuff with the Fixation Pad
If the patient‘s pulse is weak the microphone may be removed from the cuff and placed
directly on the upper arm to obtain more secure measurements. A shaped adhesive
pad is a standard accessory (SCHILLER Art. No. 2.100326 ) for this purpose. To place
the microphone directly on the arm proceed as follows:
1. Carefully pull the microphone out of the cuff - Do not strain (see page 46).
2. Remove the foam rubber microphone insert from the adhesive pad and place the
microphone in the pad (metallic (patient) side outwards), and press to secure with
the adhesive.
3. Using an alcohol solution (standard surgical strength) thoroughly clean the
patient‘s arm around the brachial artery area.
4. Wrap the cuff around the uncovered upper arm in such a way that the brachial
artery is freely accessible. The pressure hose and microphone cable face towards
the patient's shoulder.
5. Locate the brachial artery, remove the plastic adhesive protector and fix the
microphone to the patient by applying gentle pressure so that the adhesive holds
the microphone.
6. Shift the cuff towards the elbow so that the patient can still bend his lower arm (the
bottom edge of the cuff should be 2 cm away from the elbow bend). Outside the
cuff, the microphone cable forms a small loop. Fix with adhesive strips if
necessary.
7. Tighten the cuff and close it with the fixation wrap as previously described.
A velcro cuff fixing pad is a standard accessory (SCHILLER Art. No. 2.100325) that‘s
available to help secure the cuff from dislodging during long term measurement.
Attach the cuff to the patients upper arm as follows:
1. Using an alcohol solution (standard surgical strength) thoroughly clean the pa-
tient‘s upper arm in the area where the pad will be attached.
2. Remove the plastic adhesive protector of the velcro securing pad.
3. Place the pad on the patient‘s upper arm and apply gentle pressure to secure (the
exact location will depend on the size of the patients arm and the size of the cuff
used).
4. Position the cuff so that the velcro securing flap on the cuff matches with the
securing pad on the patient‘s arm, and secure..
The velcro plaster (set of 10, SCHILLER Art. No. 2.100325), and the adhesive plas-
ter for the microphone (set of 10, SCHILLER Art. No. 2.100326), are available from
your local agent.