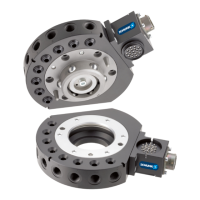
Assembly
46 14.00 | SRU-plus 20 - 60 | Assembly and Operating Manual | en | 389443
6. Ventilate air connection A (4).
7. Actuate air connection B (3).
ð Pinion (2) swivels into the other end position.
8.
Slide the second magnetic switch (6) into the other groove (5).
Or: Screw magnetic switch (6) into the other groove (5) (1).
9. Slide magnetic switch (6) until it switches and the LED (7)
illuminates.
10. Tighten set screw (8).
ð Tightening torque: 10 Nm
11. Check switching positions, set again if necessary.
Center position
variant
Rotate unit in the center position and mount sensor analogously.
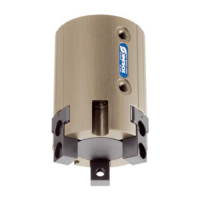
5.5.3 Mounting MMS 22-PI1 magnetic switch
CAUTION
Material damage due to an incorrect tightening torque!
If the threaded pin is tightened with an incorrect tightening
torque, the product may be damaged.
l
Observe a maximum tightening torque of 10 Ncm for the set-
screws.
The sensors can be mounted via four grooves in the housing of
the product.
We recommend the use of four magnetic switches to monitor the
center position:
l
Monitoring the end position A
l
Monitoring the end position B
l
Monitoring for the approach to the center position from end
position A
l
Monitoring for the approach to the center position from end
position B