76
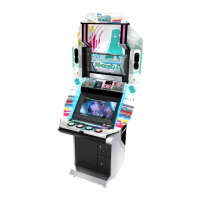
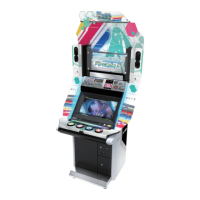
CONTROL PANEL
4
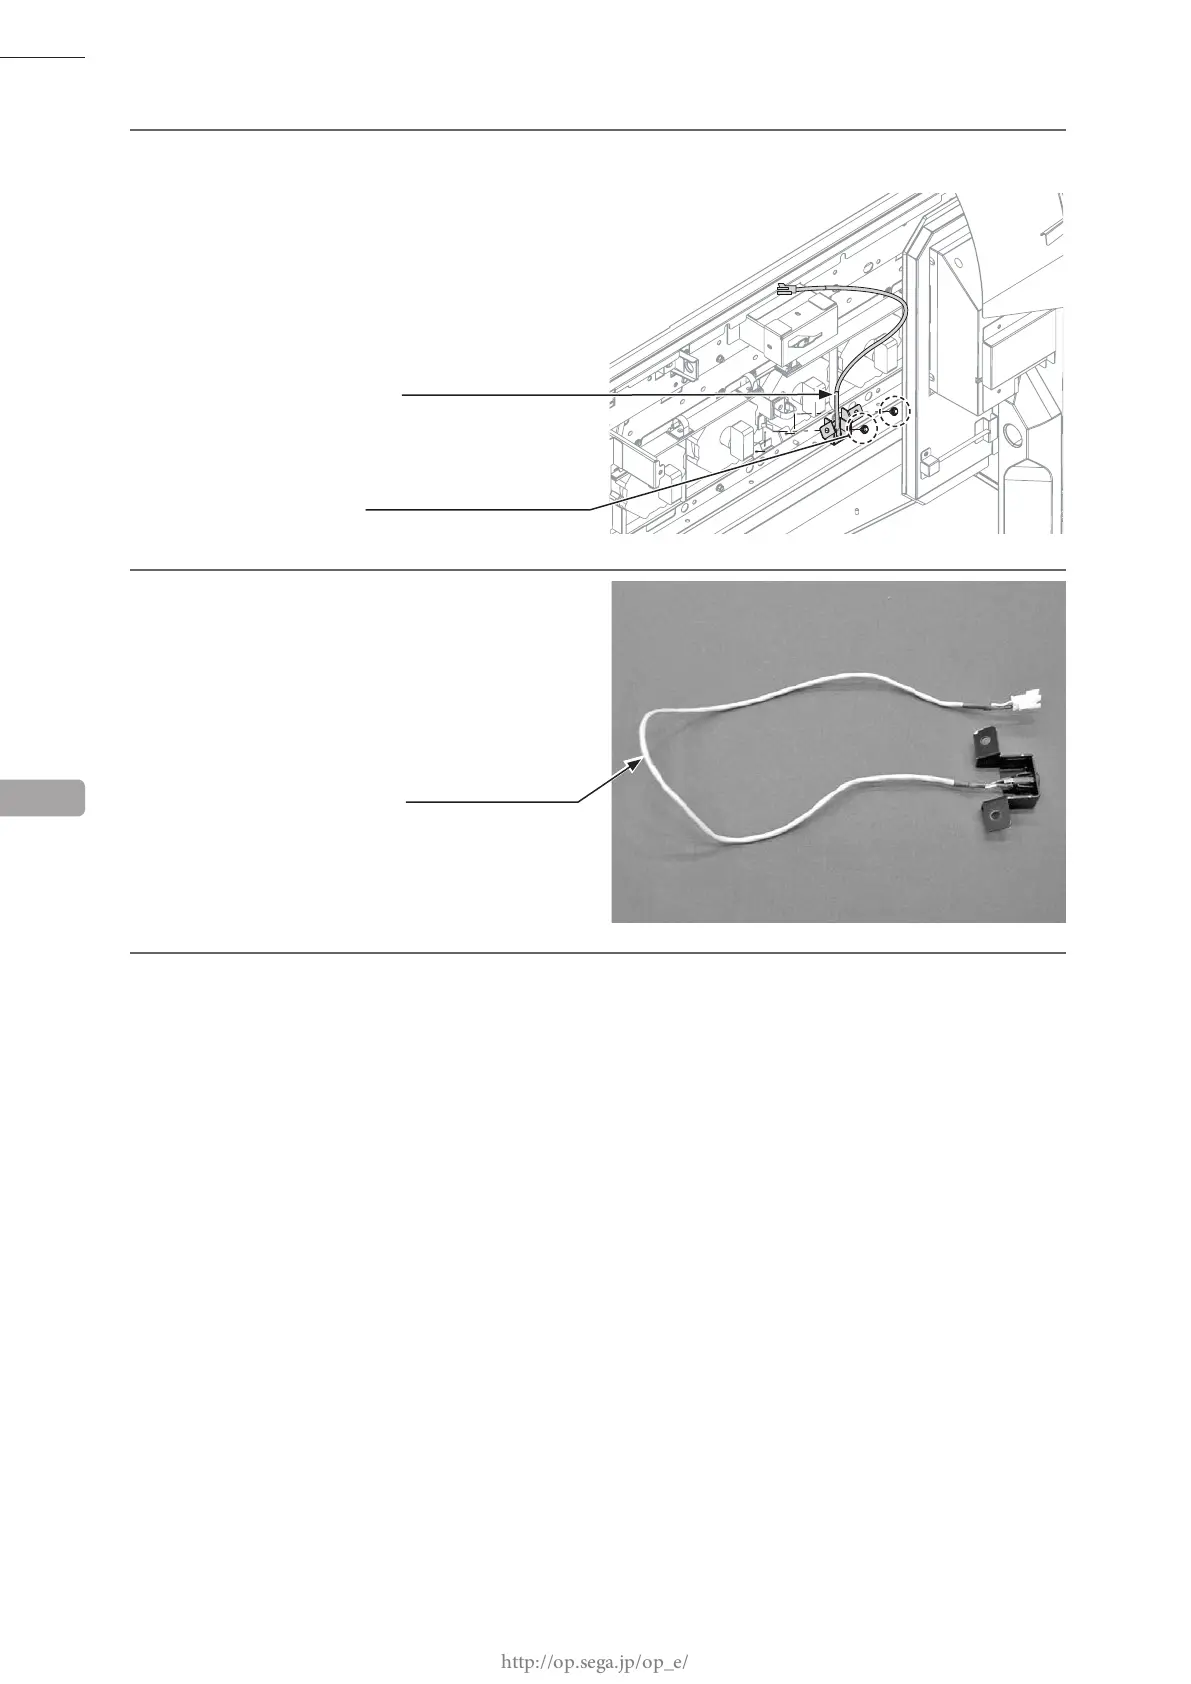
Remove 2 screws and take off the headphone socket. Be careful not to damage the cables.
5
Refer to Steps 2 to 4 and work in reverse order
to attach the replacement headphone socket
and reassemble the cabinet.
6
Refer to Steps 2 and 3 in "12-1," and work in reverse order.
12
M4 x 8, w/at & spring washers
HEADPHONE SOCKET
SCREW (2)
BRK-2370
HEADPHONE SOCKET