LCD
87
● When turning the server machine′s main power switch OFF during operating hours,
ensure that there are no players using the connected cabinets before doing so.
Once the main power switch is turned OFF, network transmissions are no longer
possible.
Furthermore, start the server machine before powering up each cabinet. If the
server machine is started afterward, the in-store network may not operate correctly.
● When replacing the LCD, only replace the LCD unit, the adjustment board, and the
cables between them. All other parts, cables, screws, etc. should be reused.
● After replacing the LCD, adjust the touch panel. If the panel is not appropriately
responsive, it could lead to unnecessary trouble with players.
When replacing the LCD, replace it and the LCD adjustment board together.
1
Turn OFF the main power switch on the cabinet.
2
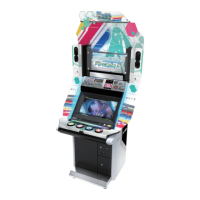
Remove the hook and loop fastener from the base of ag L and remove the ag from the pole on the
control panel. Take off the ag R from the other side in the same manner.
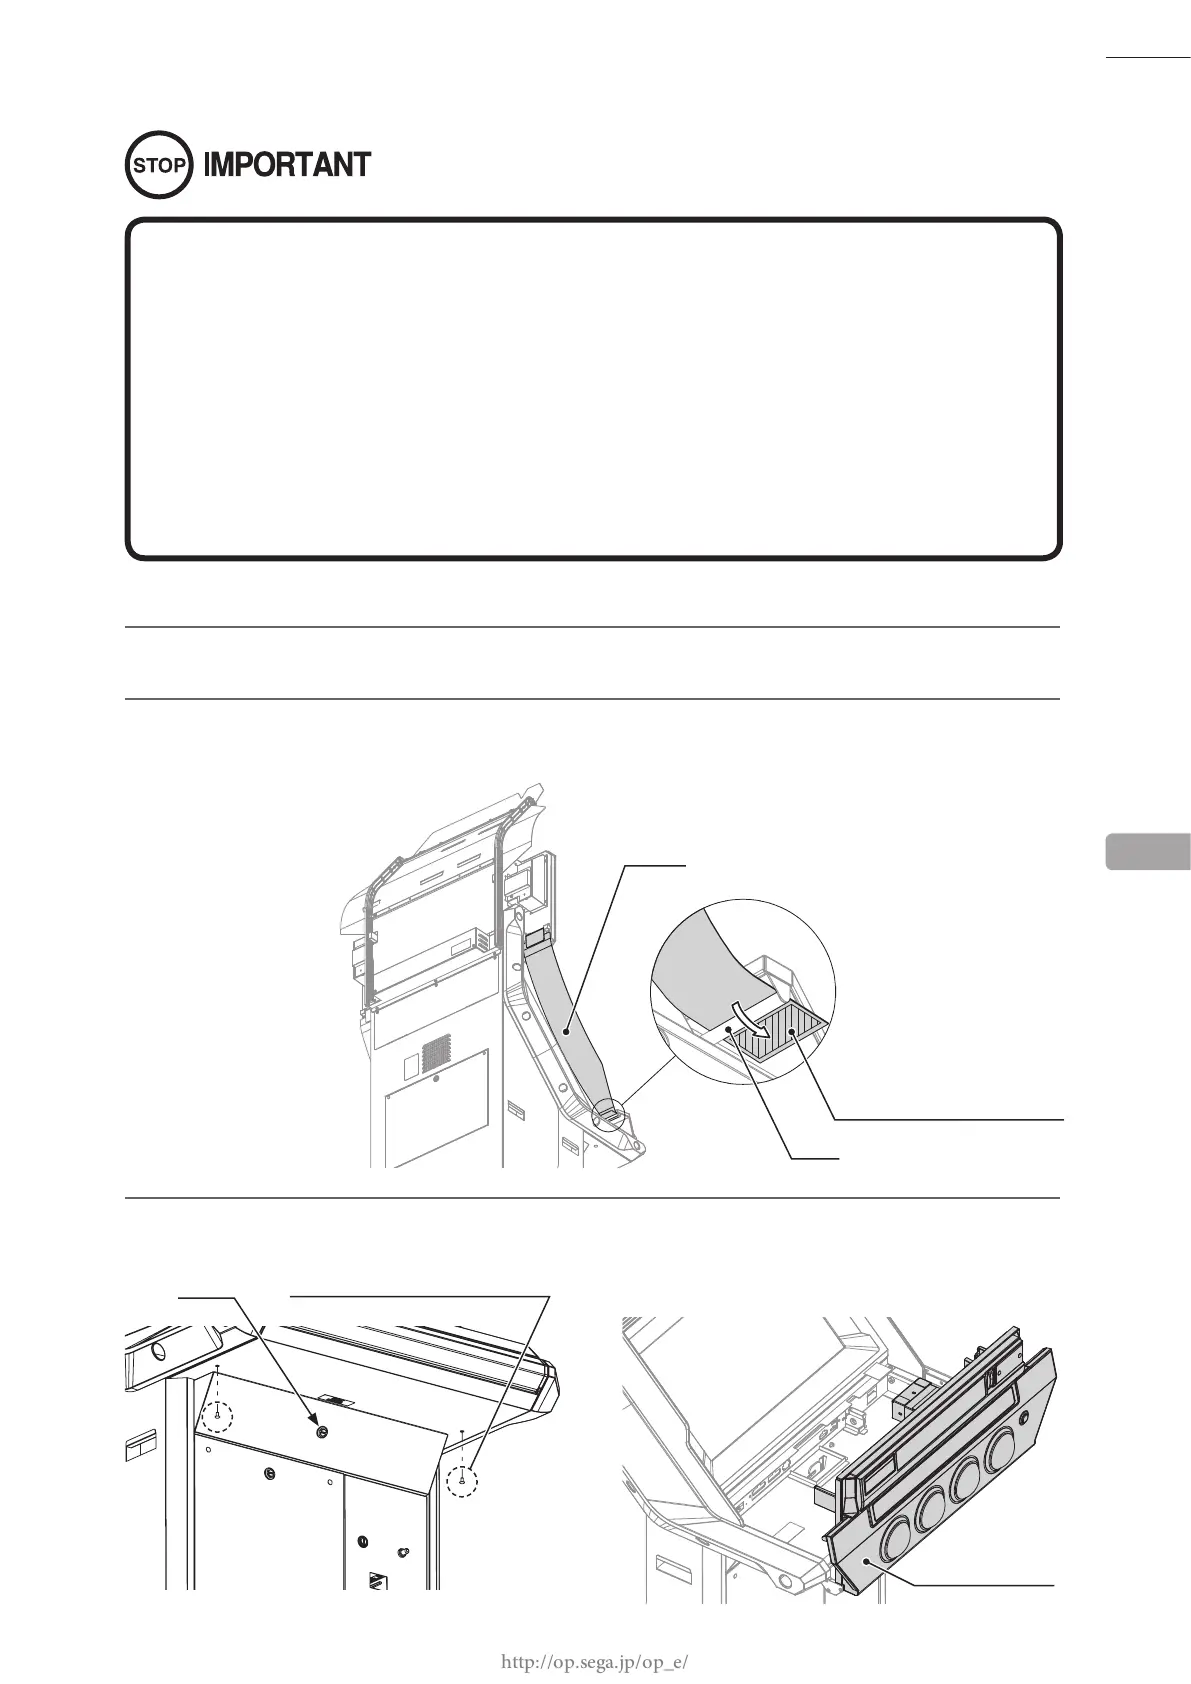
3
Remove 2 tamperproof screws. Unlock the control panel with the master key and then open it.
M5 x 10
13
POLE
CONTROL PANEL
FLAG L
HOOK AND LOOP FASTENER
Unlock
TAMPERPROOF SCREW (2), black
 Loading...