66 67Sequencer
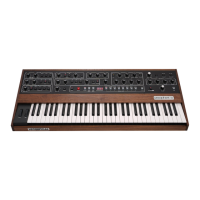
Sequential Prophet X User’s Guide
Sequencer
Sequencer
The Prophet X has a polyphonic sequencer for creating repeating
patterns of notes and chords. You can play up to 64 steps with up to 6
notes held simultaneously per step. You can also add ties and rests to a
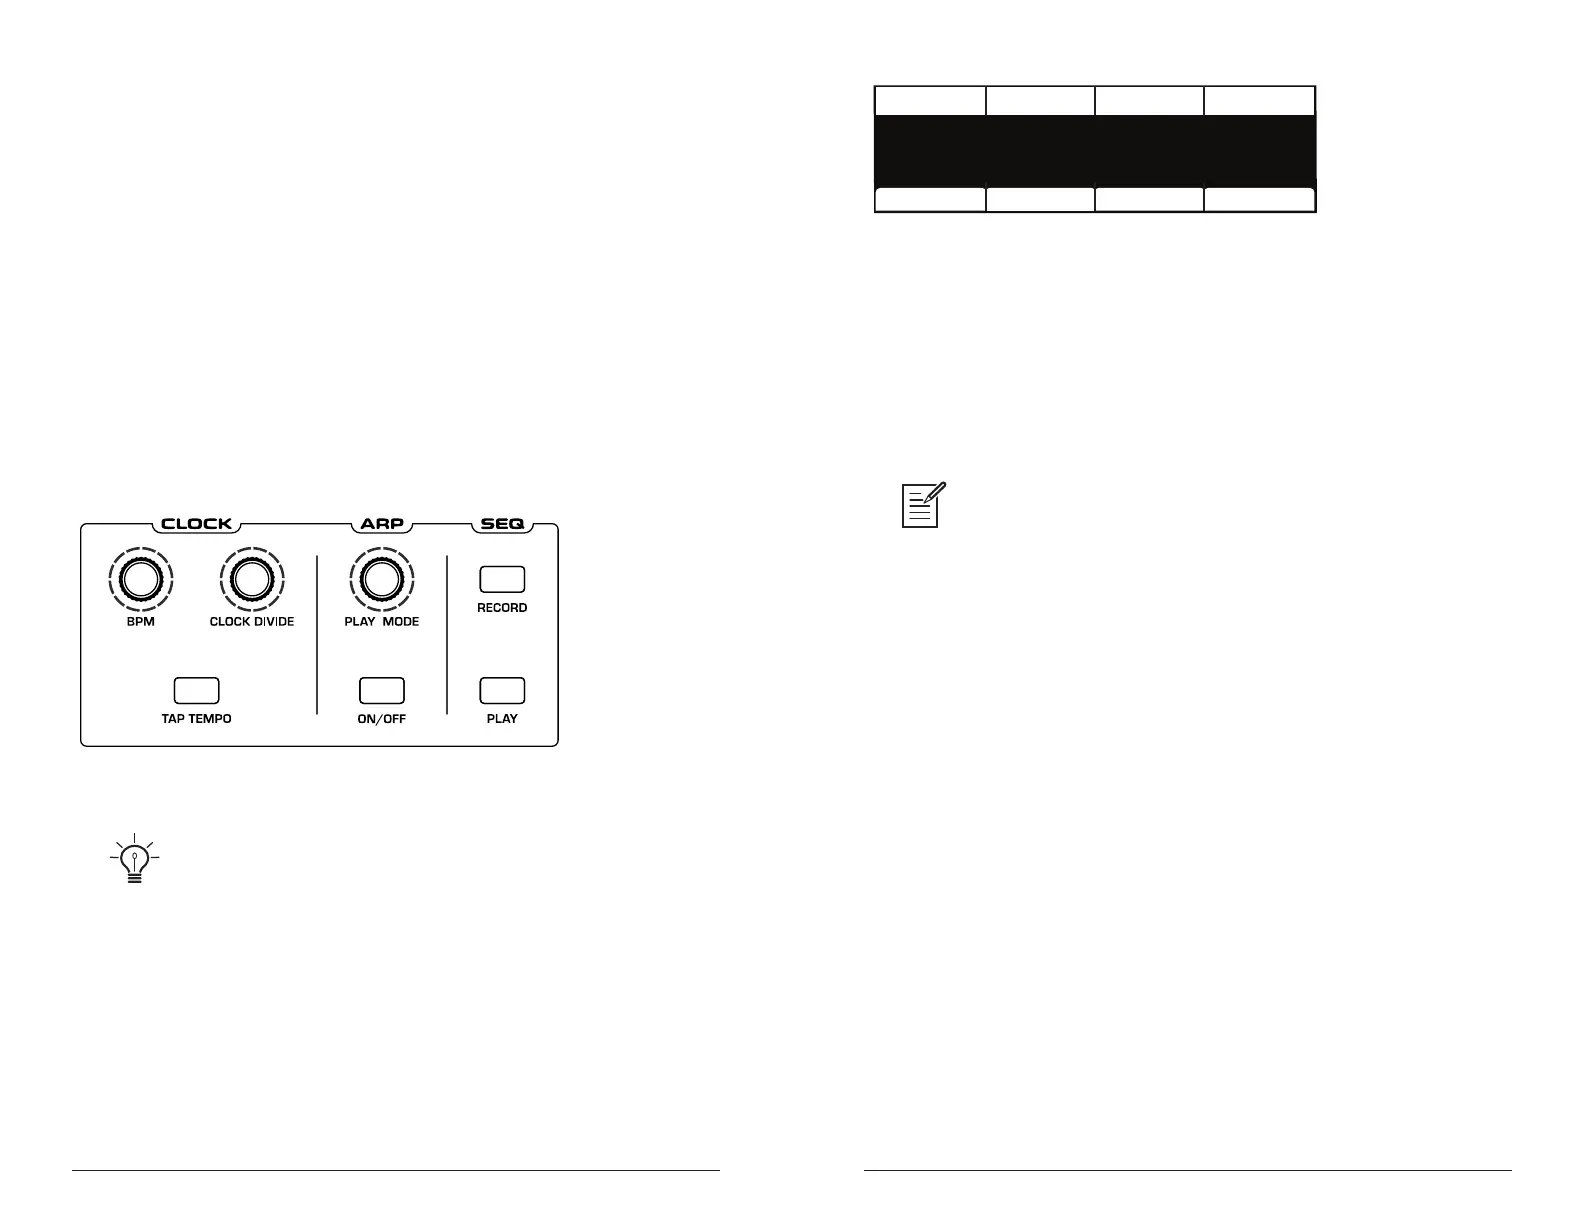
sequence. Use the bpm, clock divide, or tap tempo controls to adjust the
sequencer playback speed. For most sequences you’ll probably want to use
sounds with a relatively sharp attack and short release.
You can play along with a sequence (provided there is available polyph-
ony), making it a powerful live performance tool. When the sequencer is
playing, the arpeggiator is disabled.
All factory programs have a sequence associated with them. Recall a
program and press the sequencer’s
play button to hear its associated
sequence.
The Clock and Sequencer controls
An audio signal connected to the rear-panel sequence jack can be used to
control sequencer playback. This makes it possible to tempo sync the sequencer (or
arpeggiator) to a recorded drum track or other audio source. Audio signals used to
drive the arpeggiator/sequencer should not exceed 5 volts peak-to-peak. See “22.
Seq Pedal Mode: Normal, Trigger, Gate, T-G—Selects the mode for the rear-panel
sequencer jack. This jack requires a unipolar signal. Connecting a bipolar signal can
damage this input.” on page 126 for more information about choosing the appropri-
ate mode for these behaviors.
CHORD NOTE
Chord Note NoteStep Velocity
STEP
1 C5 1001
VELOCITY
NOTE
Set LengthTie Rest
The Sequencer menu
To program a sequence:
1. Press the record button.
2. Perform the sequence on the keyboard. The display indicates the
current step, note, and velocity as you play. You can also use the
display to create/edit the sequence step-by-step.
When recording a chord as a step, as long as you continue to hold at least one
note down, you can keep adding notes to the chord/step, and even use the transpose
buttons to extend the keyboard range while doing it.
3. To add a tie that extends the length of a note, play the note or chord,
then press Soft Key 1 (tie) to extend the note the number of steps you
want. Each time you press Soft Key 1, you will extend the tie by an
additional step. You can then continue playing.
4. To add a rest after a note or chord, press Soft Key 2 (rest). Each time
you press Soft Key 2, you will extend the rest by an additional step.
You can then continue playing
5. To step back in the sequence, turn Soft Knob 2 (step) counterclock-
wise. This will allow you to step backward to the desired step so that
you can rerecord it manually. You can also use the parameters shown in
the display to edit the sequence step-by-step.
6. When you’re done, press play to listen to your sequence.
7. If you want to edit the sequence after you’ve recorded it, you can use
the parameters shown in the display to edit the sequence step-by-step.
8. To save the sequence, save the program and they are saved together.
(See “Saving a Program” on page 7.)