2
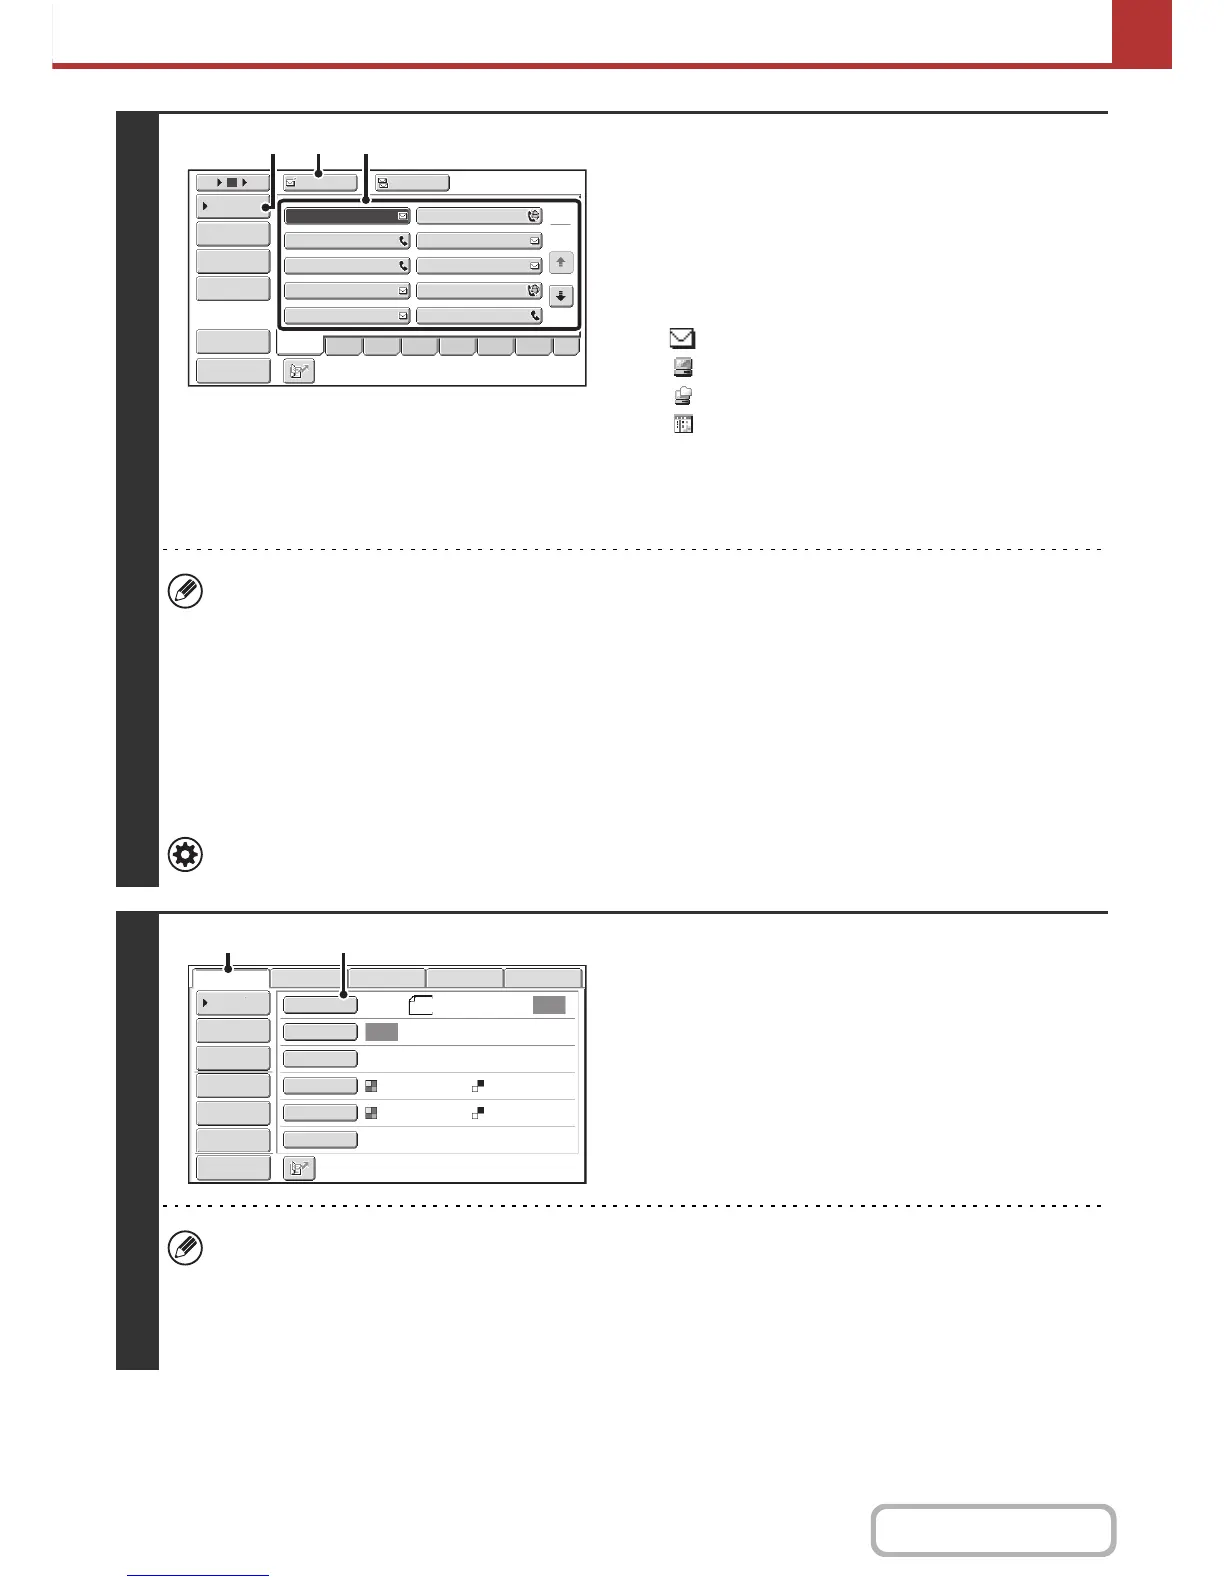
Specify the destination.
(1) Touch the [Address Book] key in the base
screen.
(2) Touch the one-touch key of the desired
destination.
The icon on the key indicates the type of destination
stored in the key.
: Scan to E-mail
: Scan to FTP
: Scan to Network Folder
: Scan to Desktop
(3) Touch the [To] key.
The destination is specified.
(4) Touch the [Condition Settings] key.
• After a one-touch key is touched, if the screen is changed without touching the [To] key, the destination is
automatically specified.
• When performing Scan to E-mail, you can also send Cc or Bcc copies to other destinations. Touch the desired
destination and then touch the [Cc] key or the [Bcc] key.
• Multiple destinations can be specified. To specify multiple destinations, repeat steps (2) and (3).
• You can also select multiple one-touch keys and then touch the [To] key (or the [Cc] or [Bcc] key) to specify all
selected keys at once.
• In addition to specification by a one-touch key, a destination can also be specified by a search number. Destinations
for Scan to E-mail and Scan to Network Folder can also be manually entered or looked up in a global address book.
For more information, see "ENTERING DESTINATIONS" (page 5-18).
System Settings (Administrator): Bcc Setting
This setting enables or disables Bcc delivery. When enabled, the [Bcc] key appears in the address book screen.
3
Switch to scan mode and display the
image settings screen.
(1) Touch the [Scan] tab.
(2) Touch the [Original] key.
The current settings for [Original], [Exposure], [Resolution], [File Format], and [Color Mode] are indicated at the right of
each key. To change a setting, touch the appropriate key.
☞ AUTOMATICALLY SCANNING BOTH SIDES OF AN ORIGINAL (2-Sided Original) (page 5-54), SPECIFYING
THE ORIGINAL SCAN SIZE AND SEND SIZE (Enlarge/Reduce) (page 5-55), CHANGING THE EXPOSURE
AND ORIGINAL IMAGE TYPE (page 5-61), CHANGING THE RESOLUTION (page 5-63), CHANGING THE FILE
FORMAT (page 5-64), CHANGING THE COLOR MODE (page 5-68), SPECIAL MODES (page 5-71)
 Loading...