193
SJ1044 TH, SJ1044 THS, SJ1056 TH, SJ1056 THS, SJ1256 THS
230790ABA
Non-Routine Maintenance Section 5 – Procedures
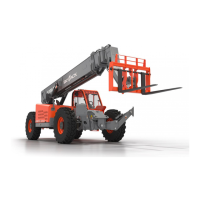
Carrier Assembly Removal
1. If previously removed, support the end of the
carrier assembly, then install the (T-shaped)
upper and lower the guide brackets. Installing the
brackets helps guide the carrier past the mounts
inside the side access holes.
M62312AA
Figure 166
2. Slacken off both chain anchors on the top of the
boom assembly. Remove the jam nuts, then back
off the main nuts until slack is observed in the
chains (anchors are loose). If the chain anchors
are not loosened, the hoses inside the boom
at the back of the machine would be under too
much tension to remove.
M62310AA
Figure 167
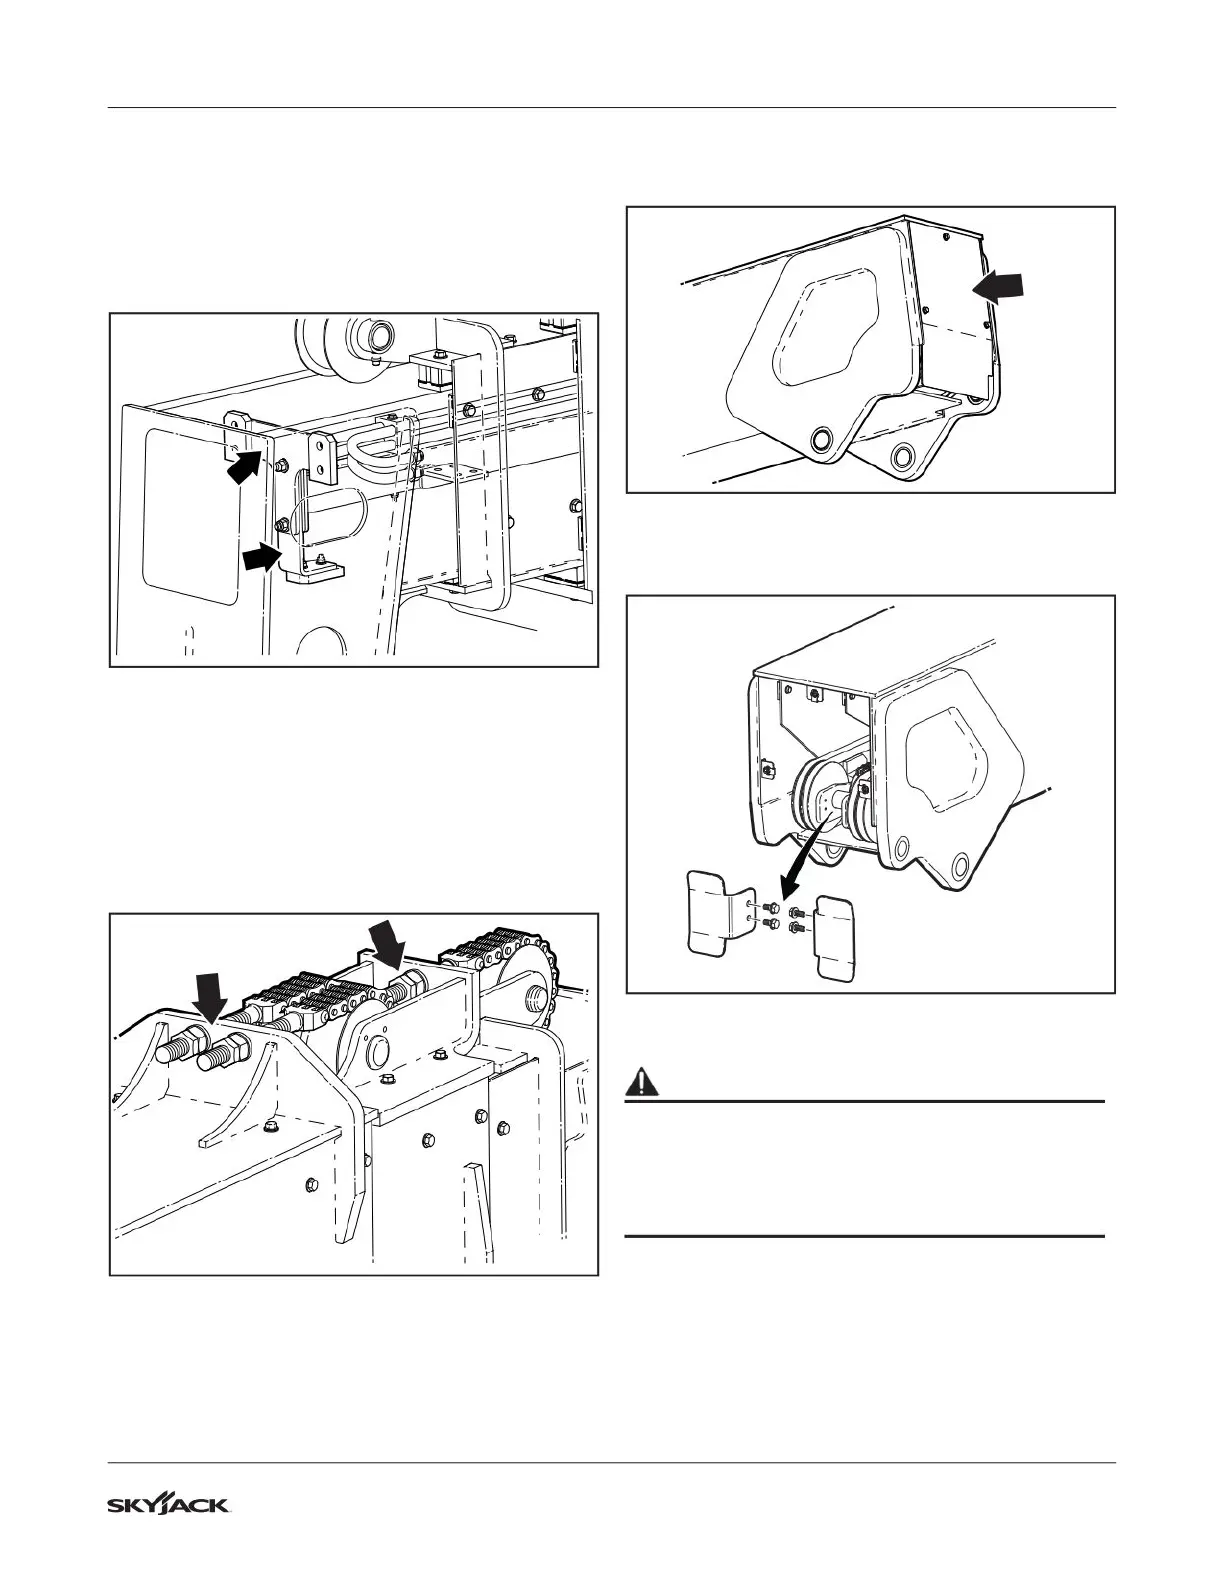
3. At the back of the machine, remove the cover
plate from the end of the boom assembly.
M62291AA
Figure 168
4. Remove the 2 sheave guards.
M62293AA
Figure 169 Sheave Guards
WARNING
Escaping pressurized fluid from a hydraulic
pressure leak can damage your eyes, penetrate
the skin and cause serious injury. Use proper
personal protection at all times. Loosen the fitting
slowly to relieve pressure.
 Loading...