Scanning procedure
12. Scanning procedure
12.1 Clamping the model
Clamp the model in the removable object holder and align the height using the spacer plate (see
Figure 33).
12.2 Creating a prescan
Depending on the scanner and CAD software combination, it is not necessary to fill
out the project information thanks to a special interface, as this is automatically
undertaken by the CAD software (e.g. with dentCreate!
®
). The scanner uses software
messages to guide you step by step through the entire scanning procedure.
Switch the scanner on at the mains switch. The scan software opens after starting by double
clicking on the "Activity" icon on your Desktop. An automatic referencing of the axes takes place.
The project entry screen appears:
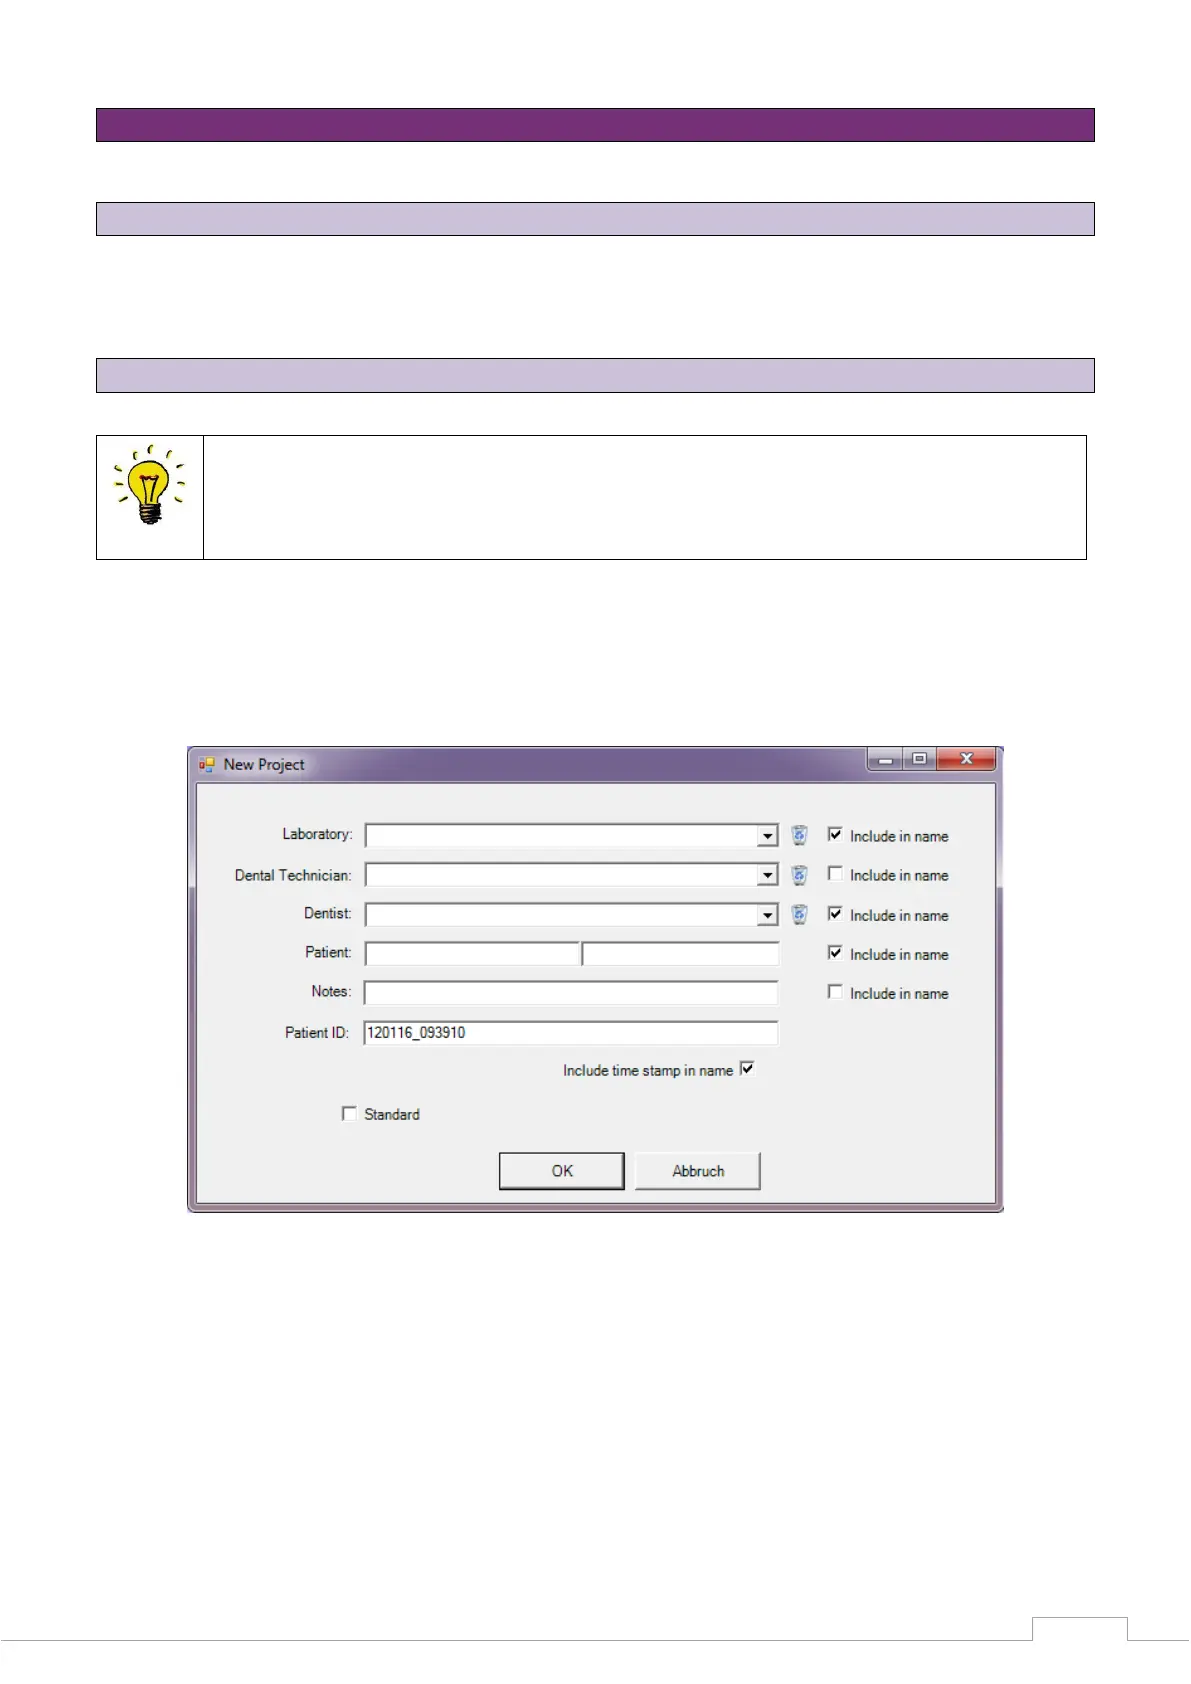
Figure 35: "New project"
Information such as laboratory, dental technician, patient, etc. is entered in these entry fields. The
information entered here is added by setting the checkmark in the "New project" of the patient ID
(Project name). If you do not enter anything in the entry fields, the time and date data will be used
as standard.
After confirming with "OK", a new field will appear, allowing you to name the following
measurement.